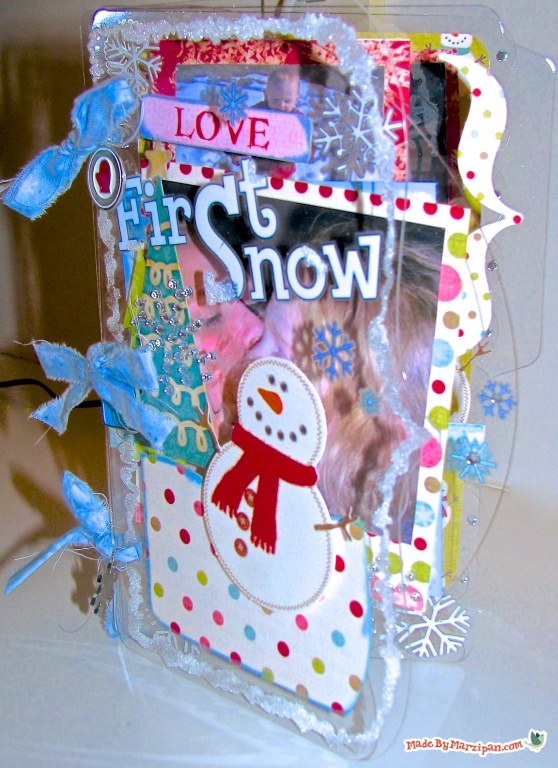
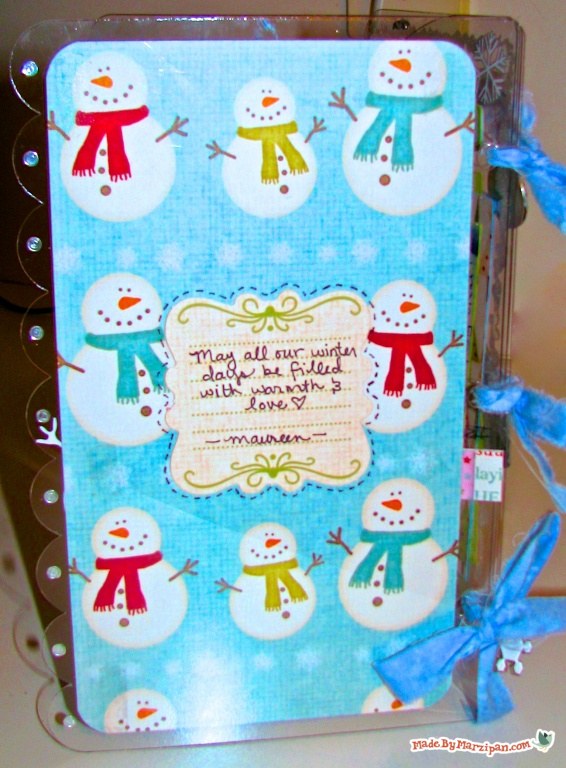
Craft plastic is a great medium to work with when you’re creating winter layouts. Add some glitter along the edges to give it a frosty feel!
How to:
made with
page die cuts
fabric strips
scrapbooking embellishments
1
I used a die cutting machine to cut the plastic pages into fun shapes. You could also trace a shape and use scissors to cut them out. Punch holes along one side for binding.
2
Tear the fabric into small strips, then thread the fabric through the holes and knot to bind the pages together.
3
When making a clear album, it’s important to think ahead. When looking at the cover, you want a bit of each page to shine through. You may find it’s easiest to start with the back cover and work your way to the front. In general, the last page will be the most heavily embellished, or covered, and the front page will have the least.
4
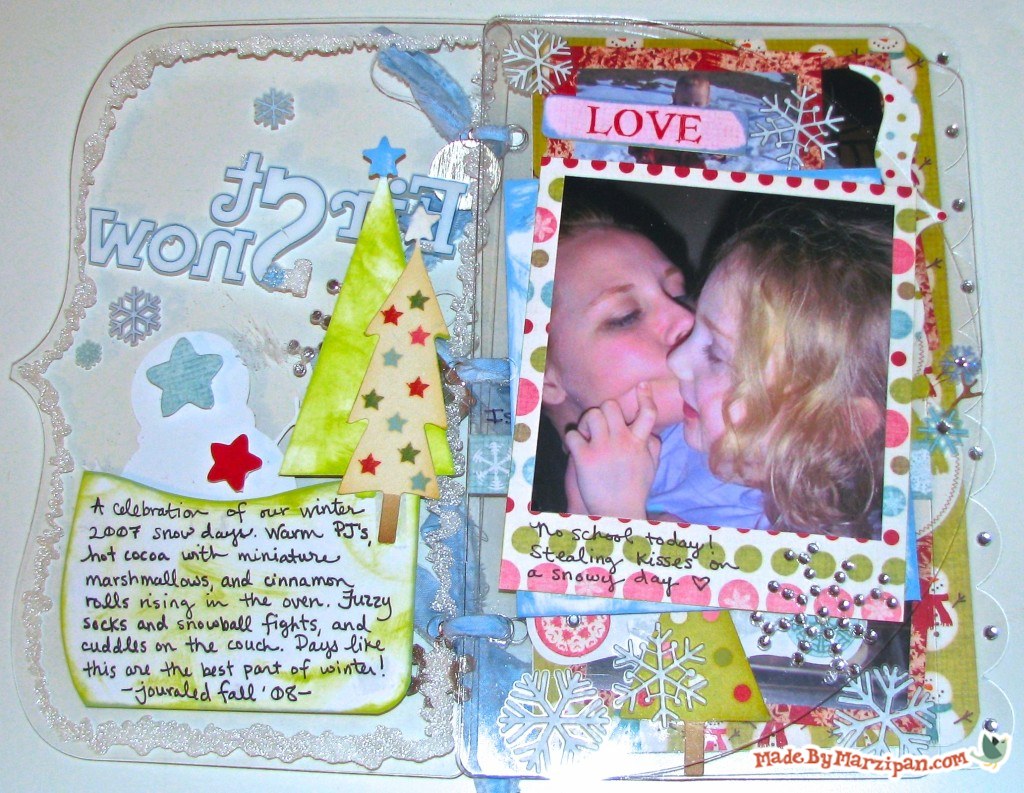
Rub-ons are perfect for clear albums! They don’t require adhesives, so they look good from both sides of the page. (Grafix makes printable Rub-Onz film that allows you to design your own rub-ons… try it sometime!)
5
For additional dimension, place an embellishment face-down on the back of a page (see the blue tree on the cover of the album). It will give the illusion of depth when viewed from the front.
6
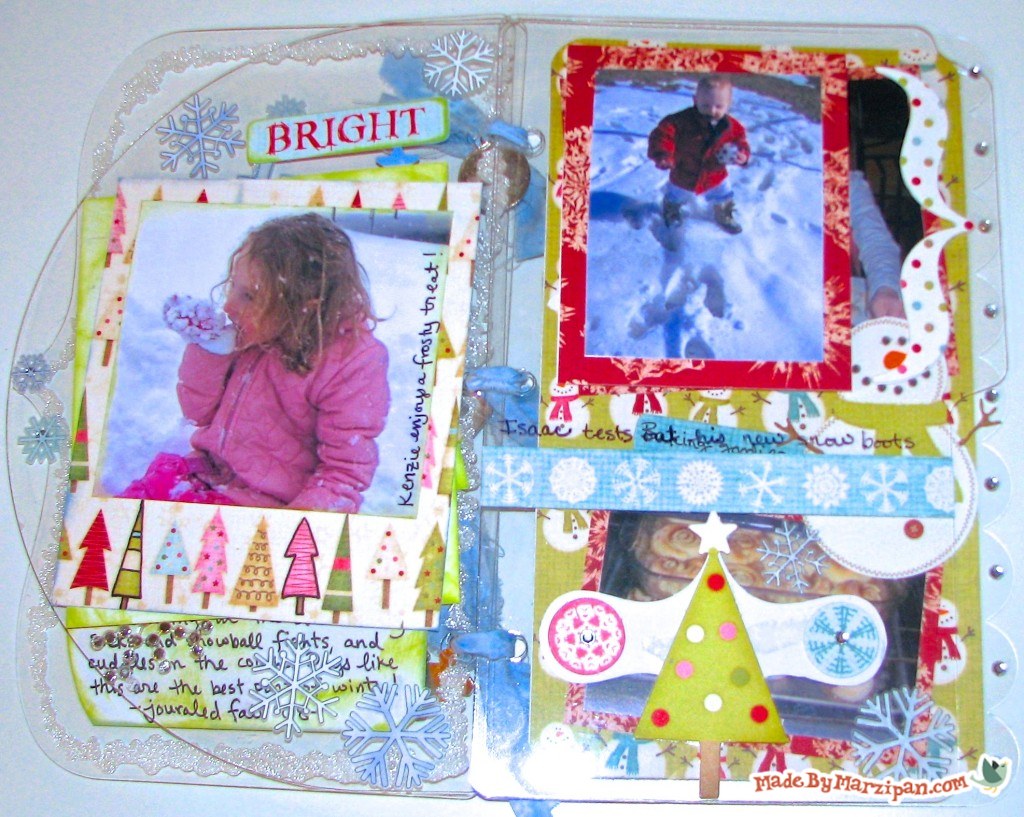
Rub a blue ink pad along the edge of paper embellishments for a chilly feel.
7
Add a little glue and glitter along the edges of the album to make the craft plastic look like ice!
Find more mini scrapbook album tutorials here!
Made By Marzipan may have received product or payment for this post. Posts may contain affiliate links. Disclosed in accordance with the Federal Trade Commission's 16 CFR, Part 255.

 Finished?
Show it off!
