
Make Shrink Film charms featuring your favorite characters!
How to:
made with
1
You’ll need Grafix Shrink Film for Ink Jet Printers. You can print on either side, so you can’t really go wrong. Remember that these tags will shrink to about half their original size, so make the images large.
2
Cut out the images. Leave enough white space at the top to punch a hole. Use a standard single-hole punch to punch a hole for hanging. (When using Shrink Film, it’s important to punch any holes before baking, as it will be too thick for most punches afterward.)
3
Preheat your oven to about 325 degrees. (Please remember, only an adult should use the oven.)
4
Protect a baking sheet with a piece of parchment paper (not wax paper). Lay the charms down so they aren’t touching. Cover with another piece of parchment paper. This will prevent the charms from sticking to themselves as they curl and shrink.
5
The amount of time you’ll need to bake your items can vary. It may be as few as two minutes and as many as 7. As the item bakes, it will curl up. This is normal. Soon the film will begin to flatten again. Once the item is completely flat, it’s done baking and can be removed from the oven. Remember to use an oven mitt.

6
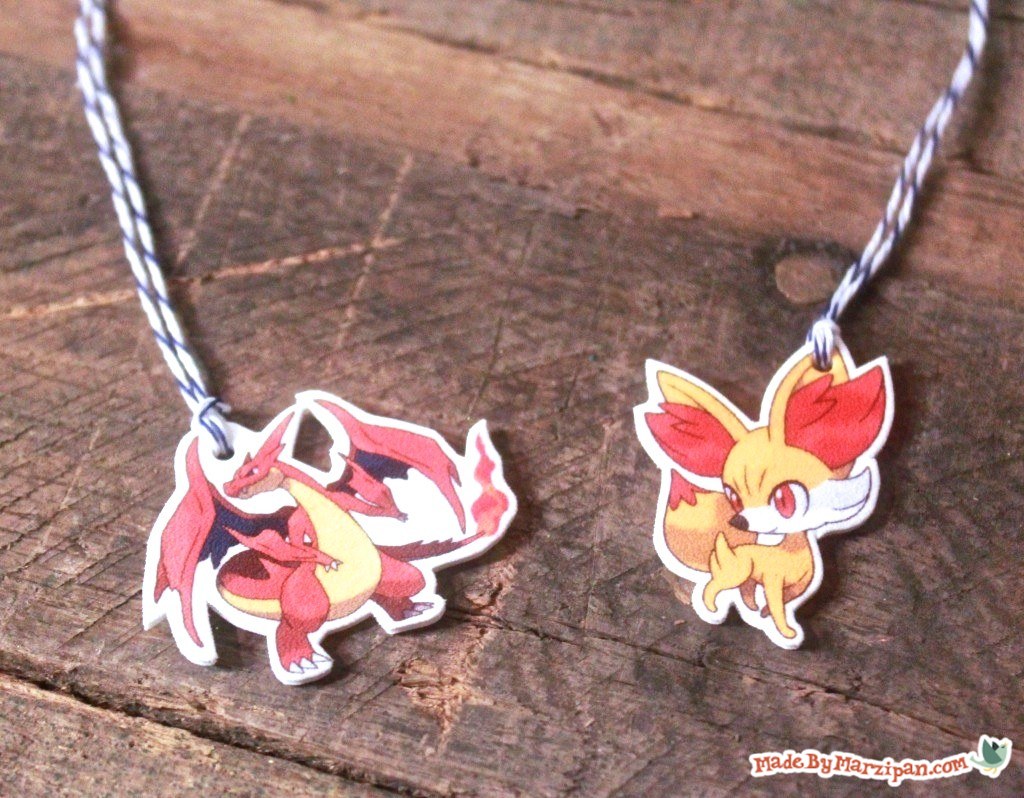
These will be hot, so let them cool before handling. You can see how they’ve transformed into hard, durable charms. You’ll also notice that the colors intensify when the film shrinks, so keep that in mind when designing your projects.
7
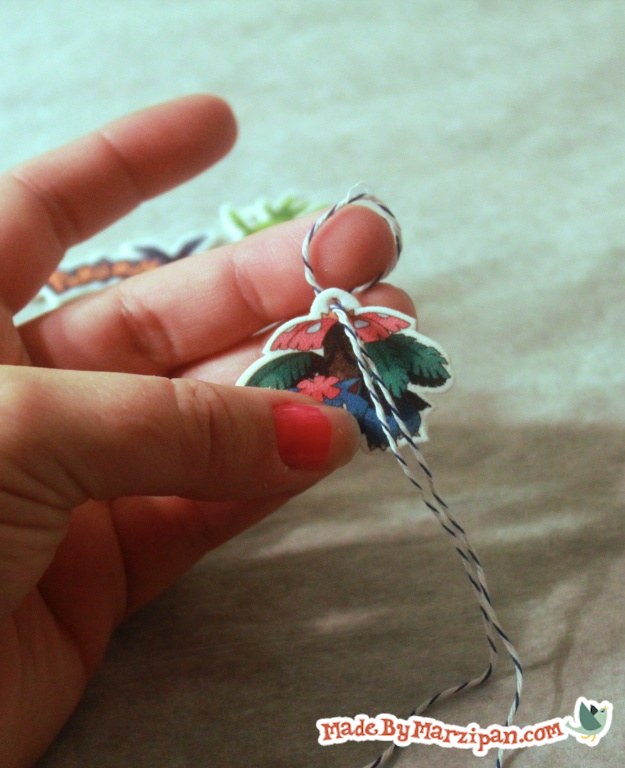
Add twine through the punched hole.
8
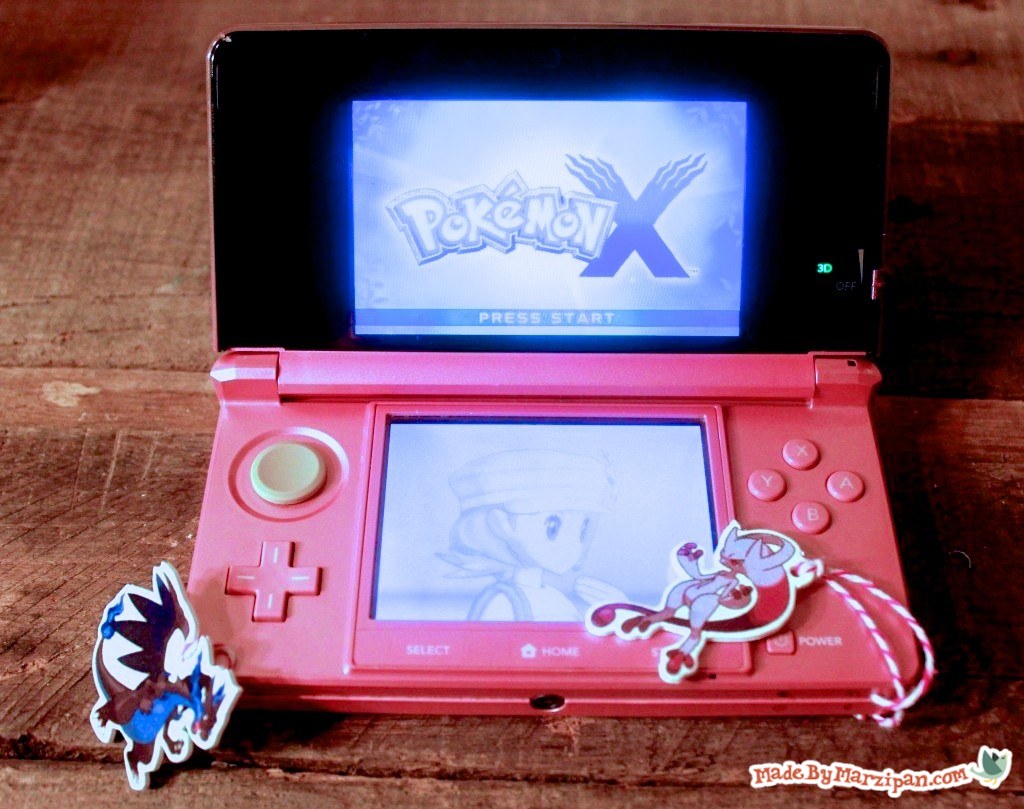
Slide the twine through the slot on the side of the DS. You may find it helpful to use a pin to help feed it through. Tie.
Made By Marzipan may have received product or payment for this post. Posts may contain affiliate links. Disclosed in accordance with the Federal Trade Commission's 16 CFR, Part 255.

 Finished?
Show it off!
