1
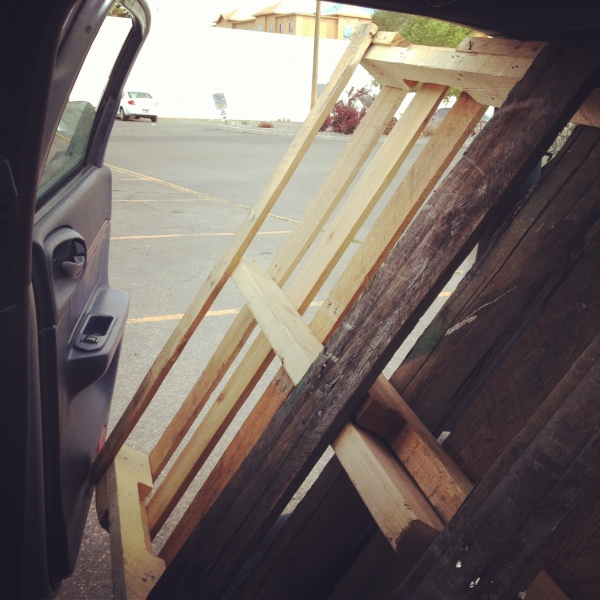
First, you’ll need to find a pallet. I’ve had more luck with small, locally owned shops. Look for pallets placed by the Dumpster, then ASK whether you can take them. (Some stores participate in pallet recycling programs and receive a refund for doing so.) I wanted aged, weathered wood, so I was looking for the junkiest pallet I could find.
You might want to bring a truck!
2
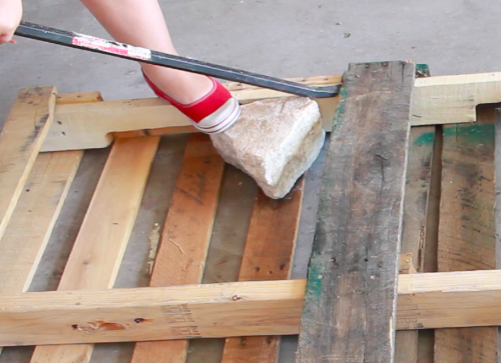
Take the pallet apart. There are plenty of tutorials on YouTube to help with this, so I’m not going to spend a lot of time on it. My preferred method is to use a crowbar and hammer, with a rock for leverage.
First loosen each end and the center slightly. Then go back and use force.
3
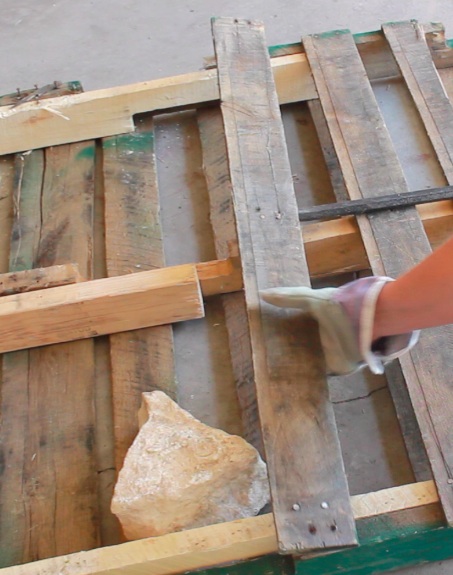
Wear gloves to remove the board. Hammer out the nails from the back, then use the claw end of the hammer to pull them from the front.
4
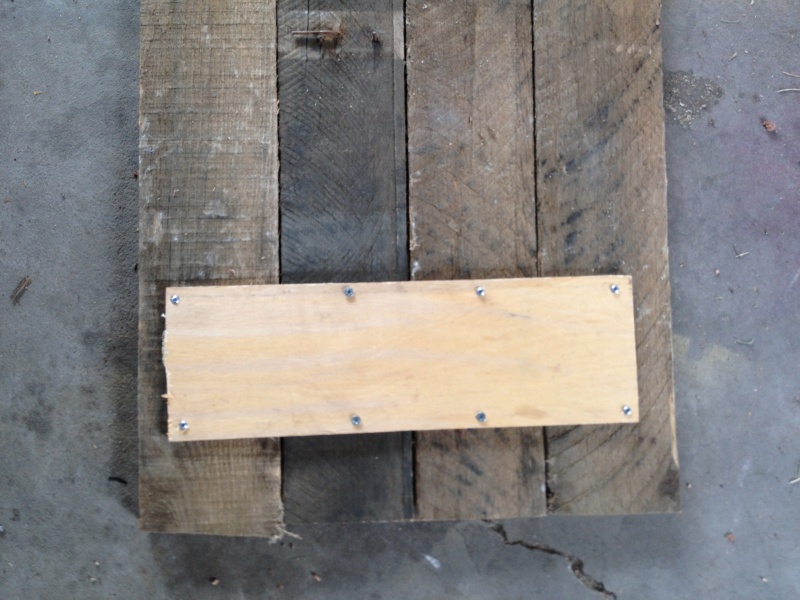
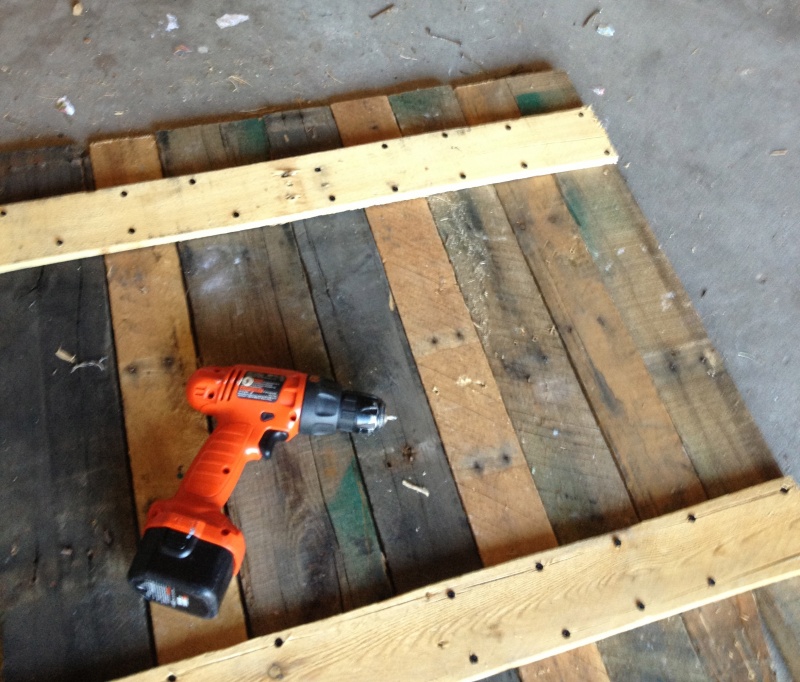
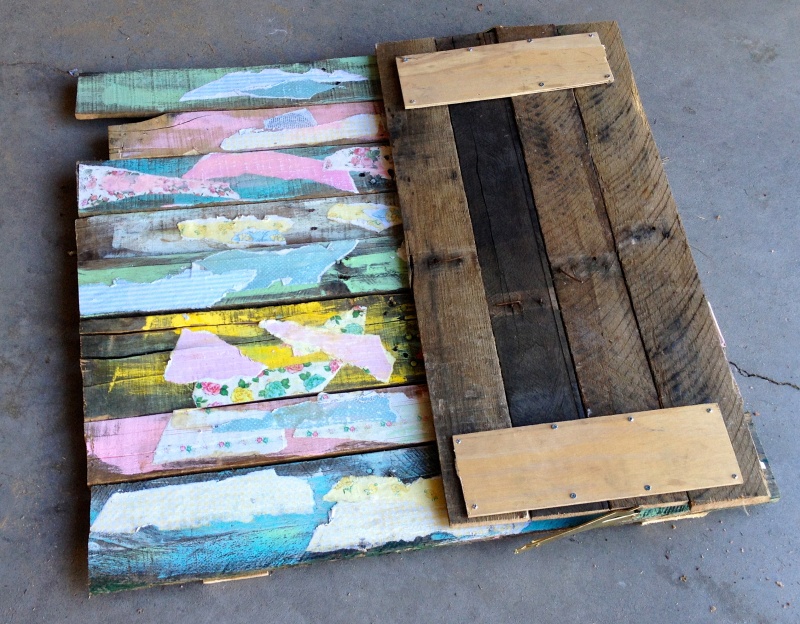
I wanted the backdrop to have a “floor,” so I placed some of the slats together horizontally. I screwed a strips of scrap wood to the back, one along the top and one along the bottom. Screw through each slat to hold them all together.
Screw strips of wood to the back to hold the slats together.
5
Use a saw (a hand saw works fine) to make the ends of the slats the same length.
6
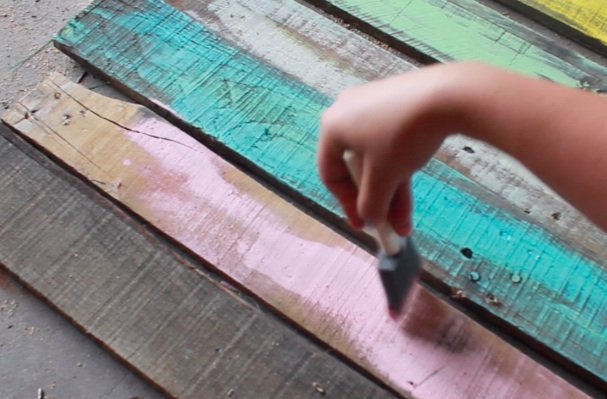
Now I’m going to decorate the vertical slats, or the “wall.” You can really do this however you’d like, even a coat of plain whitewash would be pretty. I brushed each slat with a light coat of acrylic paint. I wanted it to be eclectic, so I chose to use a variety of pastel colors.
7
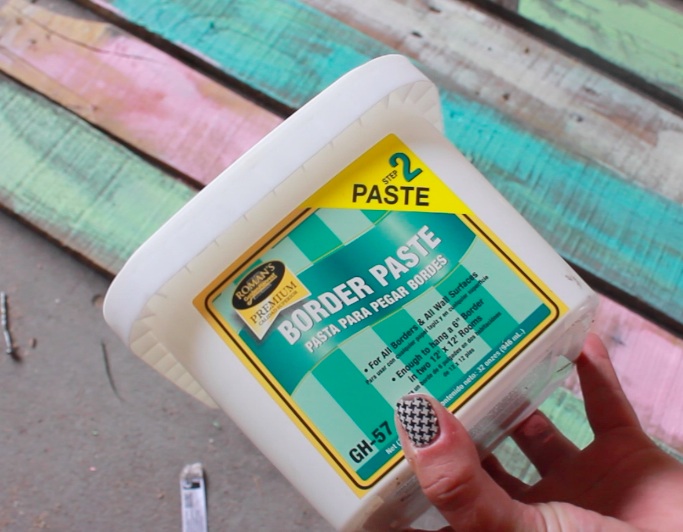
I wanted my slats to have the look of peeling wallpaper, so I bought some patterned scrapbook paper. I had a lot of wallpaper paste left over from a previous project, so I dipped torn scraps of paper in the paste and smoothed it onto the slats. However, Mod Podge would also work well.
8
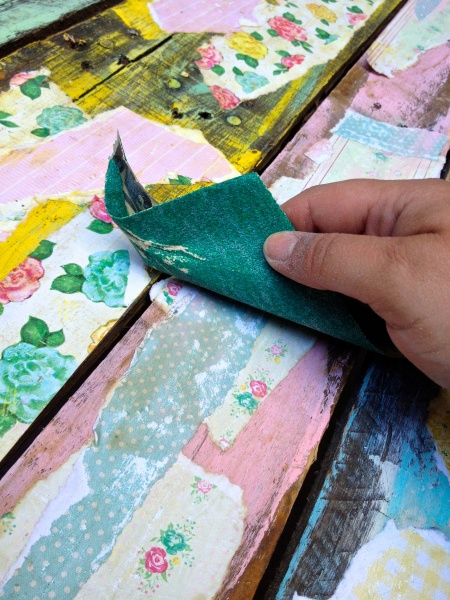
I layered a couple of different papers on each slat. I folded back some edges so it looked like it was peeling.

9
Next I sanded some of the papers down to make them look worn.
10
Attach the “wall” slats together as you did the “floor,” screwing scrap wood to the top and bottom of the back.
11
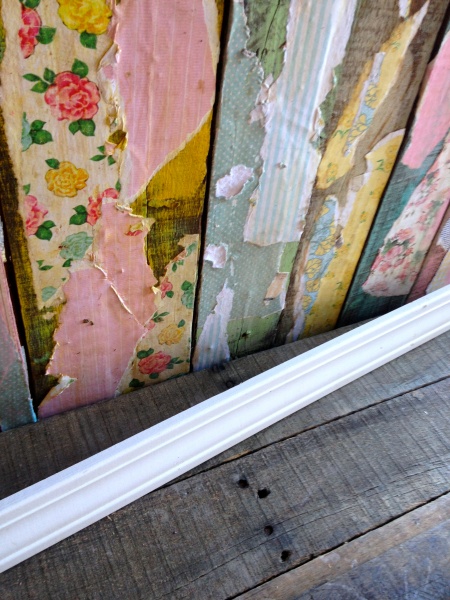
If you’d like, you can use finishing nails or wood glue to add a piece of baseboard or trim along the bottom front of the “wall” piece.
12
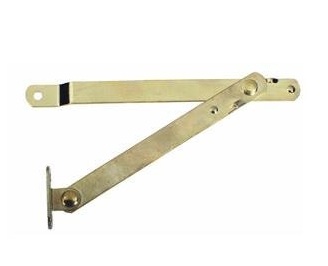
Now we need to attach the “wall” to the “floor.” I wanted this backdrop to stand on its own, and collapse for easy storage. So I decided to use
folding support arms.
These are metal brackets that lock into place at a 90 degree angle. They’re typically used for jewelry boxes or trunks. You can find these at hardware stores or on Amazon for around $3 each. You’ll need two.
Note: Depending on the brand / type, you may need one labeled “left” and one labeled “right.” Some types are universal and can be used on either side.
13
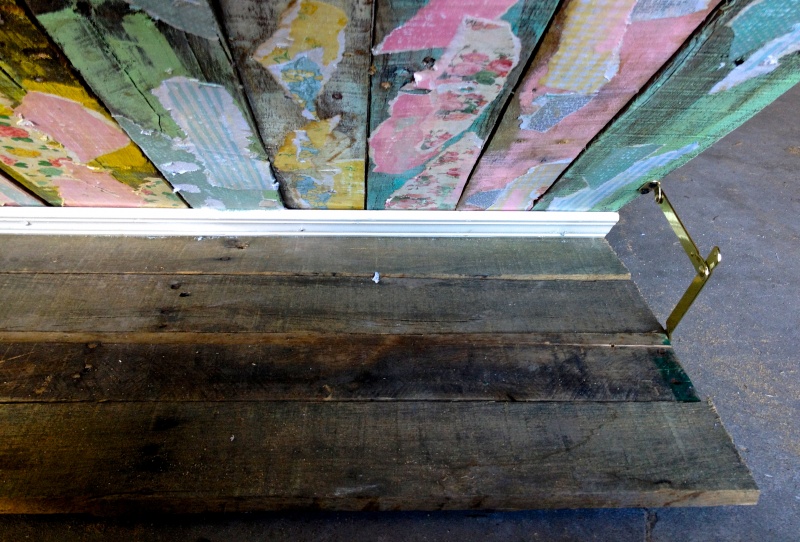
Attach the folding arm brackets to each side of the backdrop. Note how the flat plate rotates for ideal placement.
14
The backdrop stands on its own, so you can move it to wherever you have the best lighting for your photo shoot. (In my studio, that’s on top of the table.)
15
To fold the backdrop flat, bend the arms at the joint to unlock.
16
Easy storage!
Note: This backdrop was designed for product photography. If you aren’t sure where the pallet came from, what it held, or whether it was chemically treated, don’t use it for portrait photography. Plus, splinters! Ouch!
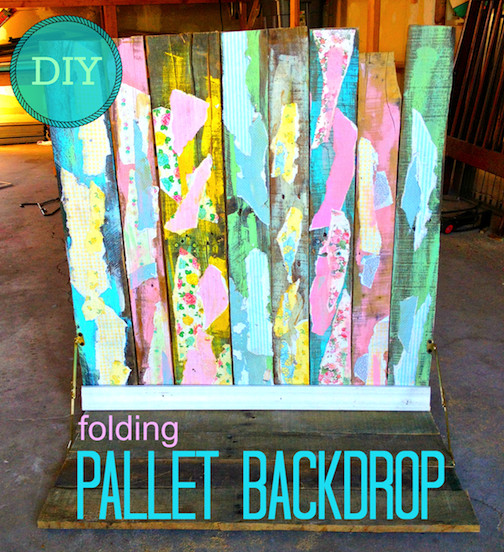


 Finished?
I just repurposed a pallet into a planter for my herb garden, but I will be asking my husband to bring another one home for this project. This will make great school pictures for my son and my niece. Thank you for the great idea :)