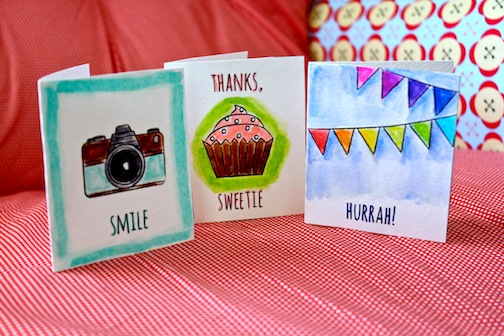
Enjoy this free set of mini cards to color! Check out my tips for using Koi® Coloring Brushes to achieve this look.
I’ll be printing my mini cards on watercolor paper, but white card stock also works well. Trim the paper to 8.5 x 11 inches to fit in your printer. To print the Free mini cards (click here).
Tip #1 You can use the coloring brush pens as you would a regular marker. The flexible tip allows you to make fine or bold brush strokes. I’m starting by tracing these letters, using very light pressure to create a thin outline.
Tip #2 You can also use these pens to produce a watercolor effect. Outline the center of an image. Messy lines look better when blended than straight ones. Use the coloring brush blender to distribute the color within the shape. Color with a small circular motion.
Tip #3 When you’re ready to blend a new color, be sure to wipe the nib of the blender pen on a piece of scrap paper, or it may deposit unwanted color.
Tip #4 You can also use the blender pen to “borrow” color from another area. I’m coloring the camera lens black, then using the blender pen to pick up some of the pigment. I’m using this new, light gray ink to fill in other areas of the camera.
Tip #5 I want these cards to look like they were hand painted with watercolors, so I’m leaving a few white gaps here and there to reinforce that look.
Tip #6 You can add shading and dimension by depositing more colored ink over an area you’ve already blended.
Tip #7 Use the broad side of the brush pen to draw a border or fill in large areas. Then I’m going over it with the colorless blender to soften the strokes and mimic watercolor paint.
Tip #8 Another technique you can try is layering different colors. This adds depth to the image. Choose two shades in the same color family and overlap them. Use the blender brush to create a seamless gradient.
Tip #9 I want the sky on this card to have a pale wash, so I’m scribbling on scrap paper with a blue brush pen. Use the blender brush as a paintbrush, to pick up the color and deposit it on the card.
Tip #10 If you have a large area to fill, you can use a water brush to pick up and deposit color. Fill the tube with water, then squeeze gently to release a drop. Pick up the color with the brush and blend it on the background.
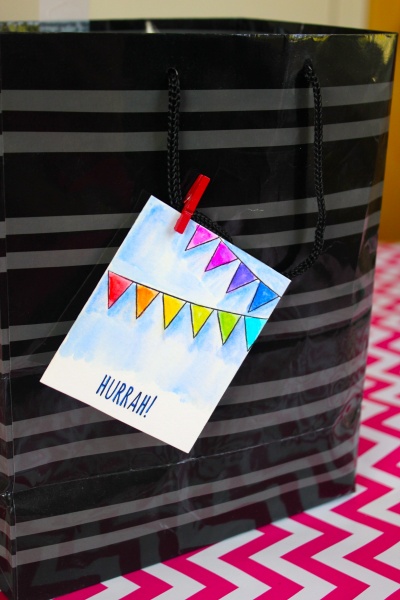
When you’re finished coloring, cut out the mini cards on the black lines. Fold in half on the light gray dotted line. These are the perfect size to tape to a cupcake box, or to hang on a gift bag!
Click here to find more handmade card inspiration!

 Finished?
Show it off!
