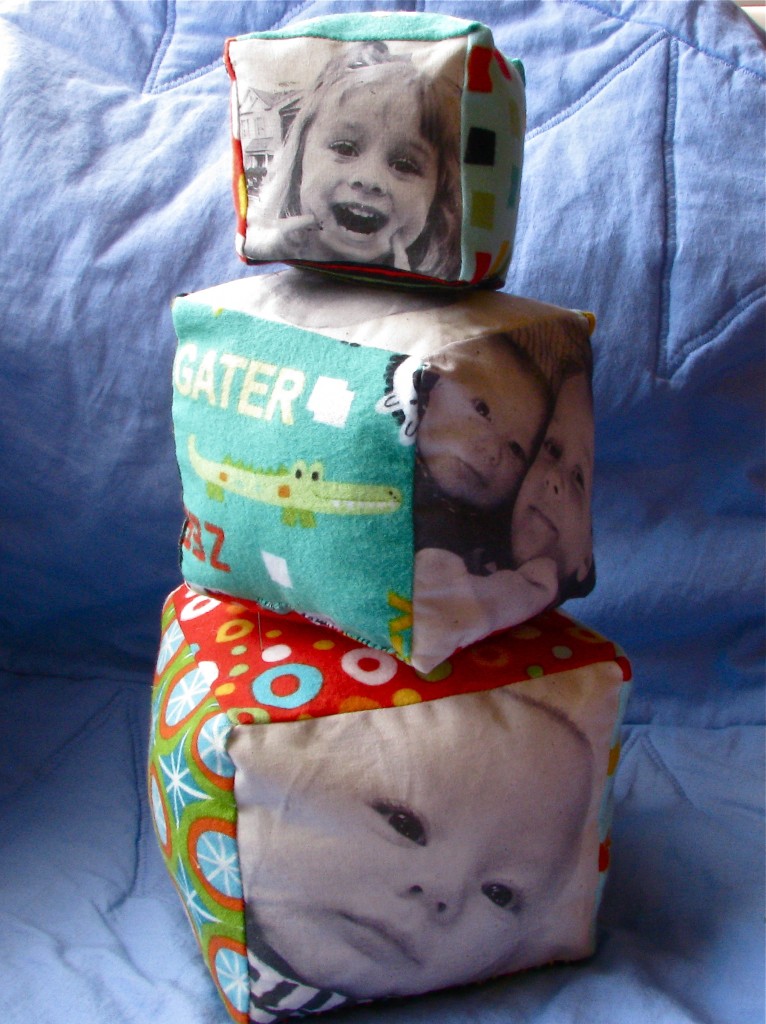
A two-in-one tutorial: learn a technique for printing on fabric, and learn how to make soft & snuggly baby blocks!
How to:
made with
1
Begin by cutting a piece of muslin to 8 1/2x 11 inches. This is the same size as a regular sheet of paper. Next, spray a piece of cardstock with a spray adhesive. Let it dry for three minutes. It will be a little tacky. Then press the fabric to the yardstick, smoothing out any wrinkles.
2
Now we’ll get our photos ready for printing. You can really make these blocks any size you want, but for the blocks I made, I printed photos that were 3 1/2 inches, 4 1/2 inches, and 5 1/2 inches. First, crop your photo to a square shape. Then you can desaturate the photo to black and white if you’d like. I printed two photos in each of those sizes.
3
Next, open a word processing program. Copy and paste the photo to the page. Then right click to format the picture, and type in the exact size you’d like. Once you have six square photos, we can print. Depending on your printer, you may want to change the settings to accommodate the heaviest weight of paper your printer can handle, such as photo paper or cardstock.
4
Now to cut the fabric. Layer four different patterns of fabric together. You’ll want to cut the squares the same size as your photos, so I’m cutting squares that are 5 1/2 inches, 4 1/2 inches, and 3/12 inches.
5
Next peel the printed fabric off of the paper. Cut out your photos, making sure they are the same size as the fabric squares you cut.
6
Iron the photos on high heat without steam. This helps to set the ink. I’ve gotten this pictures wet and the ink didn’t smear, although I haven’t tried washing them in a washing machine.
7
Now lay out the fabrics for a block. Pin a photo and a fabric right sides together, and sew with a 1/4 inch seam. Then pin on the next fabric, right sides together, and sew. Pin on the fourth piece and sew to complete this strip.
8
Fold in half so one raw end meets the other raw end.
9
Then layer another square of fabric on top of your cube. Fold inward against one side so the top edges of the fabric are aligned. Pin in place and sew. Do the same for the remaining three sides.
10
Next we’ll add the final side to your block. Sew it on the same way you did with the last piece, but leave a two-inch hole unsewn so that we can turn it right side out.
11
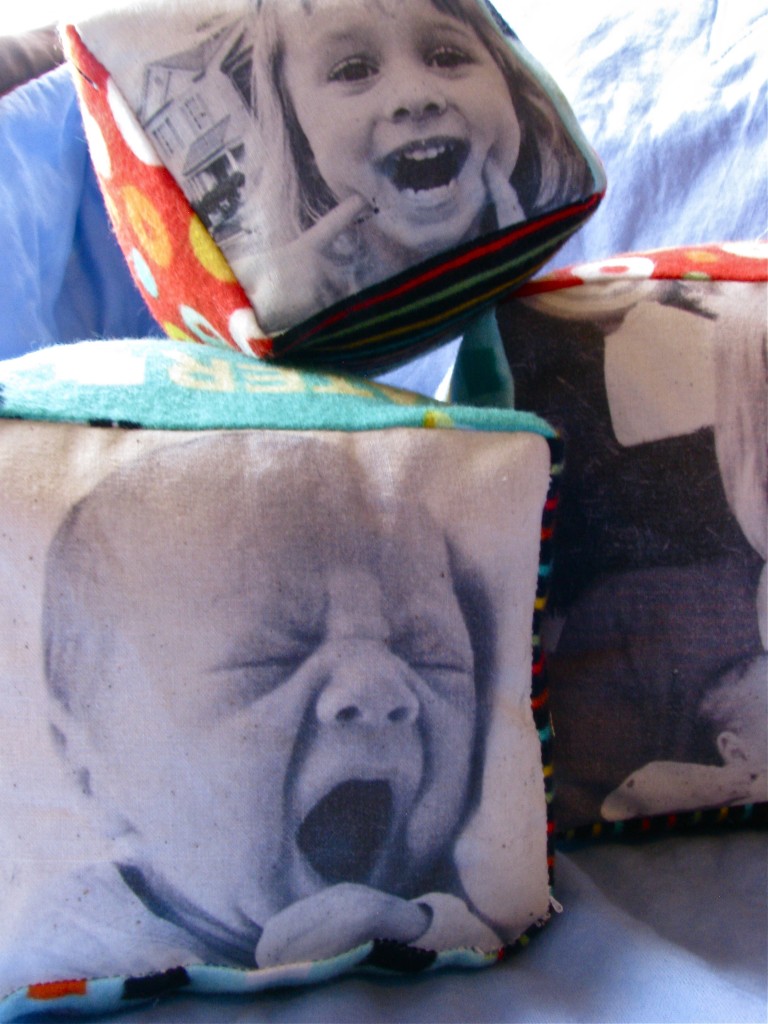
Turn your block right side out, and poke out all the corners. You can use the end of a pencil or marker to help. Then stuff it with polyfill batting. Next, sew up the hole on the block. If you use a ladder stitch, your handsewing won’t be very visible.
12
Finally, roll the edges of the block between your fingers to help the stuffing settle, and to give the block a squarer shape.
Made By Marzipan may have received product or payment for this post. Posts may contain affiliate links. Disclosed in accordance with the Federal Trade Commission's 16 CFR, Part 255.

 Finished?
Hey, those are my new kids on your blocks! Cute!
I’ve printed on fabric before, except I use freezer paper instead of cardstock and it always works for me. Just make sure the wax side of the paper is ironed down on the wrong side of your fabric. I made my daughters chior group pillows using this technique. It was so fast and easy and they still talk about them years later
Thanks, Lorrie… I was actually planning on featuring that technique in an upcoming tutorial about making your own sew-in labels :)