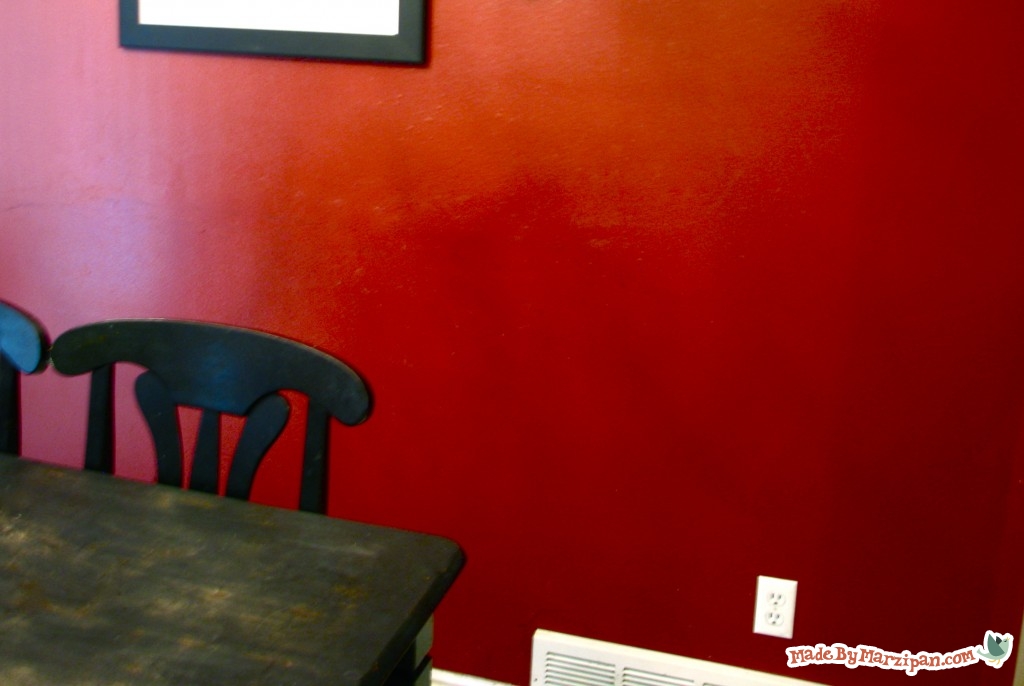
Installing beadboard wainscoting is a relatively easy do-it-yourself project, as long as you have the right tools.
Tips:
1
I did this project by myself and it took about 7 hours… it would probably go much faster if you had a second set of hands!
2
Total cost for beadboard, trim, & paint: $60.
How to:
made with
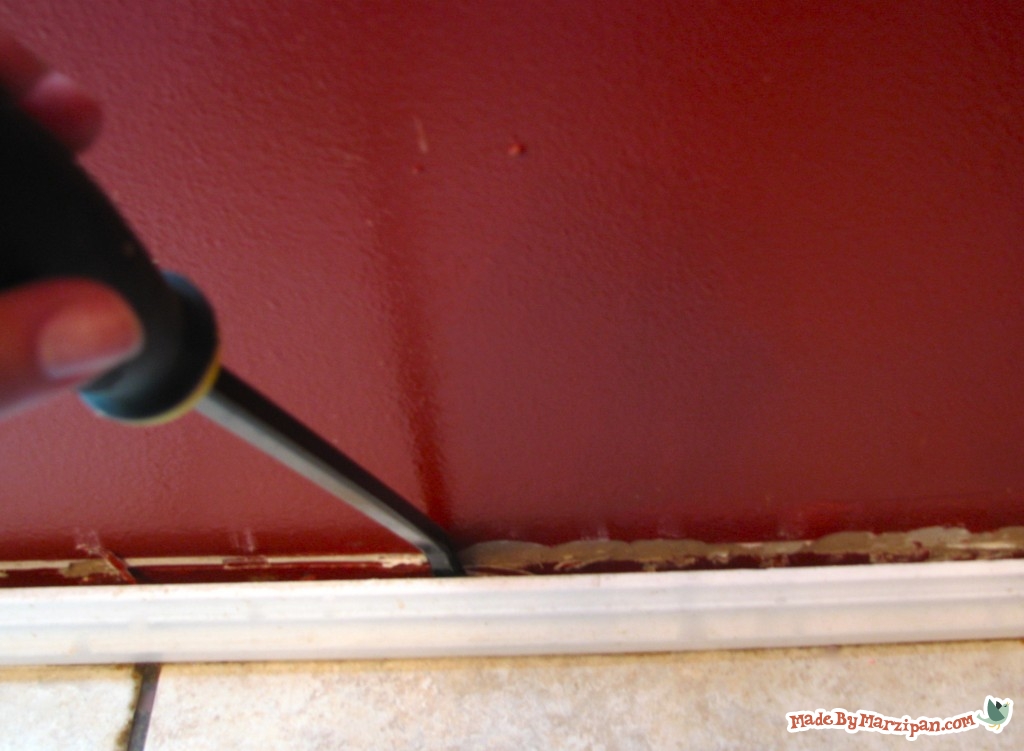
1
Begin by removing the baseboards. Gently tap a crowbar with a hammer to loosen, then gently pry from the wall. You’ll save time and money by reusing these, so be careful.
2
Cut your beadboard to the desired height. I bought mine at Lowe’s, and they carried them in pieces that were pre-cut to 4 feet tall, so that saved me a little time.
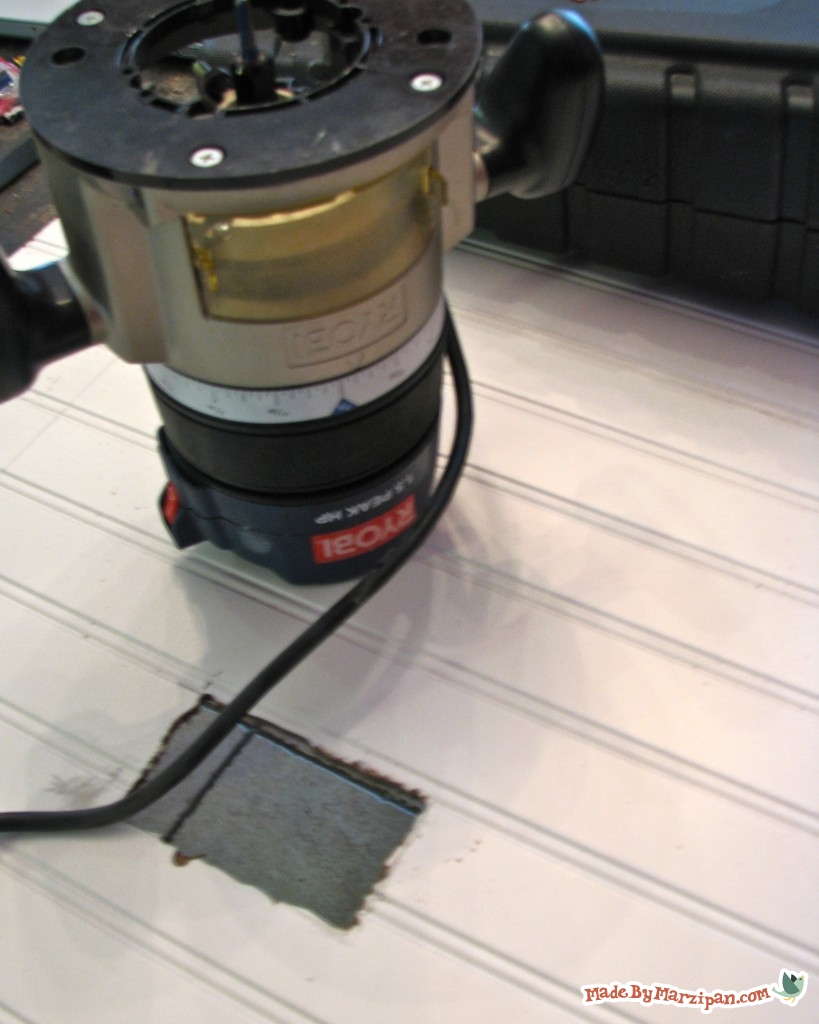
3
I decided to start with the sections that had electrical outlets. That way I’d have room to adjust the panel if my cut was less than perfect. And since this was my first time using a router, they were definitely less than perfect! Measure where your outlet holes should be, and sketch it on your beadboard. Use a router to cut out the holes.
4
Add adhesive to the back of the panel, and hammer it in place using small paneling nails, close to the edges of the panel.
5
Continue to add the panels, cutting to size on the table saw as needed. Make sure the panels are even.
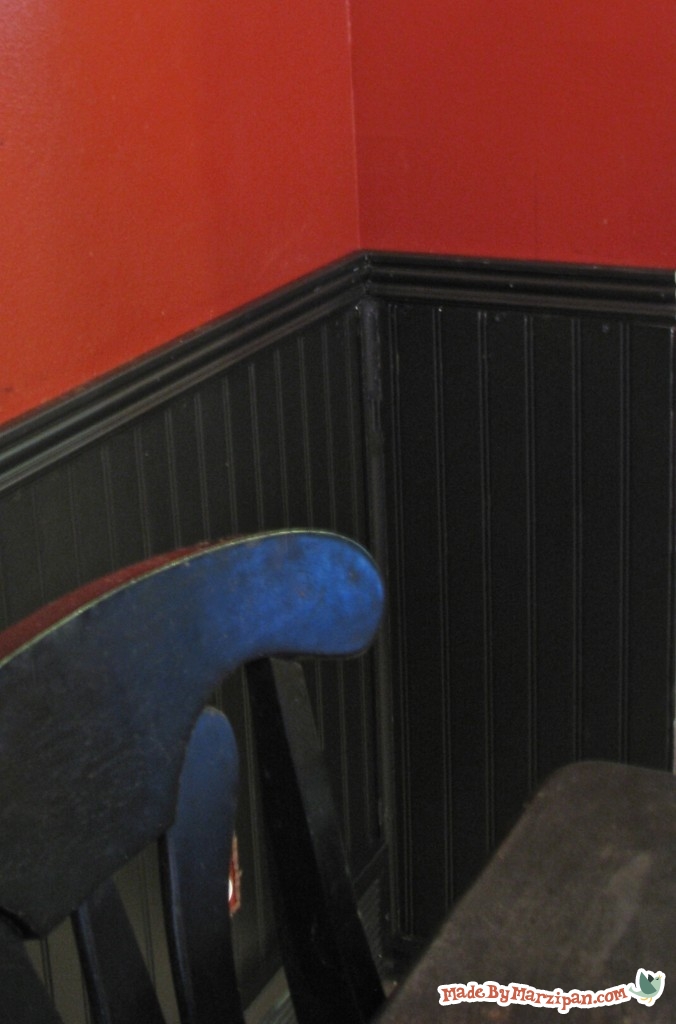
6
Cut the chair rail moulding. You can use the pieces of baseboard as a guide, although you’ll need to trim off about a 1/4 inch off both the rail and baseboard, because of the thickness of the paneling. Turn your compound miter saw so it makes a 45 degree cut. In order to make the pieces fit, cut one piece face-up, and the other face-down. When you put them together in the corner, they’ll match up.
7
I chose to paint my baseboard and chair rail before installing, so I wouldn’t have to worry about taping my walls.
8
Install the baseboards, then the chair rail.
9
Measure between the chair rail and the baseboard, then cut some corner trim. Install in the corners.
9
Fill any gaps at the joints with trim caulk. Wipe away the excess caulk with a damp rag or wet wipe.
10
Touch up the nail holes and the caulk with paint, then paint the beadboard.
11
Add the outlet covers.
Made By Marzipan may have received product or payment for this post. Posts may contain affiliate links. Disclosed in accordance with the Federal Trade Commission's 16 CFR, Part 255.

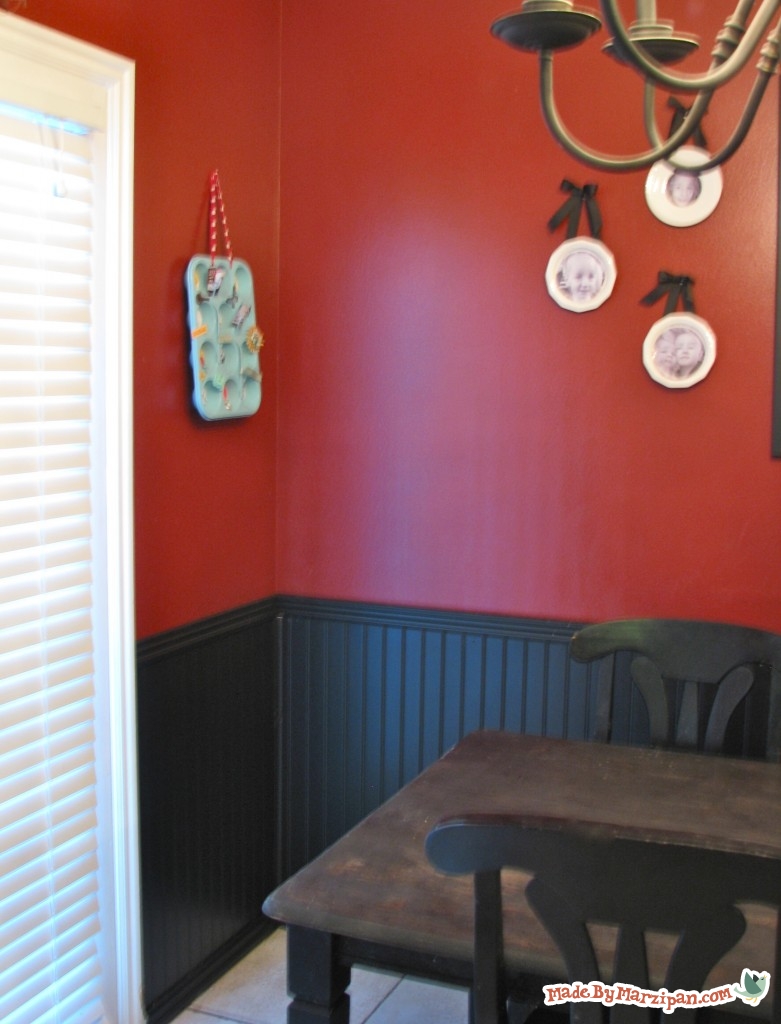
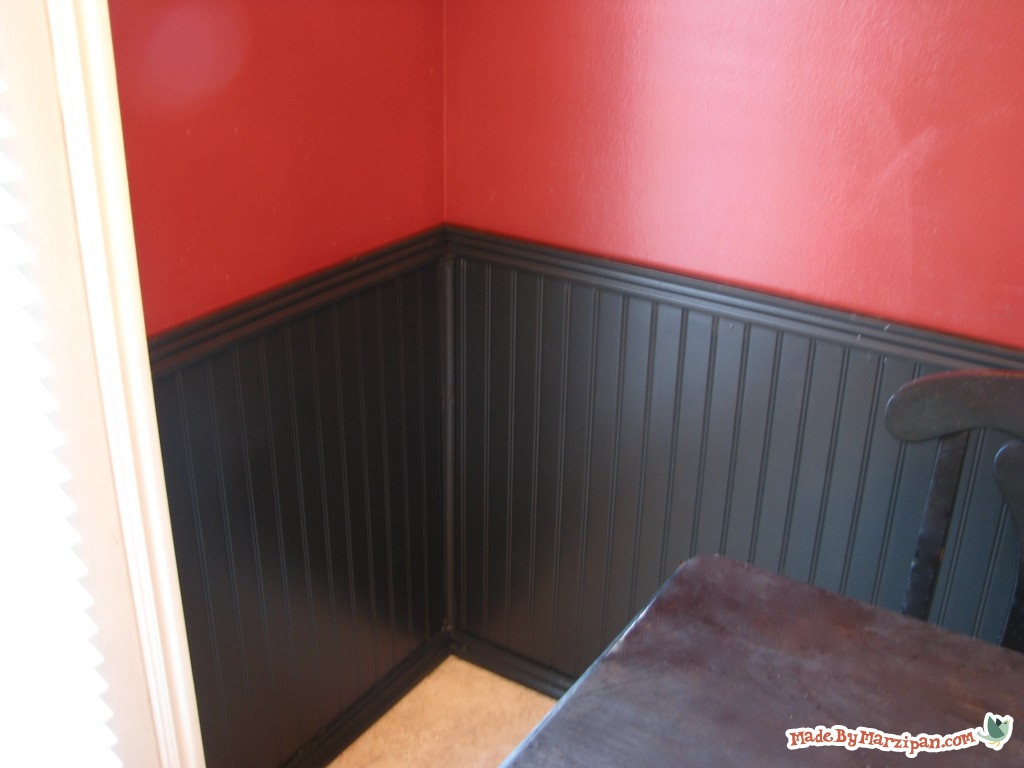
 Finished?