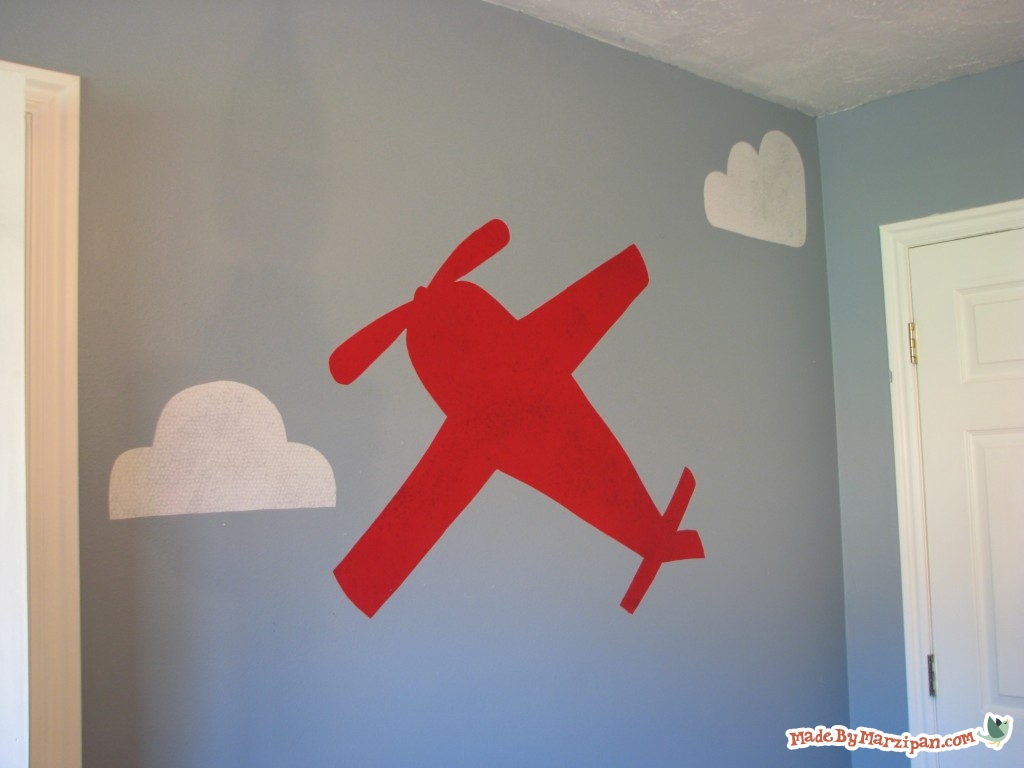
Large custom wall decals are expensive! Make your own fabric decal to add color and texture to any room– and yes, they’re removable!
Tips:
1
If you’ve recently painted the walls, wait one week to allow the paint to fully cure. If you don’t, you’ll risk having the paint set onto the decal, and it might peel off when you remove your decal later.
2
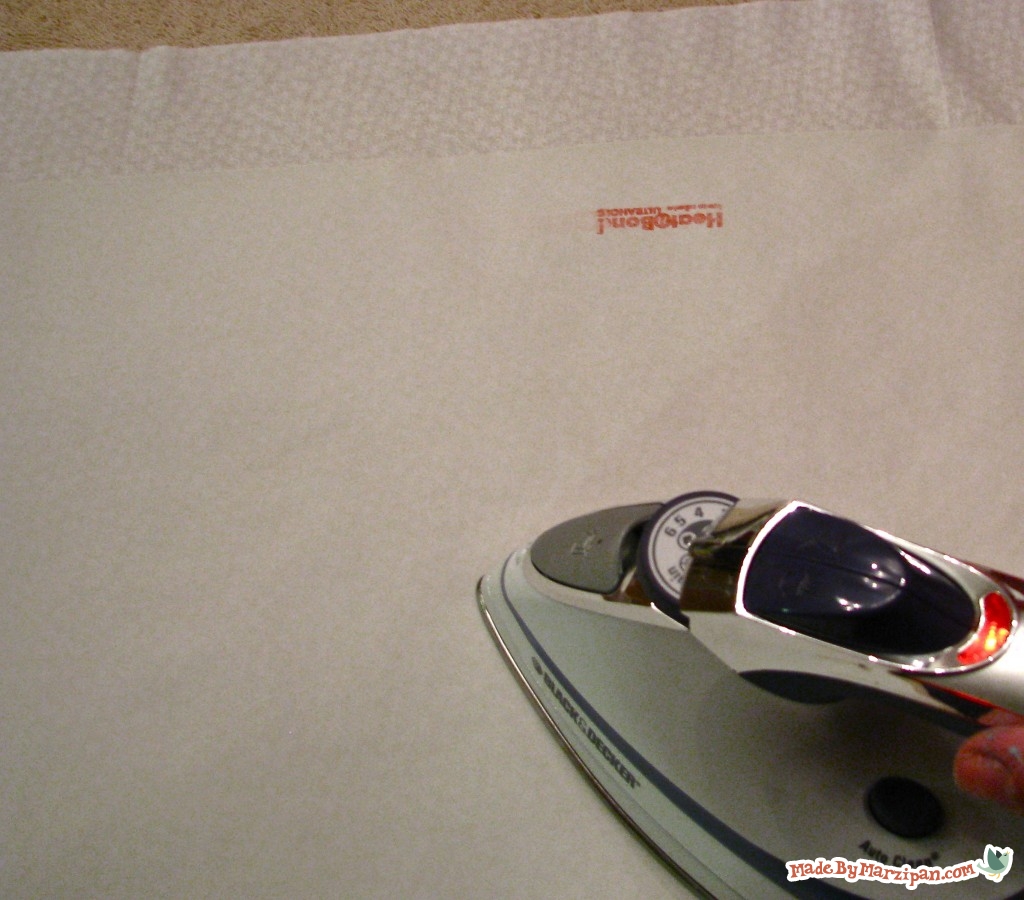
There are a lot of different brands of iron-on adhesives, but this project requires Heat ‘n Bond Ultrahold. I bought a 5-yard roll of it from Wal-Mart’s fabric section. It has a thicker, plastic-like adhesive that doesn’t leave any residue on the walls.
3
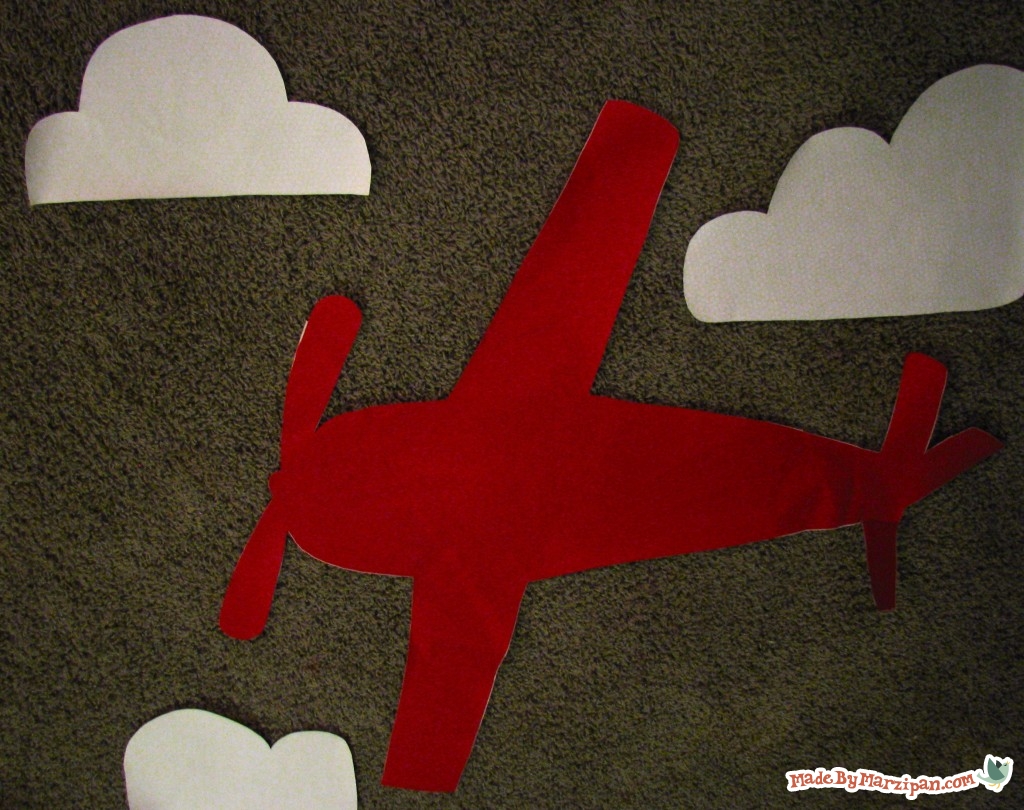
You have some options when it comes to drawing your image. I just free-handed the airplane and clouds, but if you want a small decal (or letters) you can print them out and trace them.
4
If your walls have a great deal of texture, this project won’t work for you. An “orange peel” finish is fine, anything rougher will turn out lumpy.
5
I’ve only used this technique on interior latex paint. If you have oil-based paint on your walls, test an inconspicuous area first (and let us know if it works for you!)
How to:
made with
1
Now that you have your image, let’s get started by ironing your fabric. It needs to be completely wrinkle free. Then, lay the fabric face down and lay down the Heat n Bond on top of it, with the paper side facing up. Iron on top of the paper to adhere it to the fabric.
2
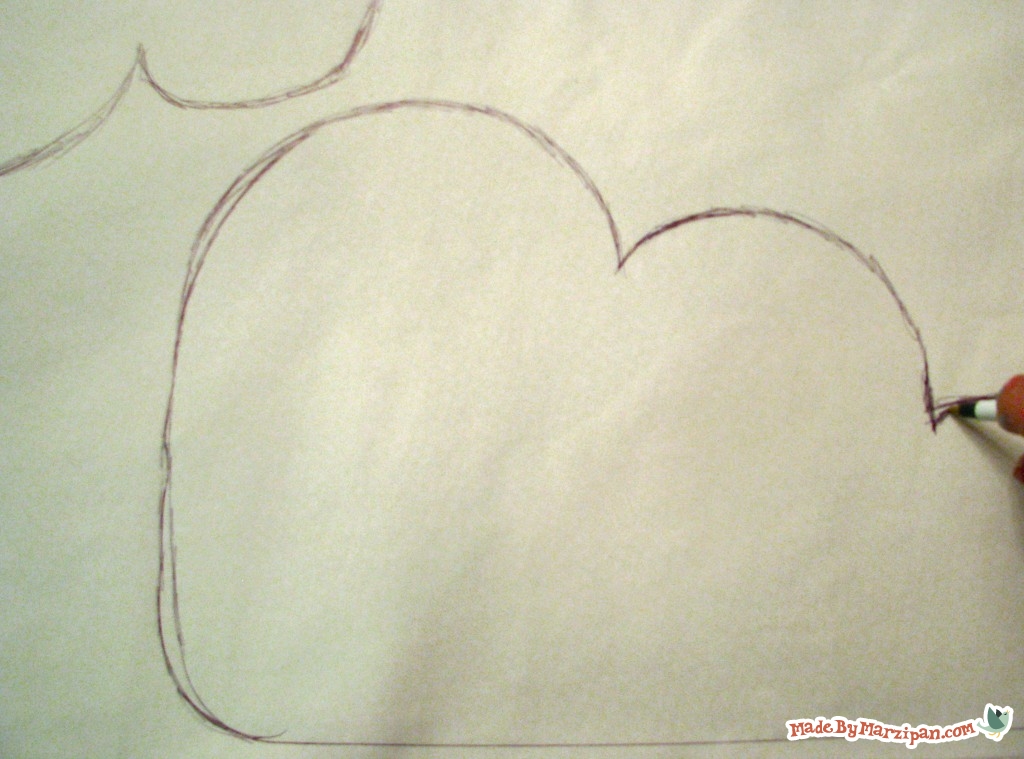
Draw your image directly on top of the paper backing. Remember that you are drawing on the BACK of your decal, so your image will be reversed when you cut it out. Don’t worry if you make a mistake, the paper will be removed and no one will know.
3
Cut out the decal. Iron once more, being sure that all of the edges are secure. Allow to cool completely, then peel off the paper backing.
4
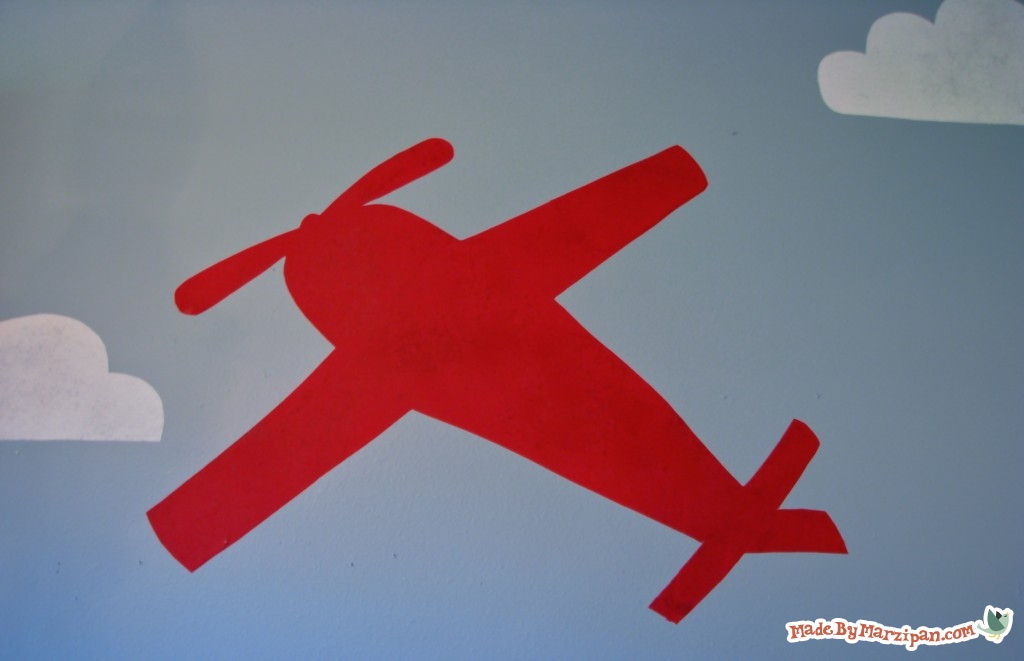
Iron it directly onto the wall. You might need to use an extension cord.
5
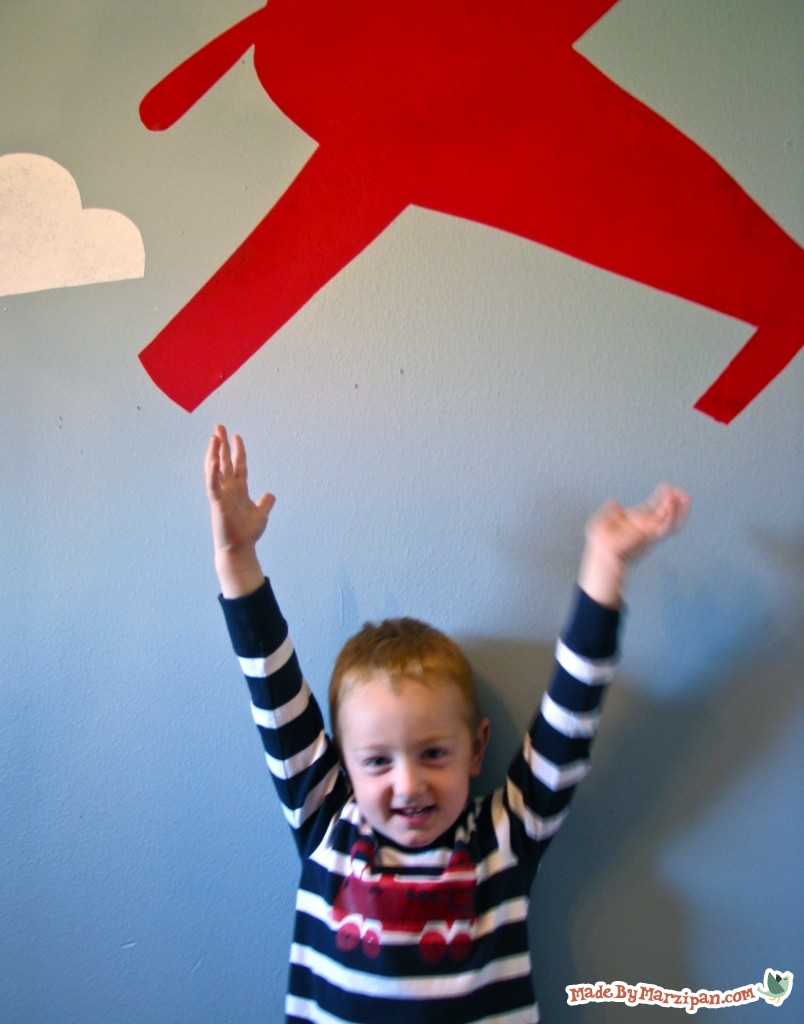
To remove the decal, simply peel off. It won’t take off the paint or leave any marks– BUT– you probably won’t be able to reuse the decal once it’s been removed, it loses most of its “stick.”
Made By Marzipan may have received product or payment for this post. Posts may contain affiliate links. Disclosed in accordance with the Federal Trade Commission's 16 CFR, Part 255.

 Finished?
Please don’t shop at Walmart.
Amanda, I love to shop at my local craft & fabric shops… in fact I work for one! But when I make my tutorials, I’m always asked where viewers can find the materials I use. That’s why I mention big chains like Wal-Mart or Joann’s, because I don’t know what’s available in your smaller local store :) My very FAVORITE place to shop for craft supplies? Etsy!
This is such a wonderful tutorial! i want to make a dinosaur decal that matches the bedding i have chosen for my babies crib!
And i too shop at walmart, sometimes their prices are too good to pass up.
I love this idea! I am going to try this in my daughters room and possibly my kitchen and livingroom as well. I do have one question, is this really easy to take off? Like should I put it high enough that my kids can’t mess with them?
Sarah, they’re pretty easy to take off. If you have little ones, you should place them out of reach.
Does this work on textured walls too? We can’t paint in our apartment and I’d like to spruce up my daughter’s room.
This will work on SLIGHTLY textured walls (ie orange peel finish), but not anything heavier than that.
I found your blog through Pinterest and love it already. We don’t have kids yet, so I’m trying to think up some ways to use this decal idea (which is a great option for renters) somewhere else in the house. Silly question, what software/program did you use to create the graphic that is displayed on Pinterest? (http://pinterest.com/pin/197314027394744417/) Thank you!! Jess
Hi, Jess! Some fun ideas for decals: a chandelier silhouette, large poppies, birds, or an Indian elephant… I use Adobe Illustrator to create the “Pinfographics.” :)
Hi, I love this idea, but I was wondering if this would work using a thick ribbon, so that I can make a striped wall for my dorm room since we are not allowed to paint. Thanks!
Probably not, Andrea. Most ribbons (satin, grosgrain, etc.) are synthetics that will melt under the heat of an iron. Sorry!
You could just cut your cotton fabric into strips. Many print fabrics are pretty forgiving if your edges aren’t exactly straight. However rotary cutters are pretty affordable if you’re worried about that.
I just wanted to say thank you for snhriag your time and expertise. It is very generous of you! I have done all of my research, like you did, on my own and you are a special person to try and help other people out. Wish I had found you several months ago!Thank you!
Fantastic I can’t wait to try it!
I love this idea, but I am wondering how long it lasts for. Is it good for long term?
Hi, Mandie! The ones shown in this post have been up in my kids’ rooms for more than a year now. One of the Pokemon ones came off because I put it too low, and my toddler picked at it until it started to peel off. If they’re left alone, they’ll stay put… but they’re also pretty easy to remove if you pick at the edges.
Hi! I just saw this on pinterest. I have been looking for a way to cover up an ugly wallpaper border in a rental (not allowed to paint) Do you think it would damage wall paper? I was planning on cutting strips of fabric to cover it up, I had thought of using the command strips and just hot gluing on side to the fabric, but this seems easier! Thanks!!
Yes, I think it might damage wallpaper. I’ve never tried it, but since you have a rental, it seems kind of risky.
I’m sure I could just use the fabric to make stripes on my wall instead of painting right? what do you think?
Definitely! And we all want to see pics when you’re done!
Just found your post on pinterest and am just imagining what all I will be adding to my walls. So, question: What do you think about trying this on windows. I recently tried fabric with a heated corn starch mixture and it worked but in my case it was terribly difficult. The windows I’m trying to cover are overhead in one of those prebuilt solarium-style sunrooms… great in theory but when its your dining room, even with all the trees around me, it is bound to be too bright at some point durkng a meal :) not to mention homework, and numerous DIY projects, lol.
Hm, Kelly, I have no idea how it would work on a window… but I’d love to know! If it were me, I think I’d try a fabric adhesive spray, like Elmer’s CraftBond. BUT I would test it on a smaller piece of glass first, let it sit a couple weeks, and then remove it to be sure it didn’t cause any problems. (You might need to clean the windows with alcohol to remove residue.) Maybe test it on the glass of an old picture frame first? If you spray the fabric, and let it sit for a couple of minutes before adhering, it’s supposed to be temporary. Give me an update :)
How do you think this technique will work on an artist canvas? :)
I’ve actually done that, Melanie! You can find the tutorial here: http://www.madebymarzipan.com/?p=1830. I made it years ago and it still looks great :)
Thanks for the inspiration It worked!!!! http://www.aidenandmaya.blogspot.com/2012/09/fabric-wall-decals-for-aiden.html
Do you think this will this work on ’80′s style paneled walls? Or will the big cracks mean it’s not going to stick well? What about cinder block? Any
thoughts?
You need a pretty smooth, even surface for this. So I don’t think it would do well on paneled walls or cinder blocks. Sorry!
Just plan to redecorate our house, good idea for wall parts! The plane decal is so lovely!
Years ago we used liquid starch to put fabric on walls…in laundry section. Cheap and easy!