
How to:
made with
cotton fabric
double-sided fusible webbing (Wonder Under)
pencil
1
To begin, use your computer to print off the letters you’ll need. I reset the margins to .5 inches so that my letters could be larger. The font I selected is called MadFont, downloaded from a free font site.
2
Before you hit print, go into printer settings and select “mirror image.” This will print your letters backwards
3
Now place the Wonder Under double sided fusible webbing on top of your printed letter, with the tissue paper face up. Trace the letter onto the tissue paper.
4
Separate the letters. You don’t need to trim around them neatly, we’ll do that later.
5
Iron the fabric that you’re using for your letters. Take the traced letter and flip it over, so that the tissue paper is face down, and the rough side is face up. Place it beneath your fabric and iron well.
6
Repeat these steps for each of your letters. I chose to use different fabrics for each letter, but if you’re using the same fabric, you can get four letters out of each fat quarter.
7
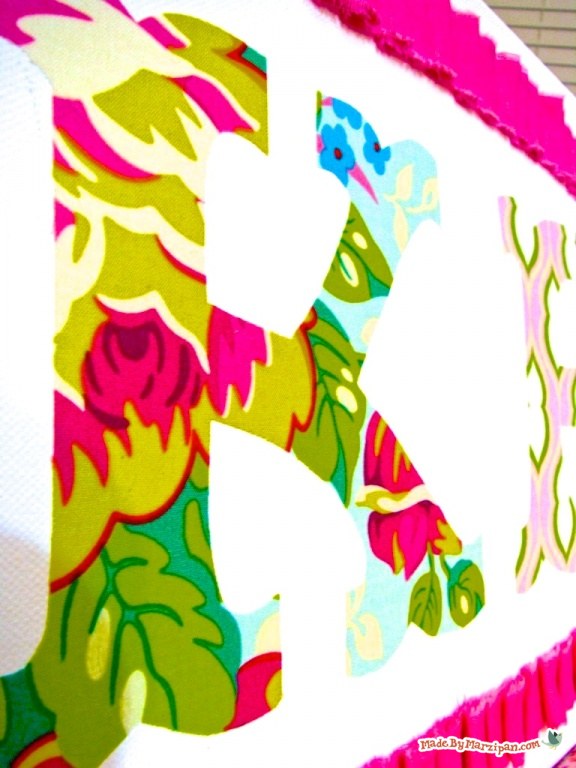
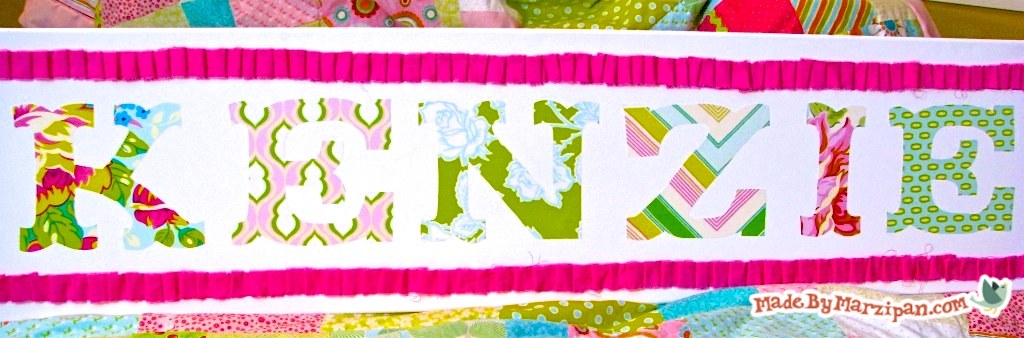
Now flip the fabric over and cut out your traced letters. Lay out the letters on your canvas.
8
Once you’re happy with the placement, peel the backing off the middle letter. The back of the fabric should feel waxy. If it’s fuzzy, it means you didn’t iron enough and should iron again before removing. Lightly iron the letter in place. Repeat these steps for all letters.
9
Once the letters are lightly secured, flip over the canvas. Now you can iron the back firmly, securing the letters.
10
I chose to add a pleated fabric border. Here’s how to make one: tear fabric into one-inch strips. Secure one end with hot glue. Gather fabric into a little hill about an inch high. Push under with your thumb and fold down. Secure underneath with a dot of hot glue. When you get to the end of a strip, glue the end of the next strip underneath the last pleat. Continue gathering and folding.
Made By Marzipan may have received product or payment for this post. Posts may contain affiliate links. Disclosed in accordance with the Federal Trade Commission's 16 CFR, Part 255.

 Finished?
lovely project thank you for sharing :)