I altered this wooden jewelry box with pictures of my grandmother as a girl.
How to:
made with
1
Begin by dry-brushing the cream paint over the box. It”s okay to leave some wood showing through in some areas; this will add to the aged look. I also added a little cream paint around the edge of the mirror. Once dry, brush some blue paint in areas that would normally show wear– like the corners and edges.
2
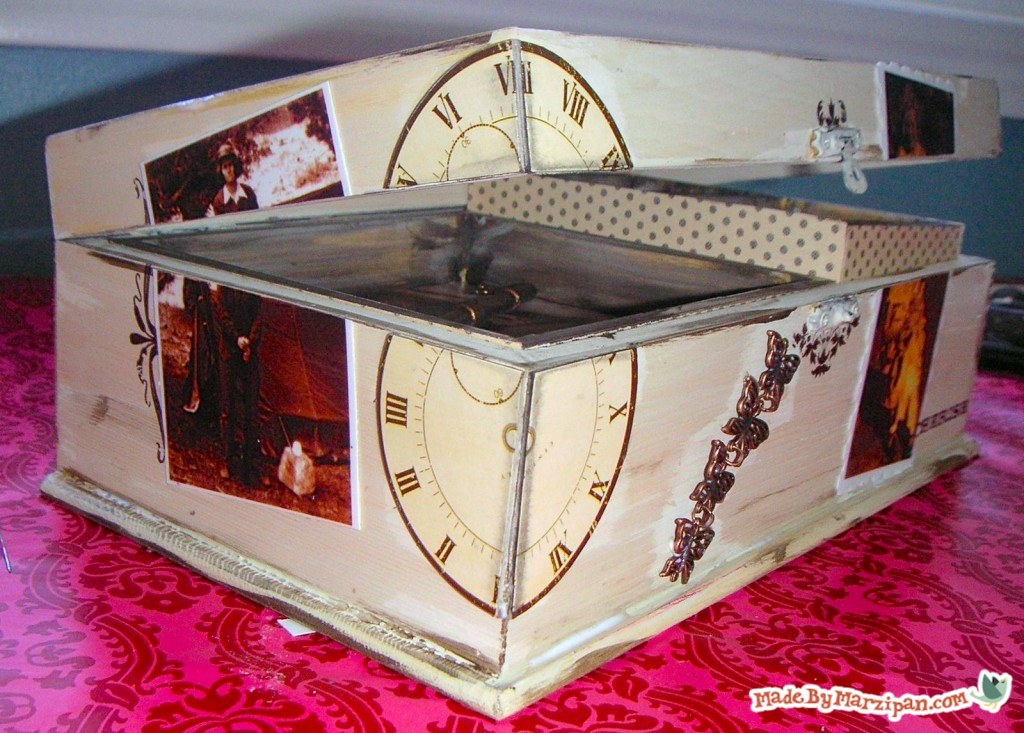
Once the paint is dry, adhere photos to the sides of the box by applying a thin layer of Mod Podge to the back of the photo. Press photo firmly to box. I like to put a paper towel on top of the photo, then rub with my thumb from the center outward. This gets rid of any air bubbles while preventing smudges on your photo. Allow to dry completely.
3
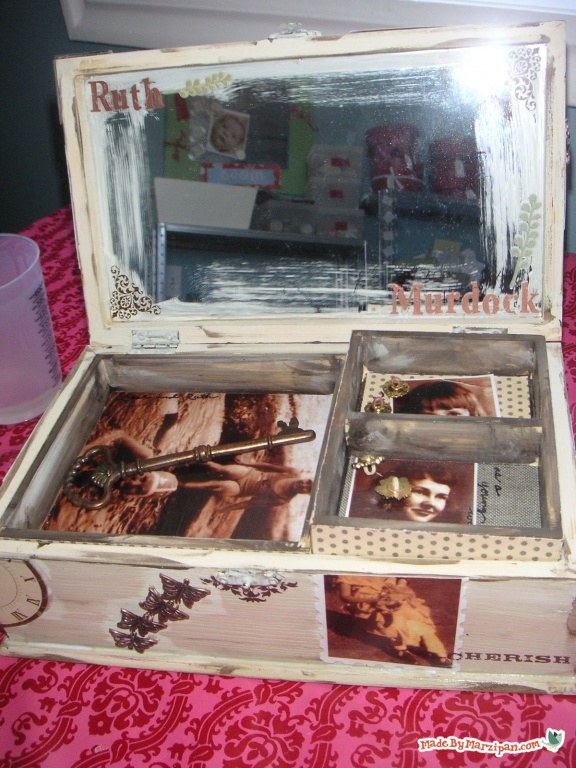
My jewelry box came with a tray insert. I Mod Podged the patterned paper to the bottom of the tray, as well as to the bottom interior of the box. I added a few photos inside the box. You should also Mod Podge patterned paper to the top of the box.
4
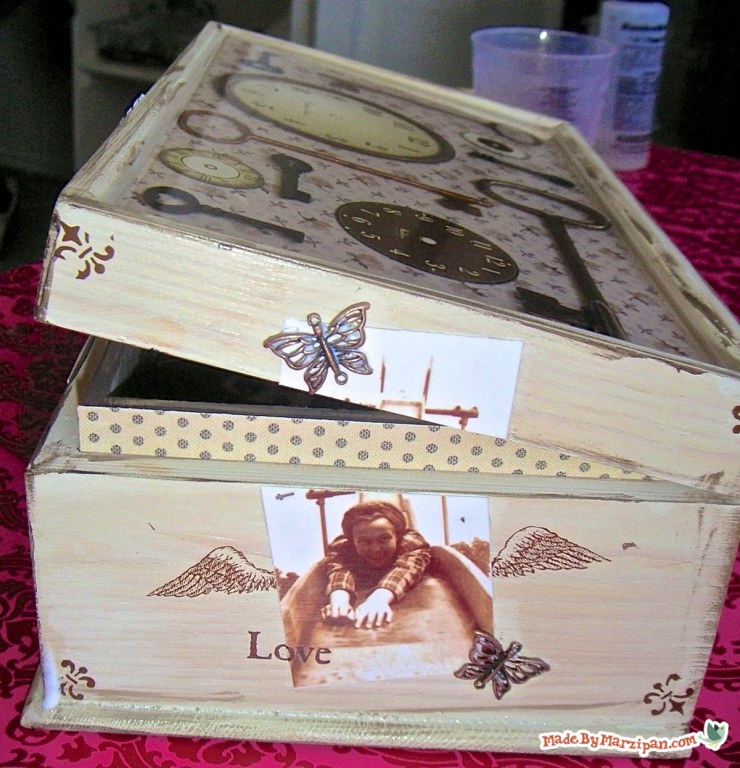
Next add your rub-ons where desired on the outside of the box. I also put my grandmother”s name on the mirror. Then use a light coat of Mod Podge over the sides and interior of the entire box to seal. Allow to try completely, and leave open while drying.
5
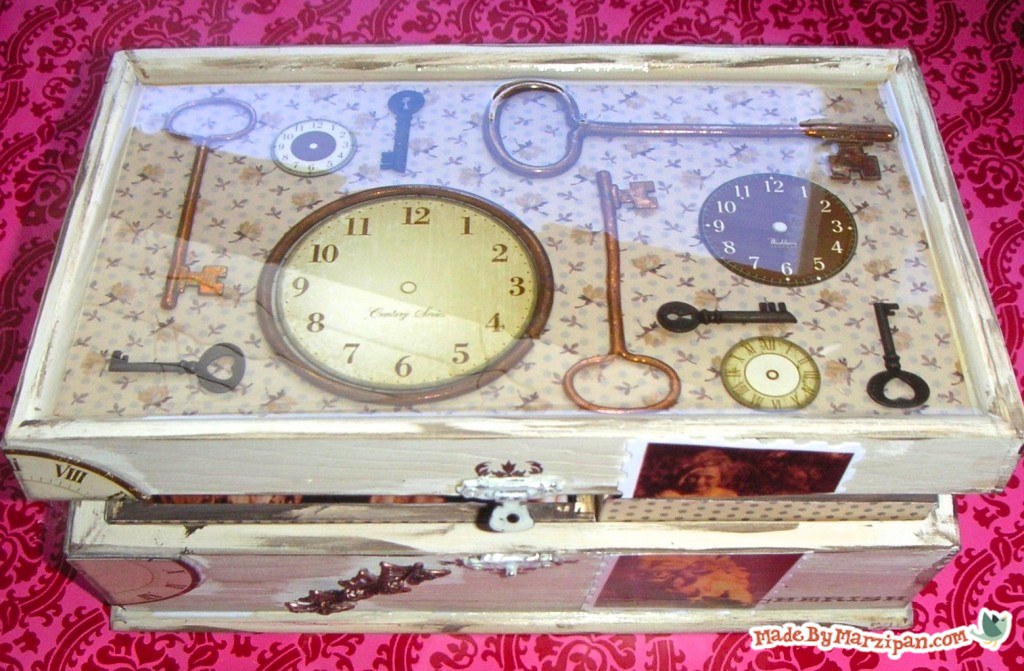
Once dry, you can add the clocks and the metal butterflies to the sides.
6
Lay out the metal keys and clocks on top of the box. Follow the instructions on the Envirotex Lite label.
Made By Marzipan may have received product or payment for this post. Posts may contain affiliate links. Disclosed in accordance with the Federal Trade Commission's 16 CFR, Part 255.

 Finished?
Show it off!
