Masking has always been a challenge for stampers. What if you want to create a stamped scene, with some images on top and some behind? Try using Incredible White Mask Liquid Frisket! Here’s how it works…
Tips:
1
To remove the Liquid Frisket, you’ll need to rub the stamped surface. I’ve found that pigment inks have a tendency to smudge when they’re rubbed. Dye inks worked well for me, and StazOn solvent ink was excellent. I recommend stamping your image on a piece of scrap paper, allowing it to dry, and then rubbing with your finger to test.
How to:
made with
1
When you’re ready to stamp, you need to think backwards. Instinctively, you’ll want to stamp your bottom image first, then layer the other stamps on top of it. Instead, you’ll need to first stamp the image you want in the forefront. Stamp the “top” image and allow the ink to dry completely.
2
Dip the nib brush in water, then blot on a paper towel. Dip the nib in the Liquid Frisket, then apply directly over the stamped image with the nib brush. Trace carefully, as any spots you miss won’t be protected. Clean the nib often and keep it moist by rinsing in water and blotting. (If you don’t keep it moist and clean, the Liquid Frisket will bead up on the end of the nib.) Allow the Liquid Frisket to dry. It goes on white and dries clear.
3
Now you can stamp your next image. Again, you’ll want to stamp the image you want to be closest to the front. (This image will appear behind the first image you stamped, and above subsequently stamped images.) Allow it to dry, then apply the Liquid Frisket.
4
Finally, I’m going to stamp the background, the image I want below all the others. Remember to avoid stamping over the masked areas until the Liquid Frisket is dry.
5
Once you’re done stamping, blot the paper gently with a paper towel, to absorb any extra ink that’s sitting on top of the Liquid Frisket. Blot, don’t rub, to prevent smearing.
6
Now we can remove the Liquid Frisket mask. An eraser was included in the package to help remove it, but since I’m working on such a small area, I really prefer removing it with a fingertip. Gently rub over the stamped area, and the Liquid Frisket will peel from the paper. You can see where the mask is, because it’s shinier than the rest of the paper.
7
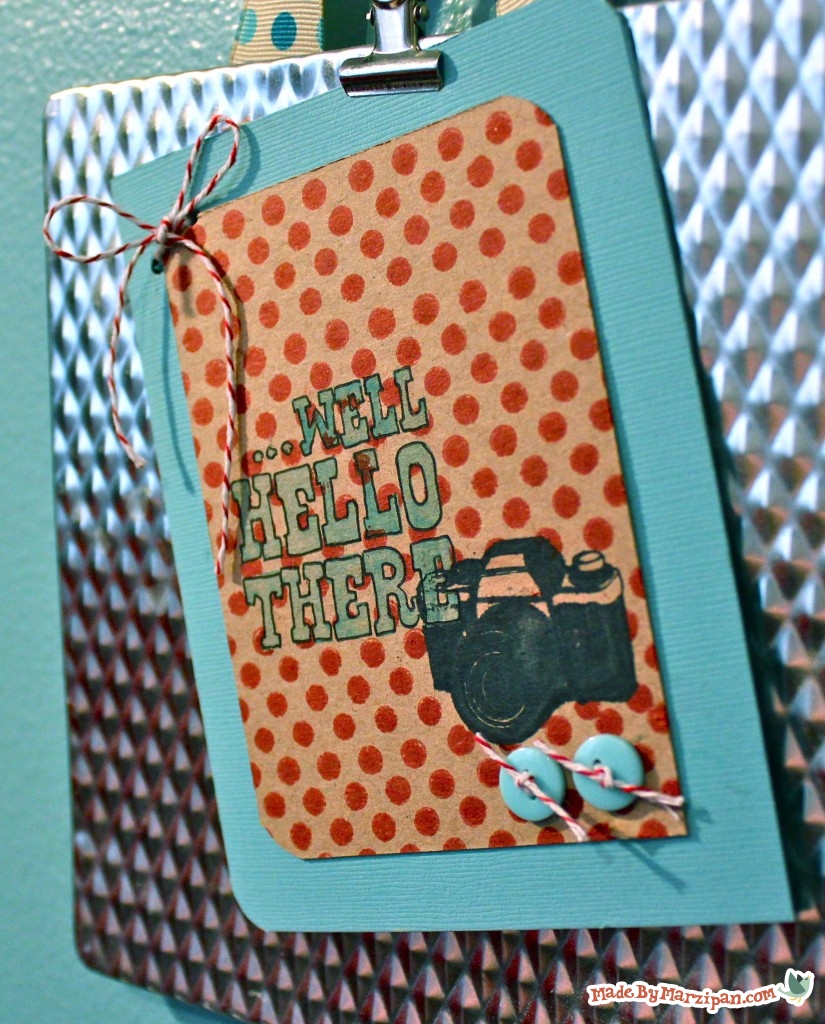
I noticed that the Liquid Frisket does lift a little of the color, leaving the stamped image a bit lighter than when you started. This was my first time using it, so it isn’t quite perfect– I did miss a spot. But overall, I think the stamping looks pretty awesome.
8
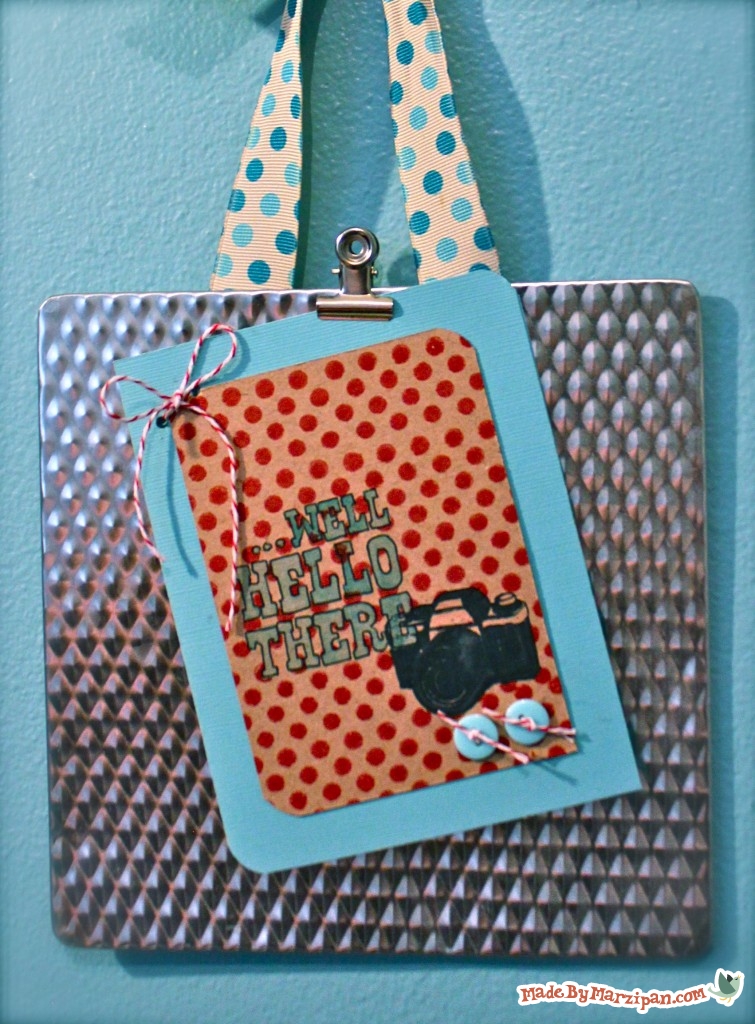
Finally, I’m going to outline my letters with a pen so they’ll stand out more against the dark background. Then I’ll round off the corners and add it to a card. A couple of buttons and some baker’s twine finish this card.
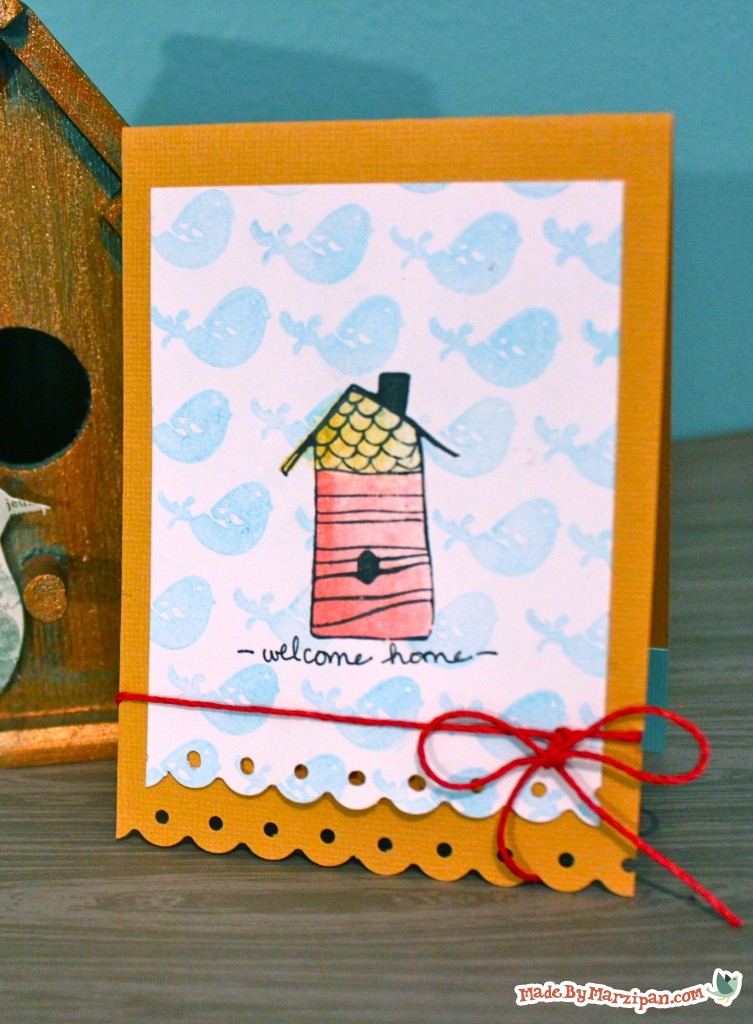
Welcome Home Card
1
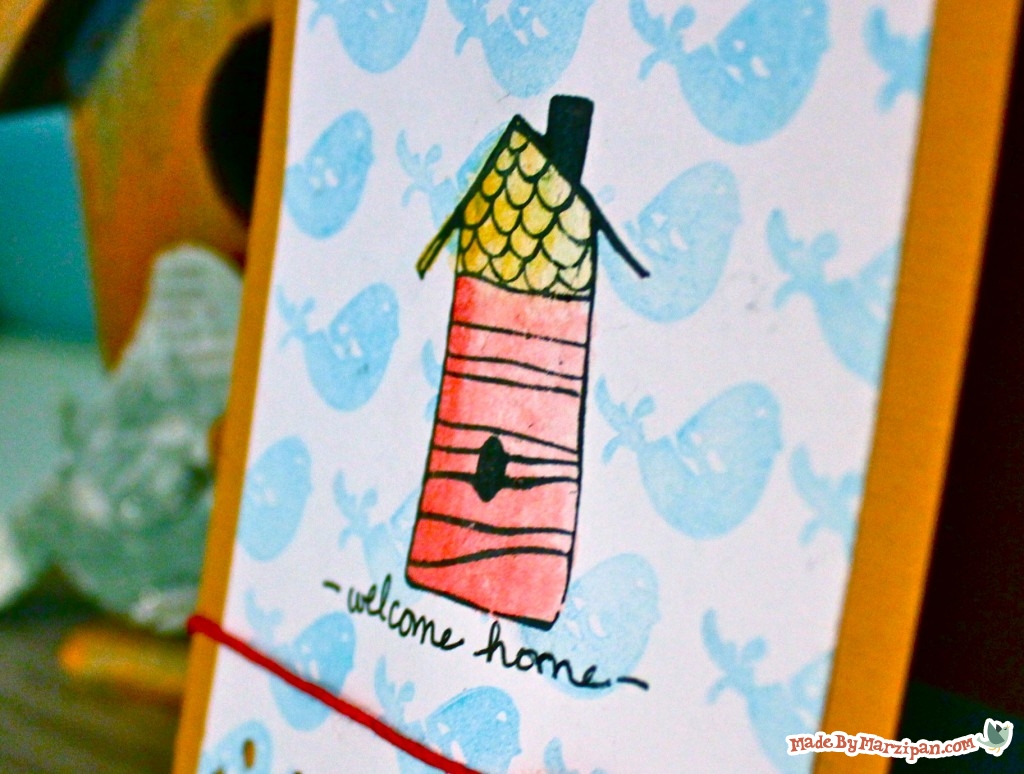
I’m going to give this masking technique another try. This time, I’m going to stamp my image and fill it in with water color paint. I learned the hard way that when you use water colors, you need to certain that your image is absolutely, completely dry before adding the Liquid Frisket. If you don’t, the Liquid Frisket might lift off some of the paper when you remove it.
2
While I wait for my water color to dry, I can start stamping my background, avoiding the water colored birdhouse.
3
Once your image is dry, trace and fill in with the Liquid Frisket. Allow the Liquid Frisket to dry, then stamp the background over it.
4
Blot with a paper towel, then remove the mask.
5
I’ll turn this into a card by punching a border, adding a hand-written sentiment, and tying a bow with twine.
Click here to find more handmade card inspiration!
Made By Marzipan may have received product or payment for this post. Posts may contain affiliate links. Disclosed in accordance with the Federal Trade Commission's 16 CFR, Part 255.

 Finished?