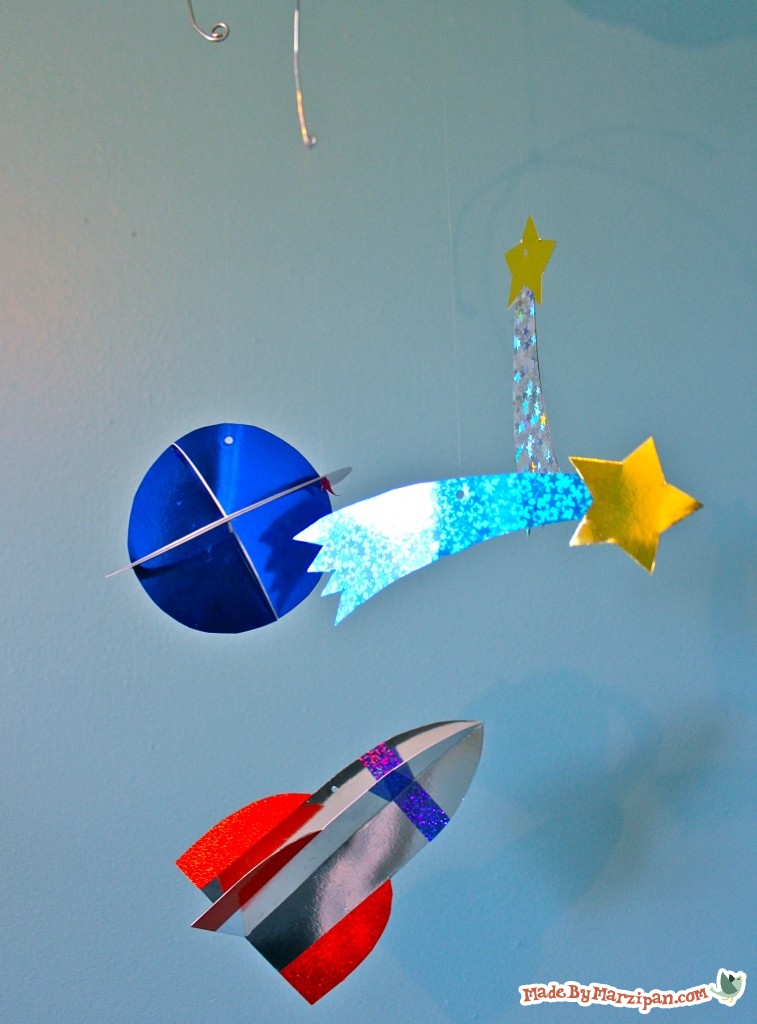
This Rocket Mobile will add movement, sparkle, and shine to a nursery or little boy’s room. Metallic and holographic finishes capture and reflect the light in a captivating display of color.
Tips:
1
I’m using Grafix Metallic Foil Board as a base for my pieces. It’s similar in weight to poster board, but has a shiny reflective finish that catches the light.
2
I’m also using Grafix Funky Film, which is a lightweight self-adhesive film with lots of sparkle. I’ll use this to create details on my pieces.
How to:
1
Begin by printing the rocketship mobile pattern. (The version I’ve provided online looks a little nicer than the one in the video, since that was my rough draft.)
2
Cut out the shapes. For the circle, make a small snip on the outer ring so you can neatly cut out the inner circle.
3
Now we’ll cut the shapes out of the Metallic Foil Board. You want both sides to be shiny, so fold the Foil Board in half and adhere together. (I recommend using a tape runner for an instant, permanent hold.)
4
Next lay down the pattern piece and trace around it. I prefer using a mechanical pencil, because it leaves indentations on the foil without making visible marks. I’m adding two shooting stars to my mobile.
5
Cut out the Foil Board shapes.
6
Accent the shapes by adding Funky Film. I’m cutting off the tail of my shooting star pattern, then tracing it onto the back of the Funky Film. Since I need a piece for both the front and the back, I’ll flip the pattern piece over and trace it a second time. Peel off the paper backing and adhere to the tail of the star.
7
Repeat the steps of folding the Foil Board and cutting out the Rocket shape. You will need to cut two of these to create one dimensional rocket. Add embellishments with the Funky Film.
8
To make the rocket dimensional, you’ll need to cut a slit in each piece. One will have a slit from the bottom up to the top of the wings, while the other will have a slit from the nose of the ship to about the middle of the wings.
9
Slide the rocket pieces into each other. It’s a good idea to secure them at the top with a couple of glue dots.
10
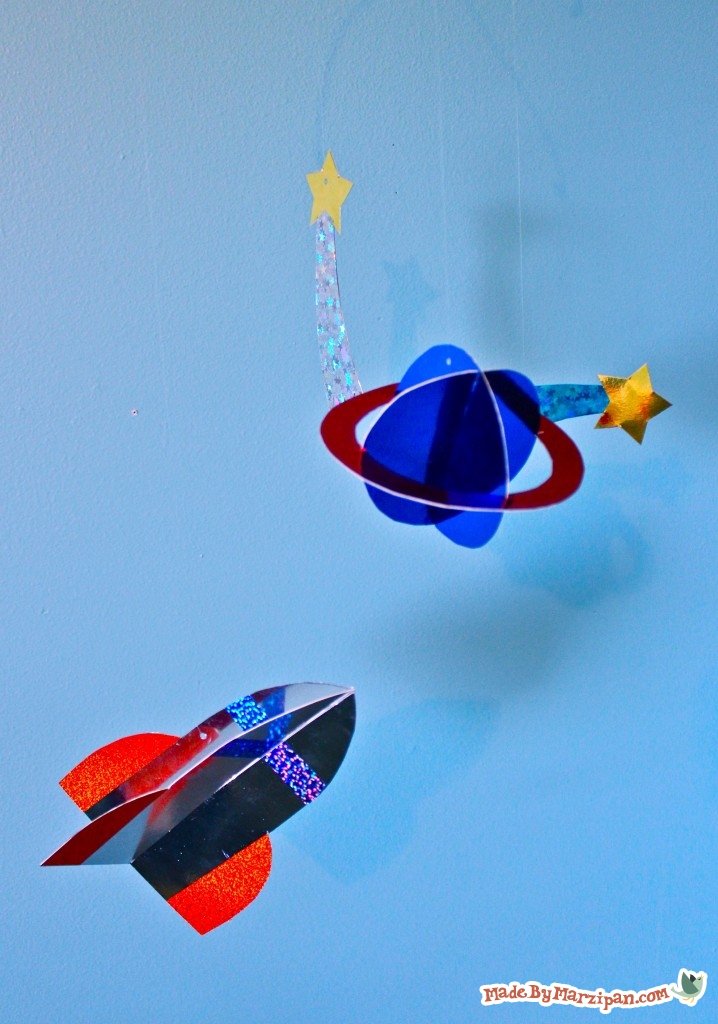
Finally, we can cut out the planet. Again fold and adhere the Foil Board. Cut one ring and two circles for each planet.
11
Attach the circles as you did the rocket, by cutting a slit about halfway through each one and sliding them together, securing the top with a glue dot.
12
Next cut 4 tiny slits inside the ring, spaced evenly apart in quarters. Add the planet to the ring by sliding the edges of the planet into the slits in the ring.
13
Now we can combine all of our pieces into a mobile. Cut a length of thick but flexible jewelry wire to about 18 inches in length. Cut two.
14
Curve the wire into a gentle arc. Coil the ends inward.
15
Punch a hole in each shape. Be aware that the location of the hole will affect the balance of the mobile.
16
I’m using clear thread to tie my shapes onto the wire, but you could also use baker’s twine or ribbon. Vary the length of the threads.
17
To attach the wires, cross in an X-shape and twist together at center. Spread the wires of the mobile apart. Hang from the ceiling with a piece of baker’s twine or ribbon.
This is a home decor item and should not be used as a toy. Keep out of reach of children. Remove from over the crib area when baby can pull himself into a seated position.
Made By Marzipan may have received product or payment for this post. Posts may contain affiliate links. Disclosed in accordance with the Federal Trade Commission's 16 CFR, Part 255.

 Finished?
Show it off!
