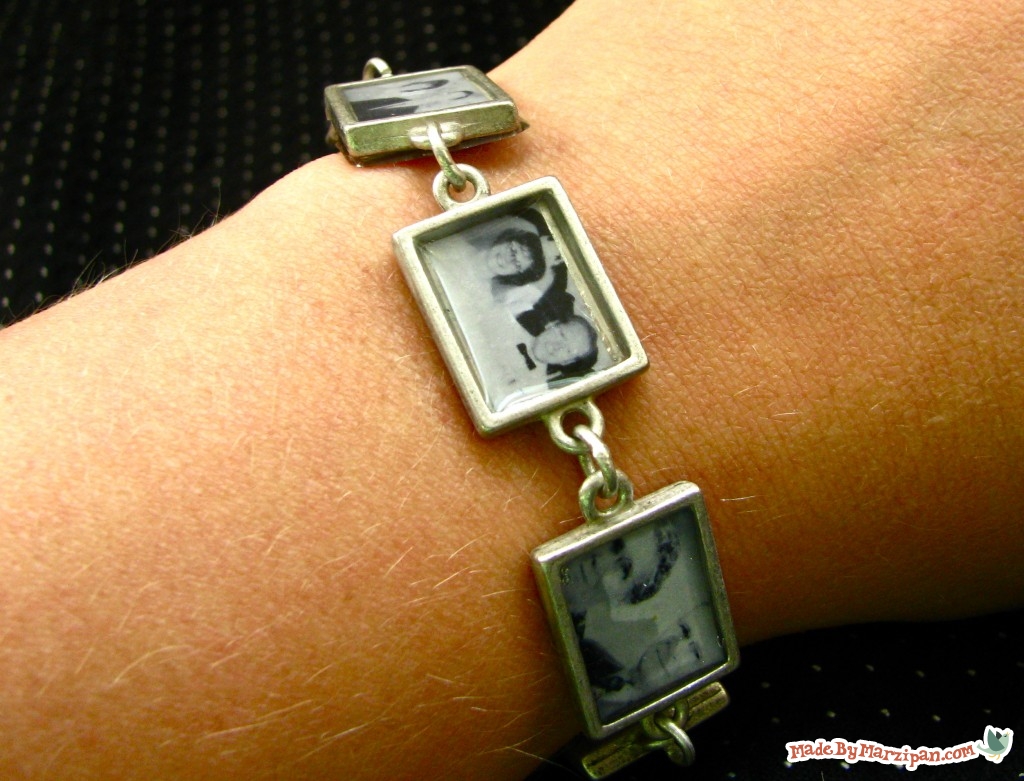
You can create beautiful, personalized jewelry with your own photographs.
Tips:
1
There are a couple of different materials you can use to create a hard, glass-like finish on your photographs. You can use a hardening glue like Crystal Effects or Diamond Glaze. These dimensional adhesives are inexpensive and easy to use, but they are water soluble.
2
The most durable choice is EnviroTex Lite. It’s pricer, but it makes a lot, and it can be used in wide variety of craft projects. Here’s how to create photo jewelry using EnviroTex Lite.
3
I’m using these small frames that I bought on sale at Michael’s. You can also use wooden shapes or Scrabble tiles, but you’ll need to buy jewelry bales to put on the back of those.
How to:
made with
2 plastic cups
paint stick or popsicle stick
photos
1
Measure the item you plan to put the photograph on. Use photo editing software to re-size your photos. You can also desaturate them if you’d like. Print them on photo paper and cut them out to fit. If you print them on photo paper, you won’t have to seal the paper with a coat of Mod-Podge. But if you’re just using something like scrapbook paper instead of a photo, you’ll need to add a protective coat of Mod Podge to the front and back of the paper before adding the EnviroTex, or it will seep in and darken the paper.
2
Adhere the photos to your frame with Mod Podge or glue dots.
3
Then mix your EnviroTex Lite. It’s very helpful to have a marked cup for measuring, but it needs to be a disposable one, don’t use your good glass measuring cup. Add equal parts from each bottle. Remember, a little goes a long way.
4
Stir the mixture with a popsicle stick, scraping the sides and whipping it like cake batter. You’ll see some bubbles form, and that means it’s activating. Stir for a full minute. Then transfer the mixture to a new cup and stir for one more minute. It’s very important that it’s mixed well, or you take the risk that it won’t set properly.
5
It’s helpful to raise your items off the surface a bit, so that excess EnviroTex can run down the sides without sealing your item to the surface. Foam pop-dots work well for this.
6
I like to place my items in a metal pan, but you could also cover the work surface with layers of newspaper. Keep in mind that this stuff can be messy and very permanent, so you don’t want it to end up on your counter.
7
If you’re coating an item without raised edges, like a Scrabble tile, you can pour the EnviroTex in the center and allow it to spread and drip down the sides. Every so often scrape off the edges with your popsicle stick to smooth them.
8
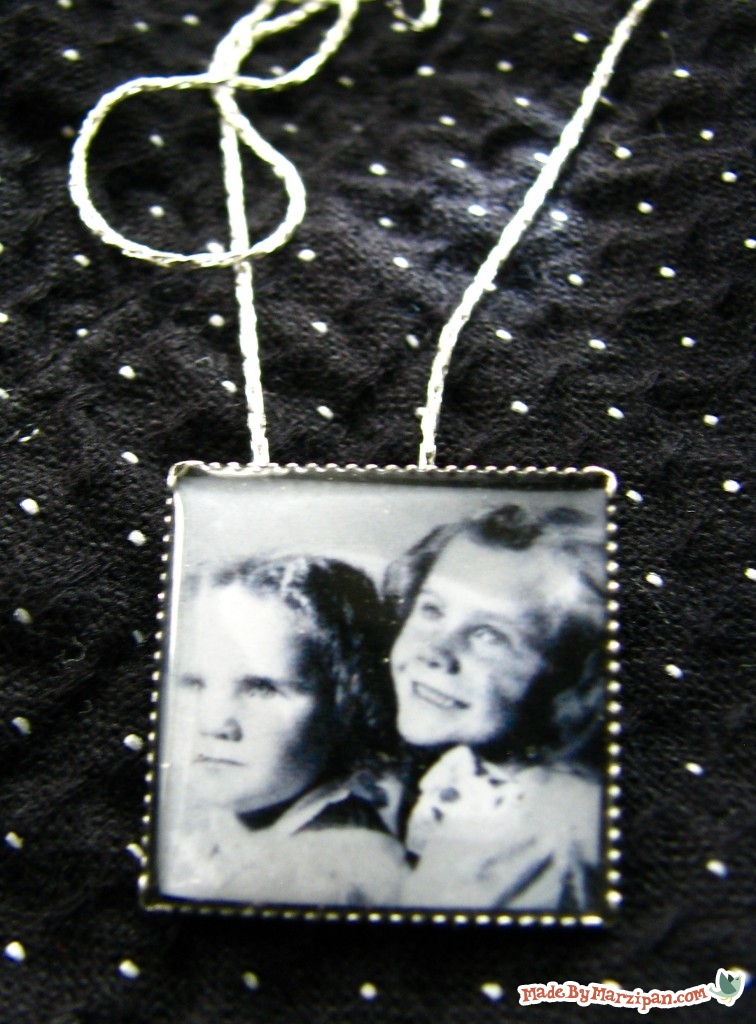
If you’re doing an item with raised edges, it’s extremely helpful to use an eyedropper to apply the EnviroTex. You can find inexpensive eyedroppers in the pharmacy section of any store. Fill the frame so that the EnviroTex is level with the edges of the frame. Wait five minutes as it begins to set.
9
You’ll notice tiny bubbles form in the liquid. You can blow on the surface to pop these, but the fumes make me a little dizzy. I prefer to use a lighter instead, holding the flame right above the surface to pop the tiny bubbles. You’ll need to do this every so often during the first hour, as new bubbles will form as the EnviroTex settles.
10
You’ll want to protect your jewelry from dust as it sets, so cover the pan with a paper plate or a box. It takes about before the EnviroTex is firm to the touch, and plan on three days for it to reach its complete level of hardness.
Made By Marzipan may have received product or payment for this post. Posts may contain affiliate links. Disclosed in accordance with the Federal Trade Commission's 16 CFR, Part 255.

 Finished?
Show it off!
