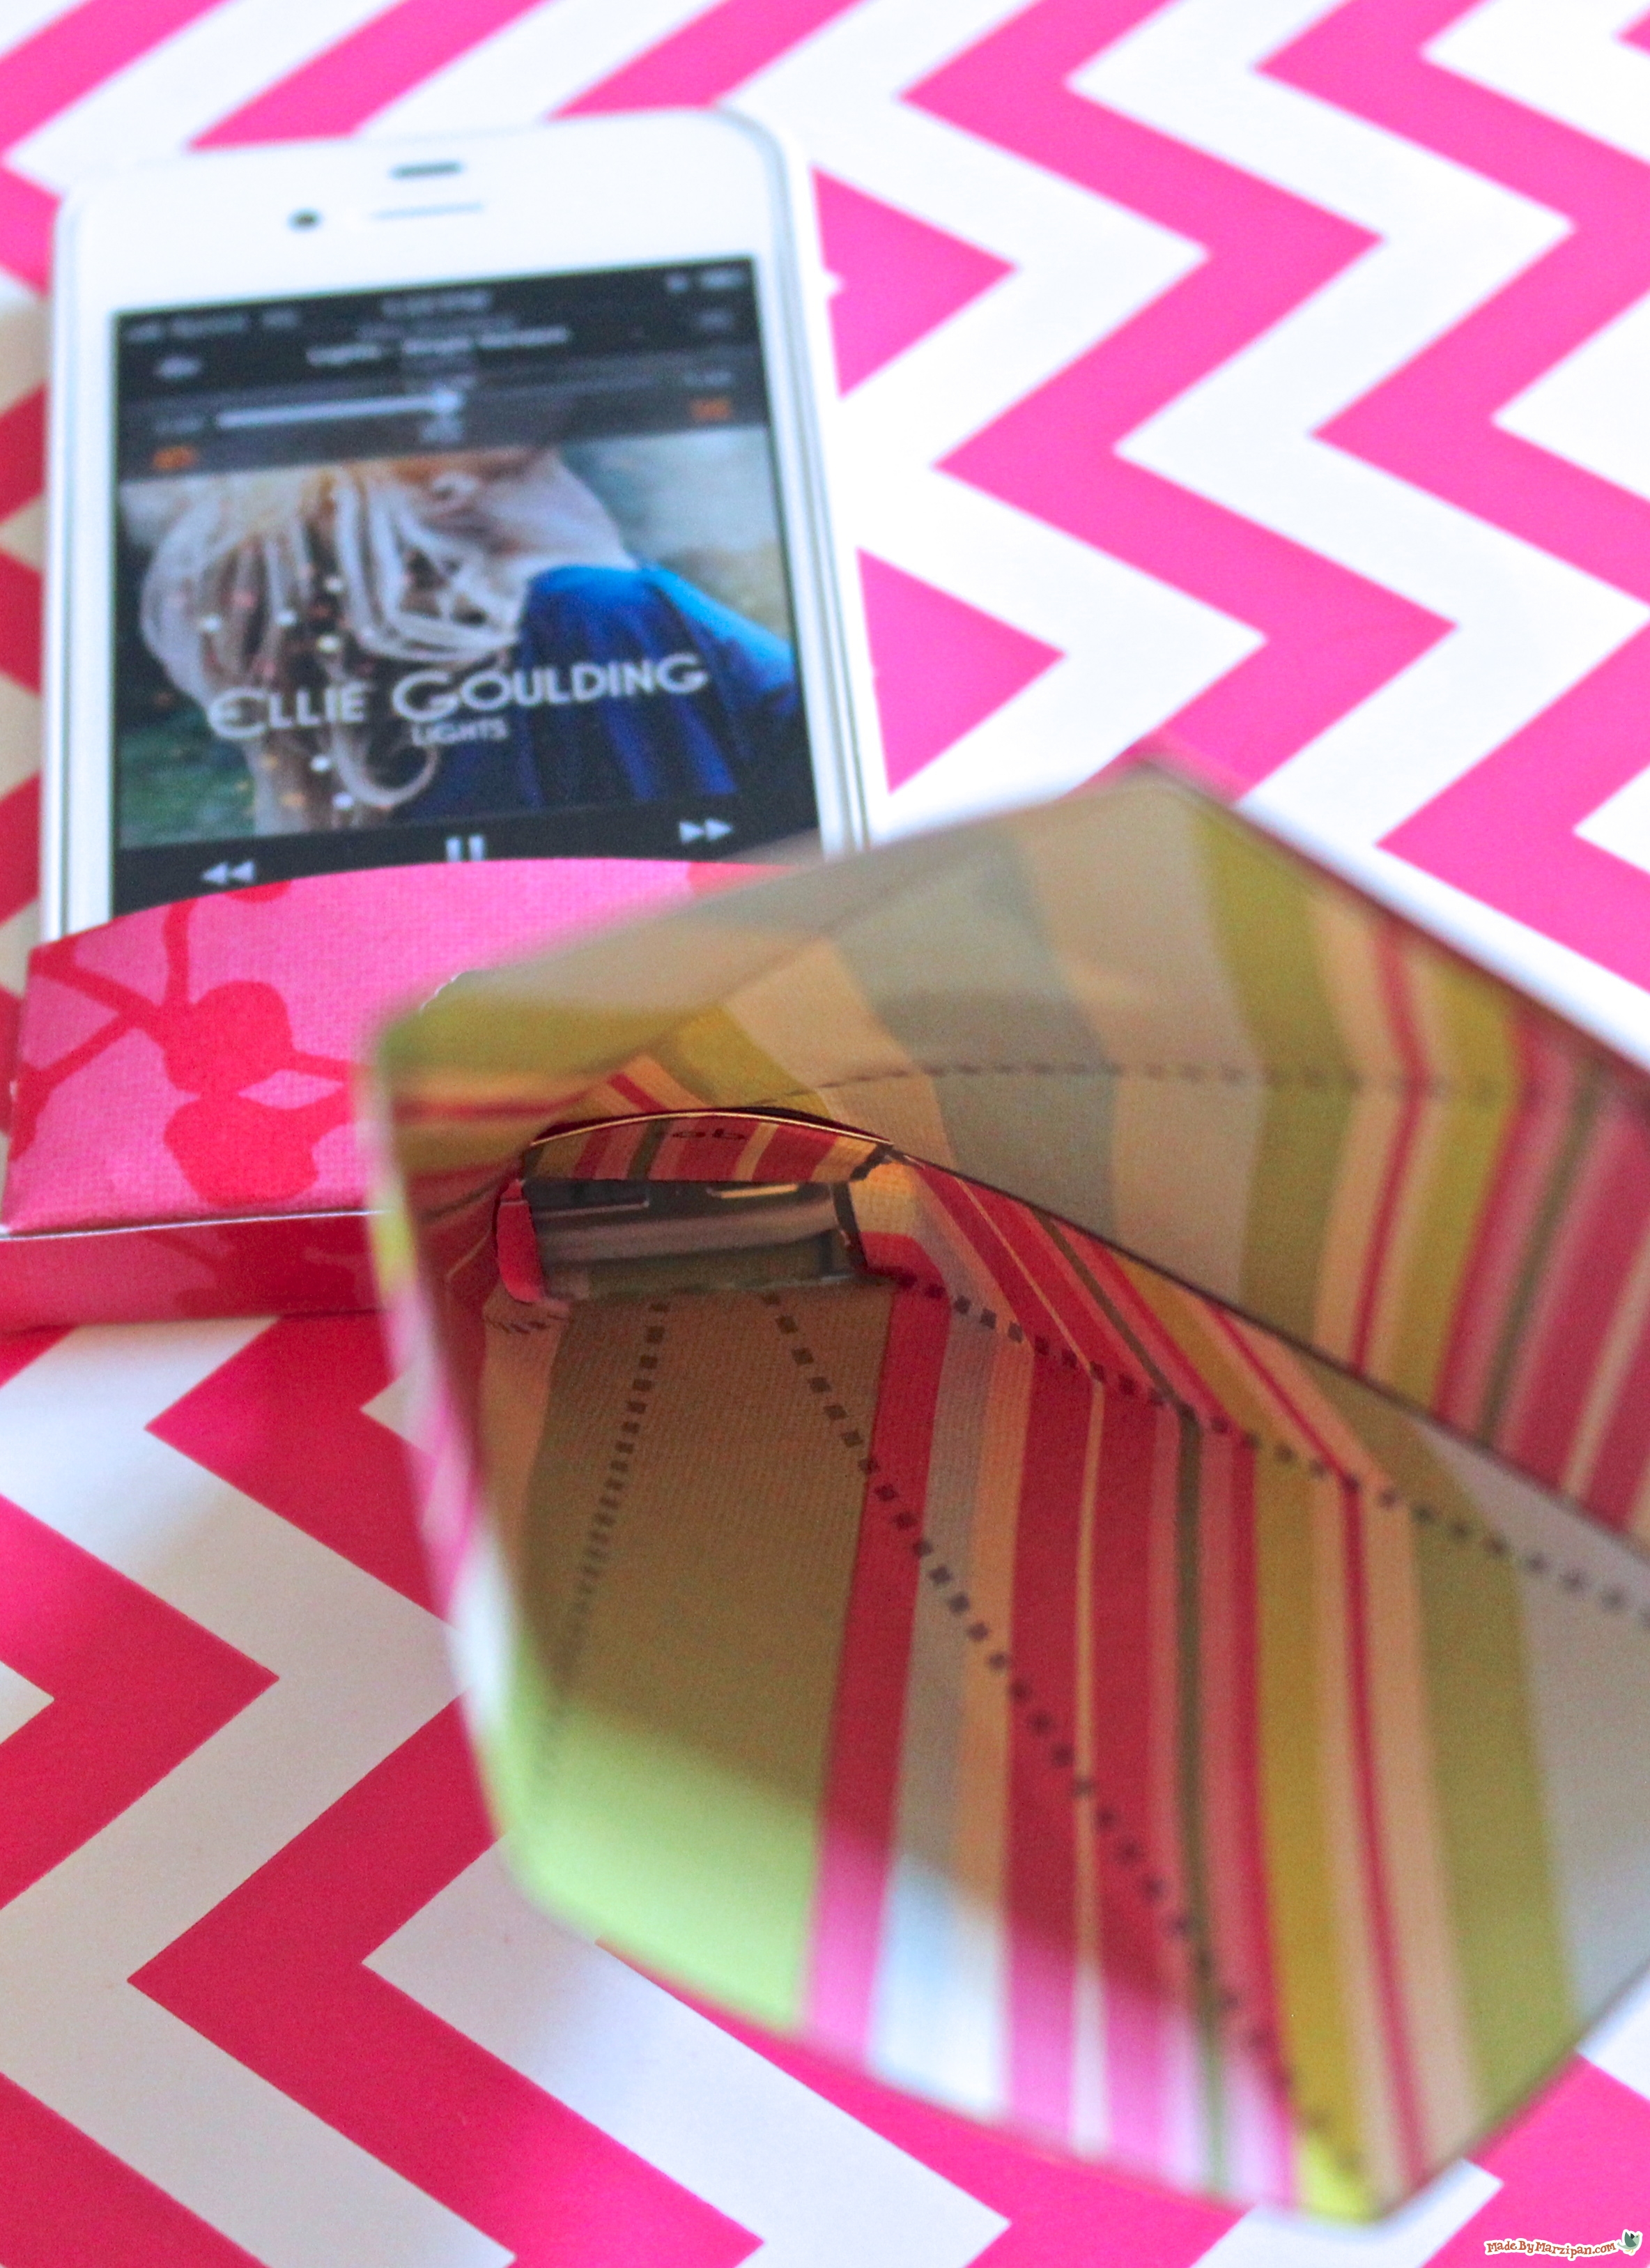
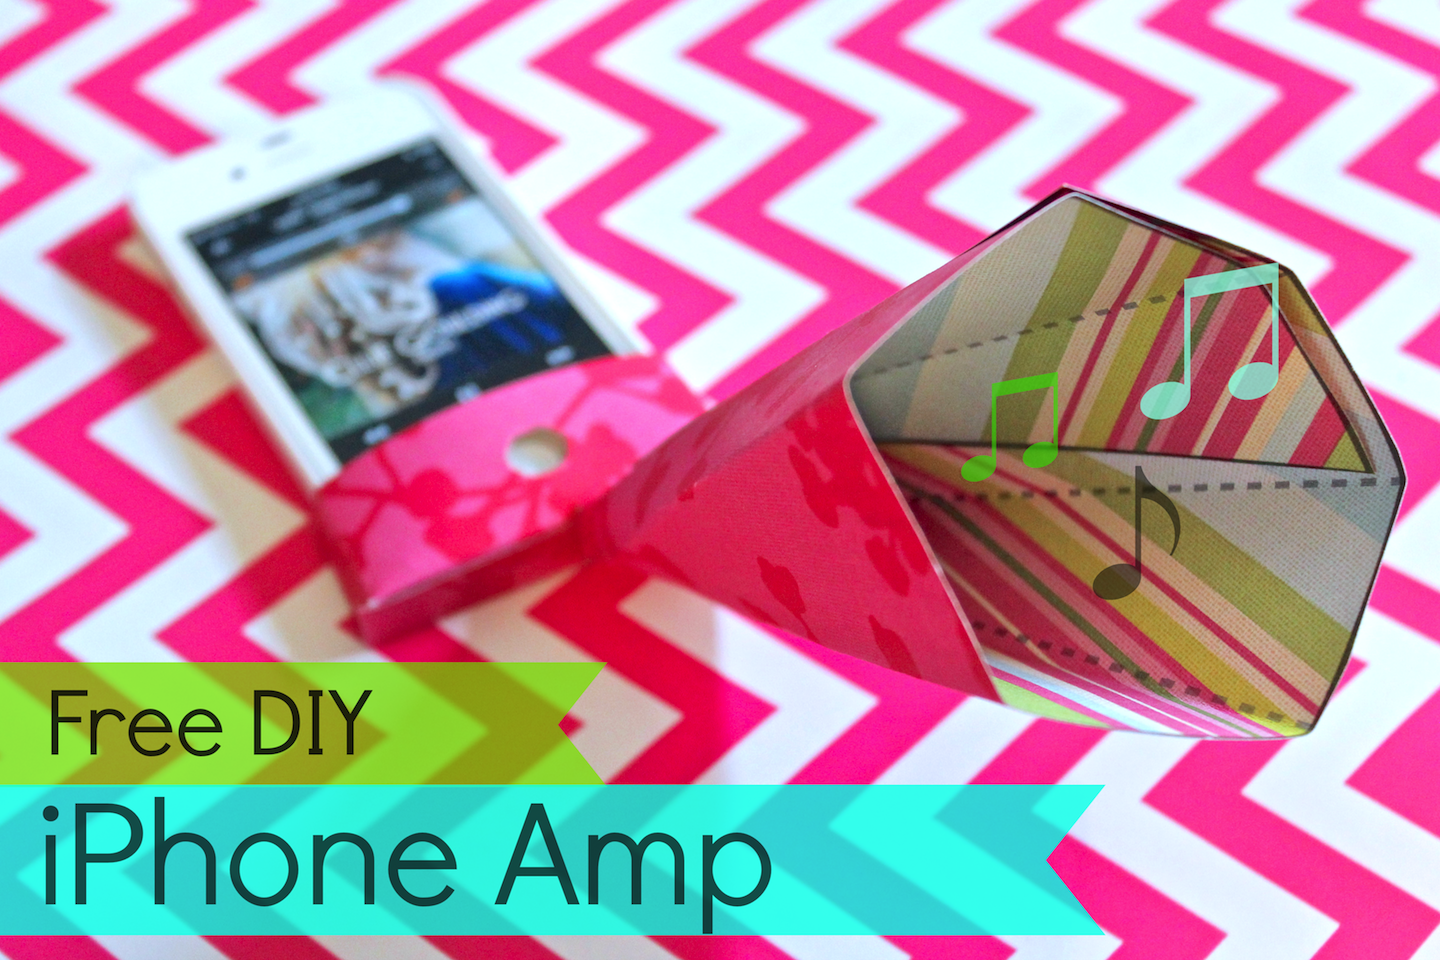
Make a paper amp for your iPhone with Made By Marzipan’s free printable template!
How to:
This paper amp works like an acoustic megaphone, directing and amplifying sound. It’s made from a single sheet of paper, so it’s eco-friendly, and doesn’t require batteries or a power source.
1
Cut a sheet of card stock to 8.5 x 11 inches. Card stock works better than regular printer paper because the thicker card stock provides more insulation. (Make sure that the color of the paper is light enough that you’ll be able to see the printed gray lines.)
2
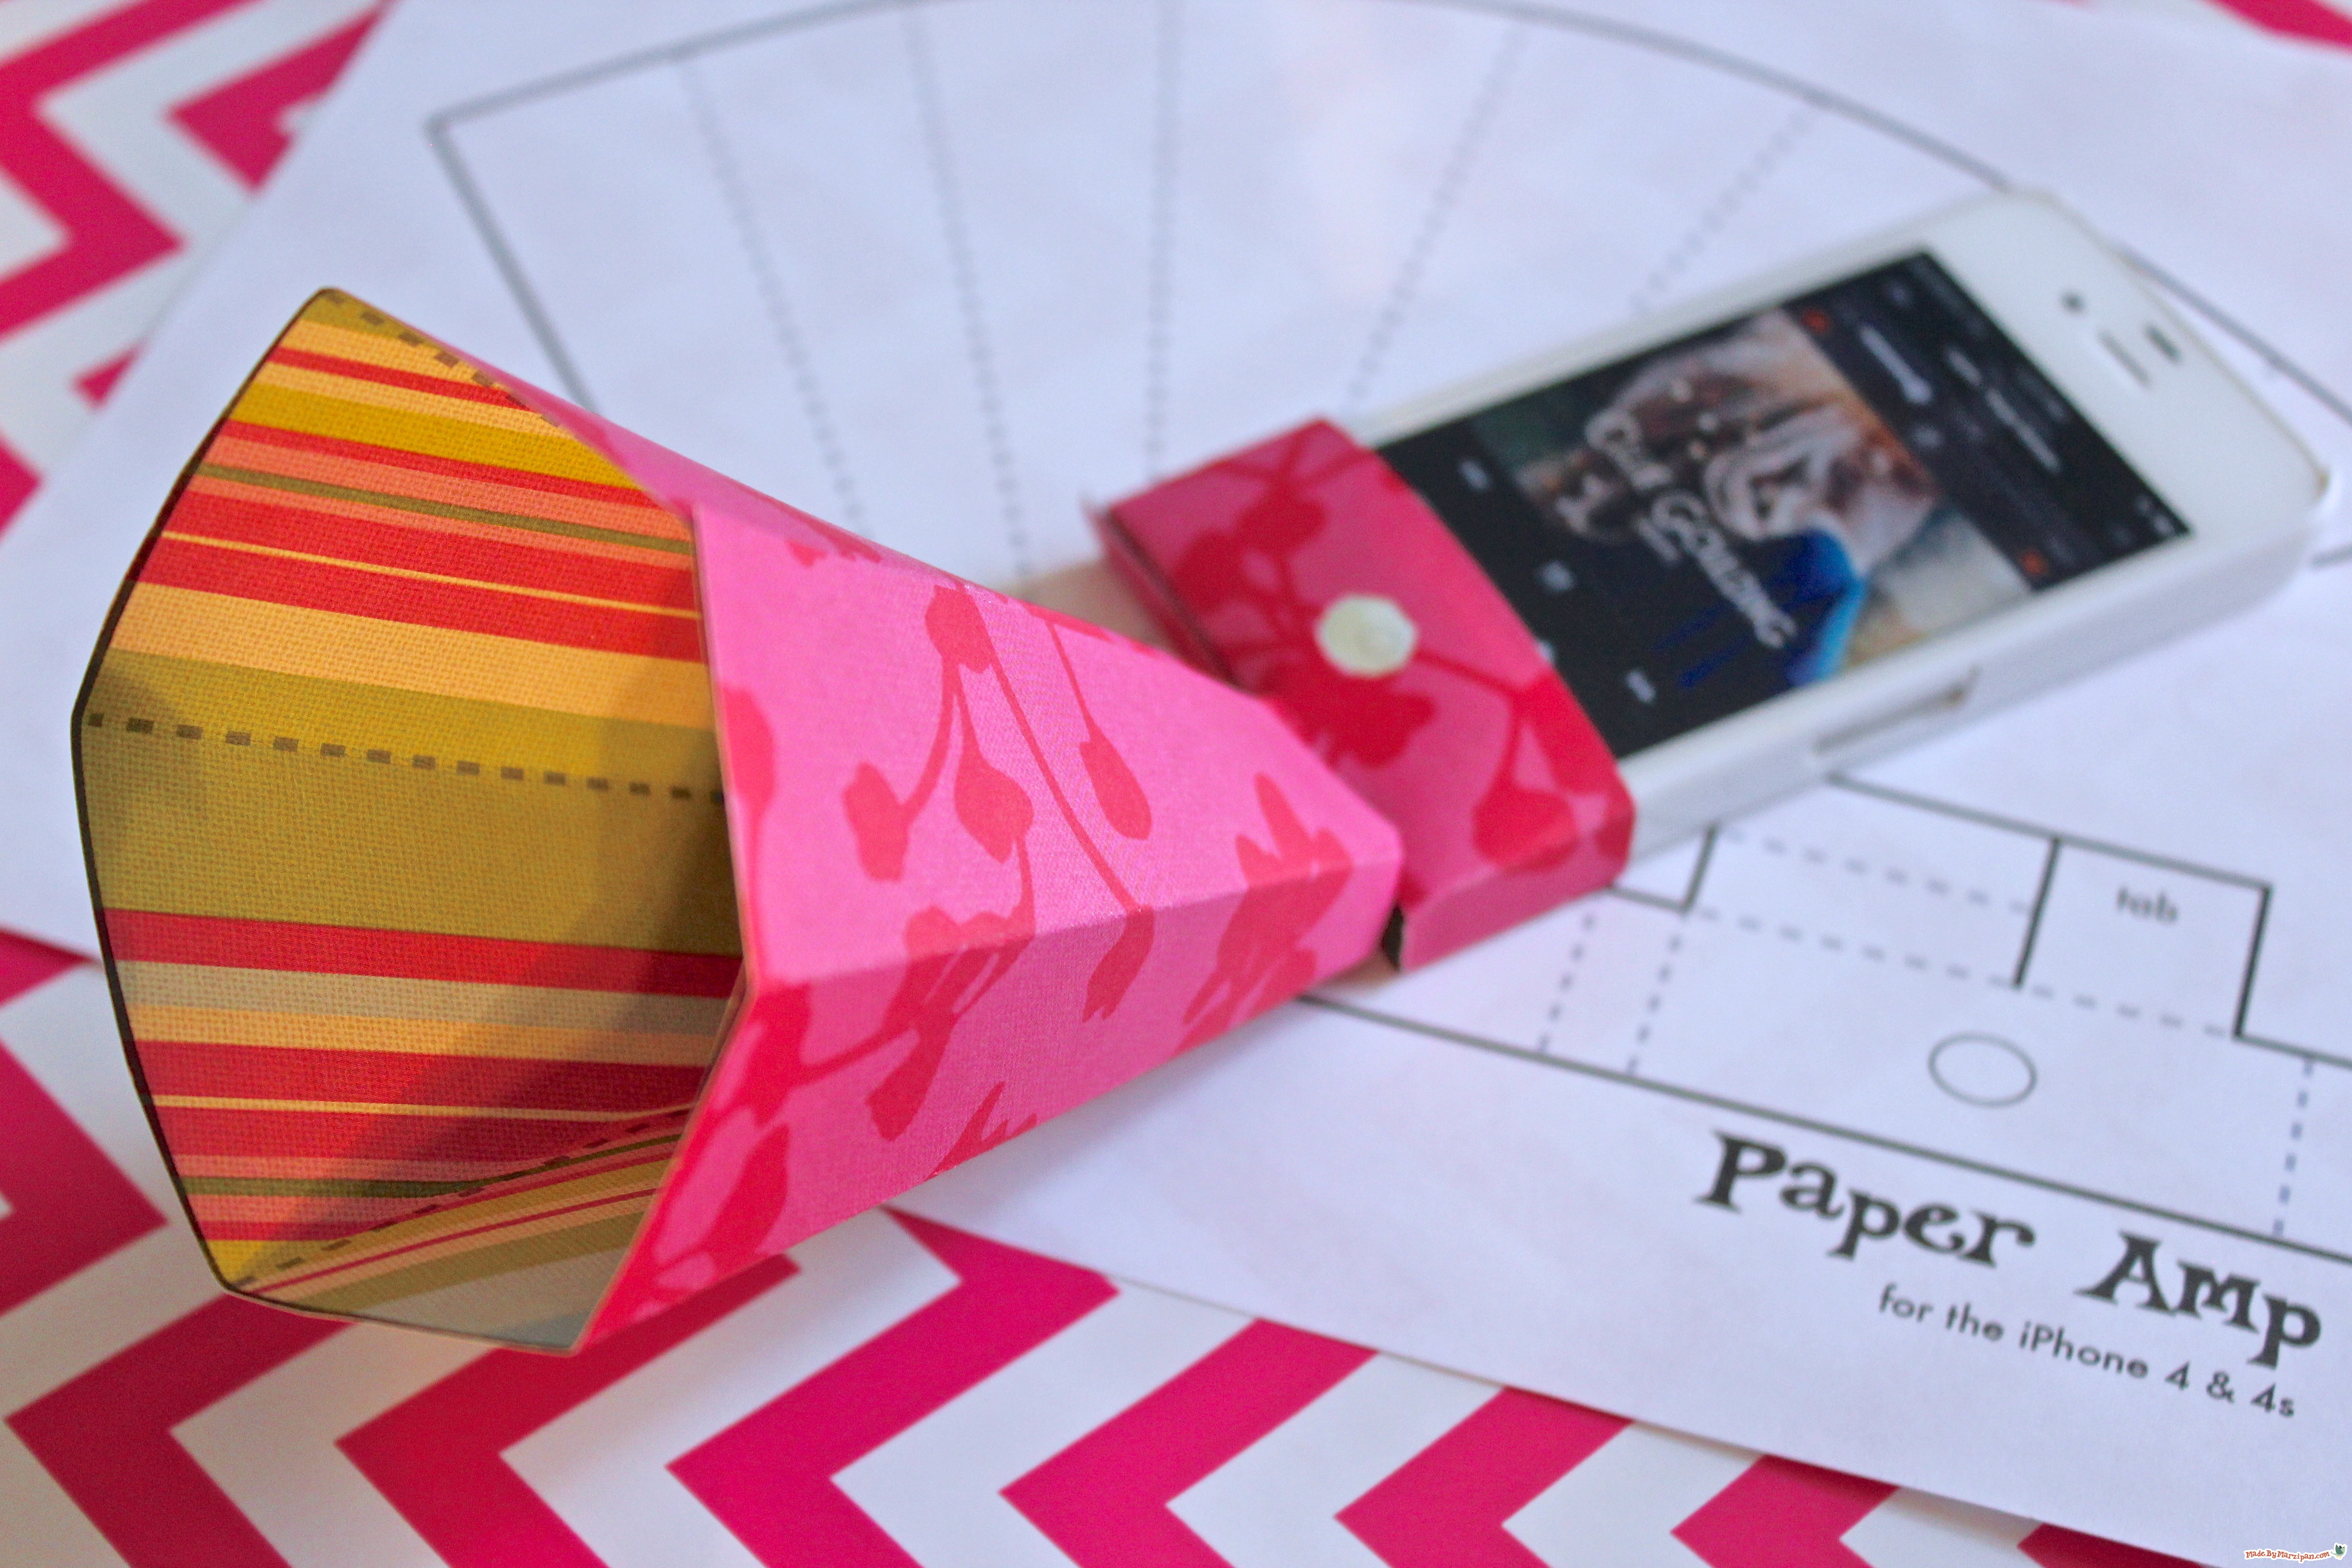
Click to download the free PDF template. (Currently I only have a pattern for the iPhone 4 & 4s available… if I get enough requests in the comments, I might add more versions.)
3
I want the floral pattern to be on the outside of my amp, and the stripes on the inside, so I’m printing on the striped side. Print on whichever side that you wish to be the inside of the amp.
4
The template is easy to put together. Begin by cutting on the solid black lines. (Do not cut the dotted lines, those are folding marks.)
5
Use a hole punch or scissors to make a cut-out for the home button. If your hole punch is too small, just punch several holes close together, being careful to stay within the lines of the circle.
6
Now we can fold the amp. With the printed side face up, begin folding along the dotted lines. The first two lines on the right will fold inward.
7
The piece marked “tab” will fold backwards.
8
The two horizontal lines next to the tab will fold down.
9
The vertical lines in the middle will fold inward like the first two.
10
The last horizontal piece will fold down.
11
And we’ll fold the large horn piece backwards for now to keep it out of the way.
You can see how the pieces fold together to make a box-like case for your phone. I highly recommend using Glue Dots for this project. You’re welcome to try other adhesives, but Glue Dots are quick and hold very well.
12
Add Glue Dots to the horizontally folded piece next to the left of the “tab” piece. You are placing the adhesive on the non-printed side of the paper.
13
Fold the paper over and press the piece with the glue dots right below the other horizontal fold line. See how it makes a box shape?
14
Now add glue dots to the horizontal piece and fold it downward, pressing it on top to secure.
15
Now we need to secure the flap on the left. Add glue dots along the edge of the non-printed side, and fold to line up with the edge of the box. Press down to adhere.
16
Next fold along each of the dotted lines on the horn piece. You are folding all of these inward.
17
Earlier we bent the horn piece backward to keep it out of the way while we folded the box. Now bend it forward, towards you.
18
We’re going to attach the right edge of the horn piece to the non-printed side of the tab. (Keep in mind that the fewer gaps you have, the louder the sound will be. So as you wrap the right side around the tab, take a look at the back, and adjust the paper to minimize the gap between the horn and the box.)
19
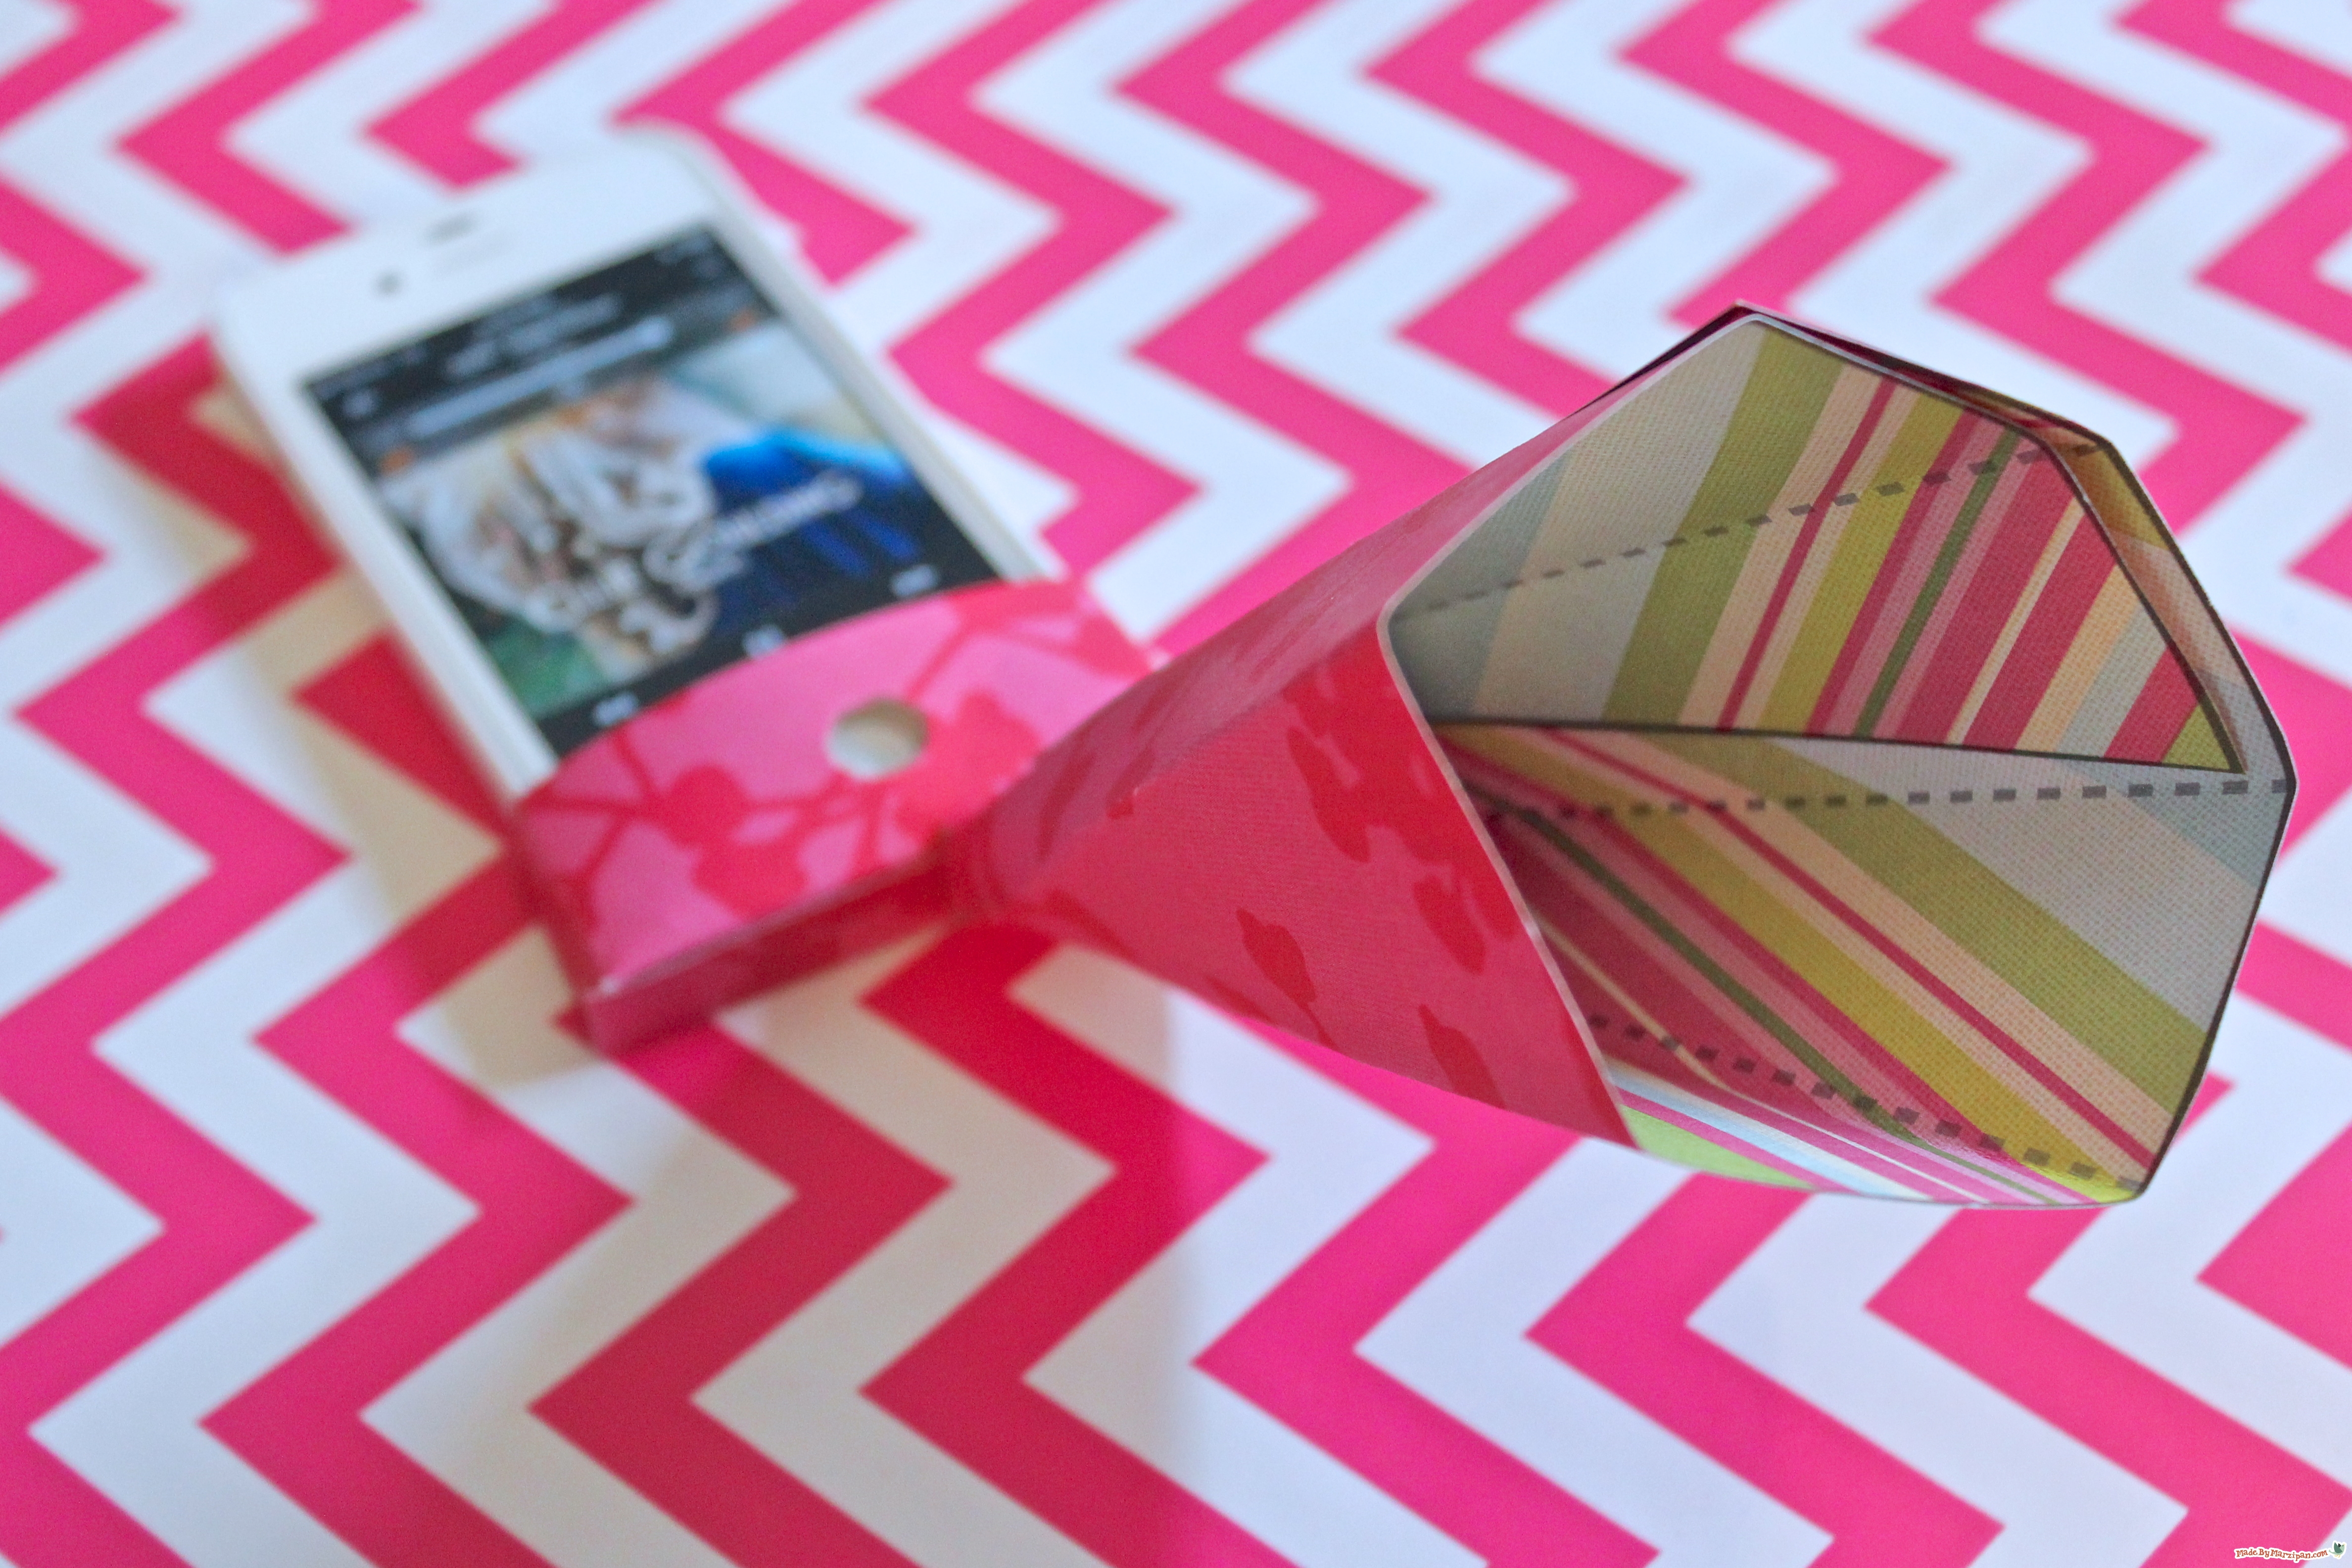
Now add glue dots along the inner edge of the left side, and fold to meet the center crease of the right side of the horn. Your paper amp is finished!
So how well does it work? You won’t have the same results you would if you plugged your phone into a speaker. But, your music should increase by about 25 decibels, comparable to other non-electrical phone amps.
Made By Marzipan may have received product or payment for this post. Posts may contain affiliate links. Disclosed in accordance with the Federal Trade Commission's 16 CFR, Part 255.

 Finished?
Show it off!

This is so cool, I am so glad I found this ❣❣❣ geez I love pinterest for helping to find you. Thank you for sharing.
awesome! looks SO much nicer than the bent Post-It i’ve been using, LOL!
It’s sooooooo awesome!! But I wonder if you can get me that one for iPhone 5C..??
Marzi I love your amp! I made 3 of them for my mother and my sister, they love it! thank you for your work and for share!