
Tips:
- Let’s talk about embroidery floss. You can use multi-strand floss, however, it can be more difficult to thread and has a tendency to tangle. I recommend using Pearl cotton floss, which is a single strand and much easier to work with.
How to:
made with
1
First we’re going to add a strip of iron-on interfacing to the back of the quilt where we’ll sew the word. Cut a piece large enough for your word, then place the shiny side of the interfacing on the back of the quilt and press without steam. This will reinforce the fabric and prevent it from warping.
2
I printed my text on regular printer paper. Choose a font you like and print the size you’d like your word to be. Pin in place on the front of your quilt.
(Alternately, you can cut a piece of freezer paper to fit in your printer. Print on the non-shiny side, then iron to the front of your quilt to avoid using pins.)
3
Cut a long piece of floss and thread an embroidery needle. Double knot the loose end of the thread. Begin from the back side of the quilt, poking up through the paper at the beginning of the first letter. Pull the floss all the way through until the knot catches, then poke down a short distance away to create a small stitch.
4
For the subsequent stitches in the letter, we’ll use a backstitch, which will help us keep our stitches close together. Poke the needle up a stitch length away from the end of the first stitch, then poke the needle down through the last hole on the first stitch.
5
Continue by poking up a short distance from the second stitch, then going down through the last hole of the second stitch.
6
If you run out of thread, tie a knot on the back and start again with more thread.
7
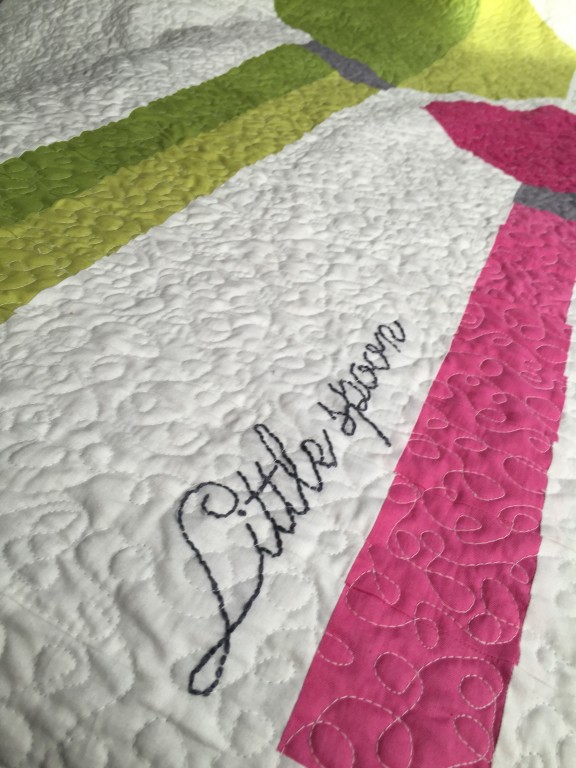
Now I’ll show you how to add a dot, like the one over this i. Poke up through the back, then tie a knot at the base of the thread. Use your fingernail to work the knot to the base of the thread; you want the knot to be sitting on top of the fabric. Tie one or two more knots, depending on the size you want, directly on top of the first knot. Then poke the needle down through the fabric to finish the dot.
8
Once your word is finished, tie off the thread with a couple knots on the back. I like to slide my needle beneath a previous stitch before making the loop for my knot, as this minimizes slack in the thread and makes the knot more secure.
9
Gently tear off the paper around your stitches. You may wish to place your finger over the stitches as you pull away the paper, to reduce strain on your stitching. If tiny pieces are stuck, use a pin to pick them out.
10
If you’d like, you can trim the excess interfacing off the back, being careful not to cut your fabric.
11
I quilt right on top of the embroidery. This really secures the stitching and allows it to hold up very well through frequent washings.
Made By Marzipan may have received product or payment for this post. Posts may contain affiliate links. Disclosed in accordance with the Federal Trade Commission's 16 CFR, Part 255.

 Finished?