This is part 2 of how to make a hard cover book. In Part 1, I demonstrate how to make the text block. In part 2, I’ll show you how to create the cover, and share ideas for embellishing your journal.
How to:
made with
1
I’m using a fat quarter of cotton fabric and lightweight fusible interfacing to create book cloth. Iron the interfacing to the back of the cloth. This step prevents a lot of issues people experience with book-covering, such as wrinkling, warping, and fraying.
2
I use Grafix brand chipboard for my covers. You can use medium or heavy weight. One 12×12 piece is enough for a book this size.
3
Trace the sides of the text block on the chipboard. Add a half inch to the height. Cut two of these for covers. Also cut as a piece of chipboard that is the text block height plus ½ inch, with the width being the same as the thickness as the text block. This will be the spine piece. You can use a craft knife or a heavy-duty paper cutter for this.
4
Add glue to one cover piece, and adhere to the fabric, leaving at least a 1-inch border around the edges.
5
Measure ¼ inch from the side of the glued cover and mark. Adhere the spine piece along this mark.
6
Measure ¼ inch out from the edge of the spine piece and mark, then adhere the second cover piece along this mark.
7
Trim the fabric to about 1 inch on all sides. Trim the corners at an angle, leaving a little excess at the tip of the corner.
8
Add glue to the fabric border, then fold up around cover. Tuck in the excess fabric at the corners.
9
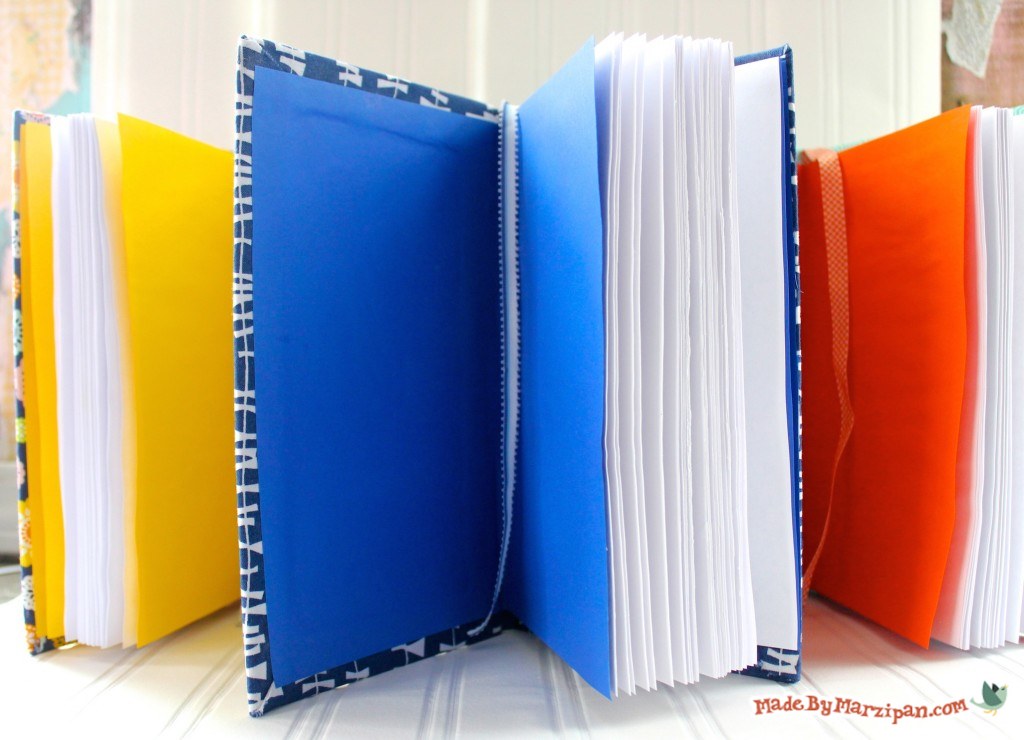
Now we can add the text block. Slide a piece of scrap cardstock between the layers of the colored endpapers to protect them. Add glue to the endpaper, then smooth onto the cover. Repeat for the back.
10
Place in a book press (tutorial here) or underneath a heavy, flat object for a couple of hours.
11
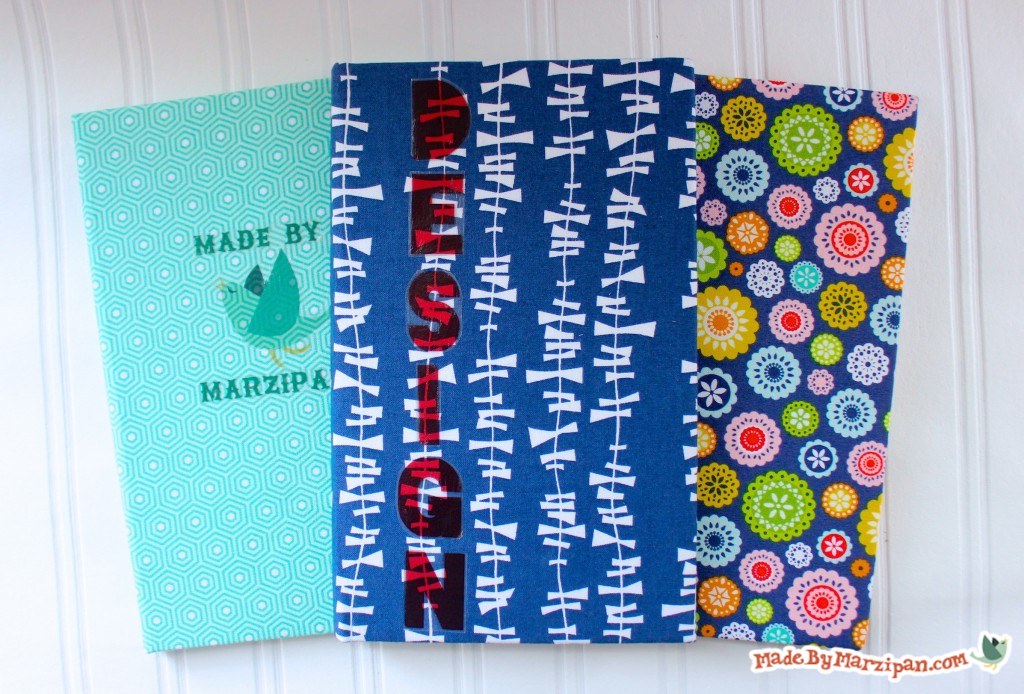
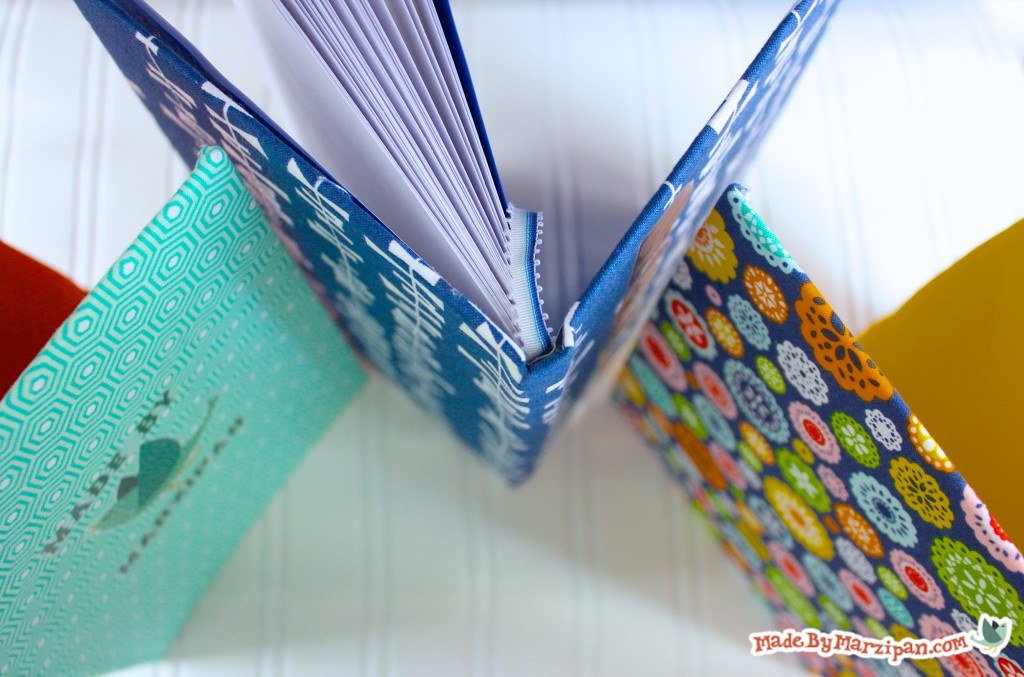
That’s it! You’ve made a book! You can further personalize your book by printing your own rub-on title, using Rub-Onz transfer film, made by Grafix.
12
The great thing about these books is that they can become anything you want. Try using Sakura Gelly Roll® pens to create colorful drawings and journaling.
Made By Marzipan may have received product or payment for this post. Posts may contain affiliate links. Disclosed in accordance with the Federal Trade Commission's 16 CFR, Part 255.

 Finished?
Great tutorial. It looks so easy. Thanks for sharing,
Absolutely amazing, you make all your crafts look so easy to do, thanks for sharing
wow . I’ve to try this out!
hey ure amazing can i ask u a question?
can we use regular cotton cloth instead of book cloth?
i’ll wait for ure replay
thnks
Hi, I recently made the book with regular cotton cloth and it didn’t work out as well cause the glue bled through. I would use a thicker type of cloth for this tutorial like she used. :)
Thanks for the feedback, Linda! Backing the fabric with interfacing should help :)
HI: CAN YOU MAKE A APPLIQUE UMBRELLA QUILT?
Nice tutorial Marzi!!! Thanks :-)
Great tutorial! Do you think this same process work for making Sketch books.
I love it! I will definitely try this!!
Very nice! Thank you for sharing! Greater success to you :)
best book ever but…I don’t have the materials I will try to make it tho (=