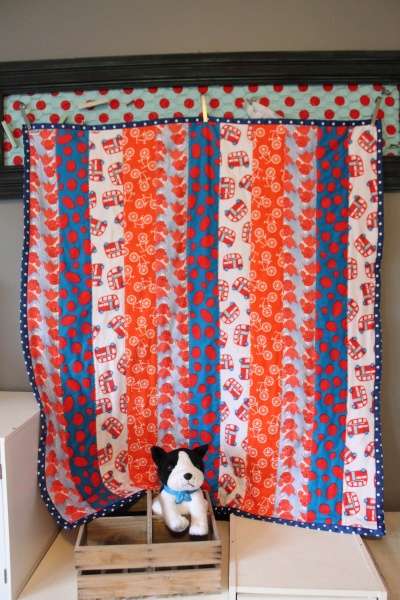
1
Begin by cutting the four pieces of fabric into strips that are 4 inches wide. The fastest way to do this is to use a rotary cutter, quilter’s ruler, and cutting mat, but you could also use scissors.
You’ll need 11 strips, so if you cut four fabrics that are each 1/3 yd, you will have one strip left over.
2
Lay two strips right sides together so that the patterns are touching. Align the edges, then pin along the right side.
3
Sew along the right edge with a ¼ inch seam. When you’re sewing a quilt, it’s usually good practice to press after every seam. However, because this is a strip quilt, our seams don’t intersect, so we can wait to press them until we’ve finished sewing the quilt top.
4
Repeat by laying the next strip face-down on top of the second strip. Sew along the right side.
If you’re a confident sewer, you can skip pinning and align the edges of the fabric strips as you go.
5
Repeat this process for the remaining strips.
6
Once all of your strips have been sewn, place it face down on the ironing board and press the seams open. Flip over the fabric and press the front side as well.
7
Cut your backing fabric to the same size as your finished quilt top and press.
Assembling the Quilt
8
I prefer to use a low-loft cotton batting for my quilting projects. Lay the batting down and place the quilt top face-up on top.
9
I recommend using a basting adhesive spray. It will eliminate bunching or wrinkling, and lets you skip the tedium of pinning.
Fold back the quilt top halfway. Spray the back side of the folded quilt, then unfold and smooth over the batting. Repeat for the other half of the quilt top.
10
Now lay the backing fabric face-down. Layer the batting and quilt top combo over it. Fold back the quilt top halfway, and spray the backing fabric. Smooth the top over it. Repeat for the other half.
11
We’re ready to sew it all together. I always like to start quilting in the center of the blanket. Roll up the right hand side of the blanket to make it easier to maneuver with your sewing machine.
12
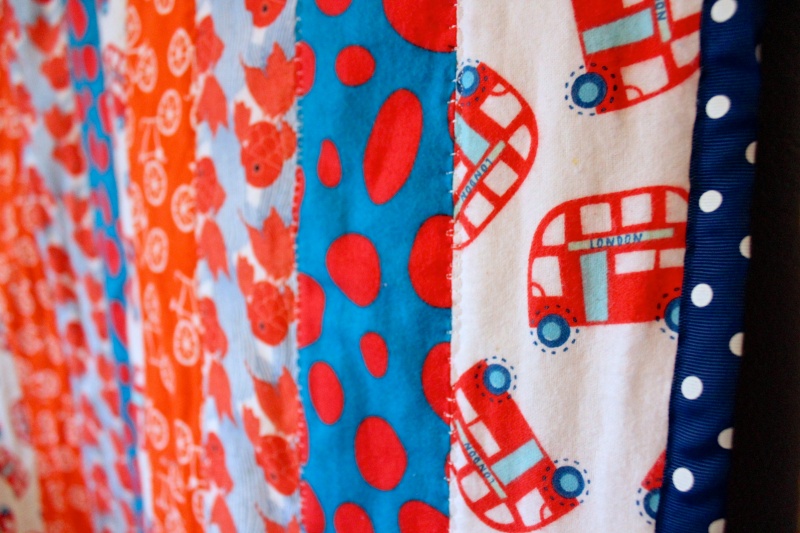
We’ll be stitching in the ditch, or sewing down the center of the seams between the strips. You can use contrasting or matching thread. You can use a straight stitch, zig-zag stitch, or decorative stitch. Keep the fabric smooth and flat as you sew. Sew down each of the seams.
Binding the Quilt
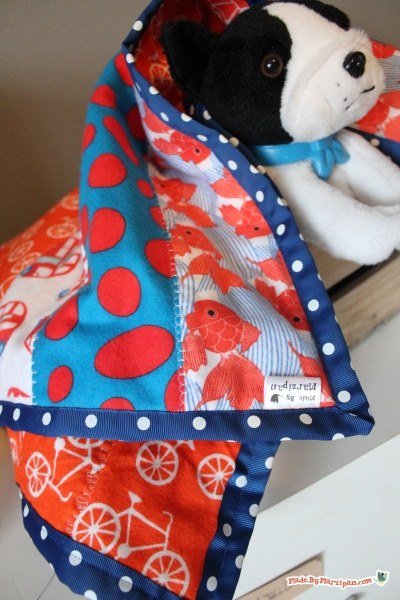
There are many options for binding a quilt, but using ribbon is one of the simplest methods. You only need to sew it once and you don’t need to worry about raw edges. It’s important that you read the care instructions on the package before purchasing; be sure that the ribbon is washable and made with colorfast dyes.
13
I like to press my ribbon in half first, with the pattern on the outside. This ensures that I have an even border of ribbon on both the front and back of the quilt. Place a cloth on top of the ribbon when pressing to prevent scorching or melting.
14
Remember to change your thread and bobbin to match your ribbon.
15
Start pinning in the middle of a long side. Leave a loose tail of ribbon about 3 inches long, and then pin the ribbon down the side of the quilt. The fold should be right on the edge of the quilt, ensuring that you have half the ribbon on each side.
16
Sew on the ribbon, close to the inner edge. Stop sewing ¼ inch away from the corner. Remove the quilt from the machine.
17
To make a mitered corner, pinch the sewn ribbon with one hand. With the other hand, pull the ribbon straight out, then down at a right angle. Fold the loose ribbon around the edge of the next side. Adjust the ribbon as needed to make a nice diagonal line at the corner. Be sure to check the back side and make sure it looks tidy.
18
Sew in place, then continue sewing down the remainder of that side. If you feel comfortable, you can skip pinning and adjust the ribbon and fabric as you go, using the fold line as a guide.
19
When you reach the next corner, stop ¼ inch away and repeat the previous steps to create a mitered corner.
Joining the Ribbon
20
Stop sewing when you are about 3 inches away from the end of the beginning tail.
21
Cut a small piece of scrap ribbon. We will use the width of this ribbon scrap as a measuring tool in a moment.
22
Lay the ending tail over the beginning tail, placing your thumb at the spot where they meet.
23
Place the cut ribbon horizontally right beneath your thumb. Snip the ending tail right below the bottom of the ribbon scrap. (Don’t cut the beginning tail.)
24
Layer the ribbon tails right-sides together, at a right angle. Align the edges. Sew together diagonally from corner to corner.
25
Check your work by turning the ribbon binding. Then snip off the excess ribbon at the corner. Turn and pin, then sew the remainder of the binding in place.
Click here to find more free quilting tutorials.


 Finished?
beautifulll!!! thank you so much for the tutorial and tips on quilting!!
do you know where I can find a quilting panel of elysa and I cant think of the other girls name from frozen?
Anna? Hm, no, I haven’t seen one!
Great tutorial! Thank you. I made a quilt for my friend :)
I understand that you cut the strips 4 inches wide, but how long do you cut them? I am assuming that you would cut them 4 inches by 34 inches if the finished size is 36 by 45 (the ribbon takes up one inch on either side). Is there a certain reason why you cut them shorter than the width of the fabric? I was thinking maybe to get more of a rectangular versus square shape maybe? I am really new to sewing, so am just trying to know what factors determine the length of the strips. Thanks.