Today I’m going to show you an easy technique for turning white paper into a gorgeous swirl of color. You can create ombre or raindrop patterns, or, make your paper appear to be tie dyed or watercolored.
Tips:
1
I’m using plain white cardstock. You’ll want a stack of it, because once you start making these, you won’t want to stop.
2
I’ll be using Koi Coloring brush pens, which are dye and water-based.
3
I’ll be laying the color on an Inking Palette made by Grafix. This is a pad of plastic sheets that are glued at both ends. That means the surface won’t shift when you’re pulling a print.
How to:
made with
Impress inking palette
scissors
Artist-tac adhesive sheets
printable self-adhesive transparency sheets
1
Use the Koi® Coloring brush pens to scribble a design on the Grafix Inking palette. For this design, I’m just adding random blobs of color.
2
Spritz the inking palette with a bottle of water. (The amount of water you use will impact how much your colors blend and bleed together, so feel free to experiment.)
3
Lay a piece of white cardstock straight down on the wet inking palette. Smooth thoroughly to transfer the color, then peel off. This made a pretty, watercolor-like print.
4
You can do a second pull from the palette for a print that looks totally different from the first. This second print reminds me of lizard skin.
5
Clean off the inking palette to make a new design. (These inking palettes are disposable, so if I were playing with acrylics today, I’d just peel off the top sheet of plastic and discard it. But the ink from my Koi® Coloring Brush Pens cleans up easily with a paper towel, so I can reuse this sheet indefinitely.)
6
To make a tie-dye pattern, start with the lightest color at center, then work outward, scribbling a series of colorful rings. Spritz and pull your print.
7
Have fun experimenting with stripes, shapes, and ombre effects.
So, what can you do with all this pretty paper?
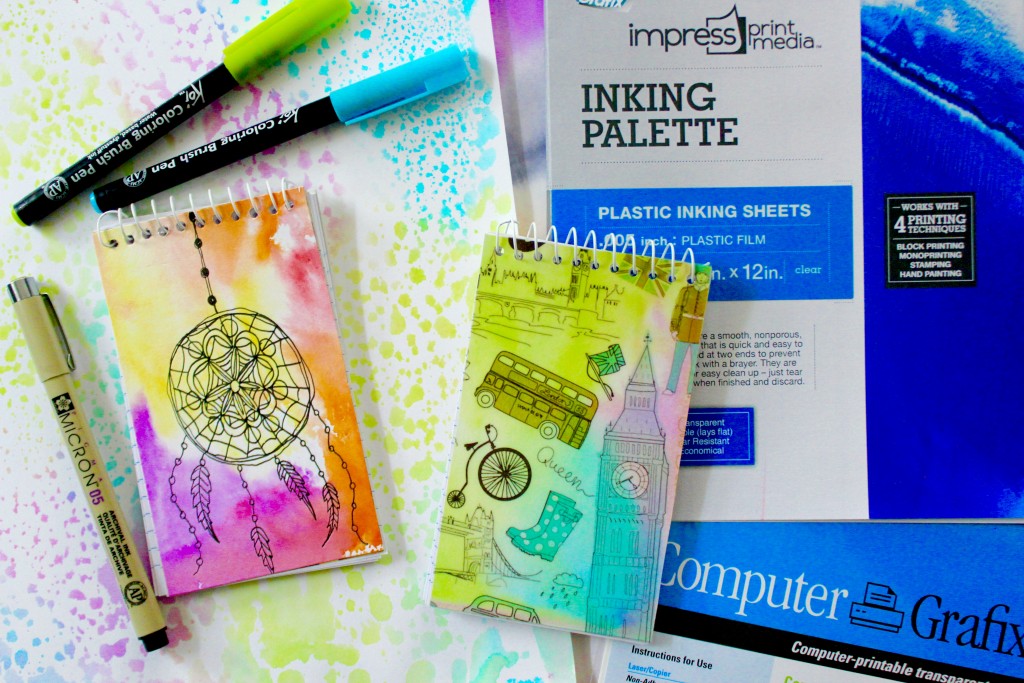
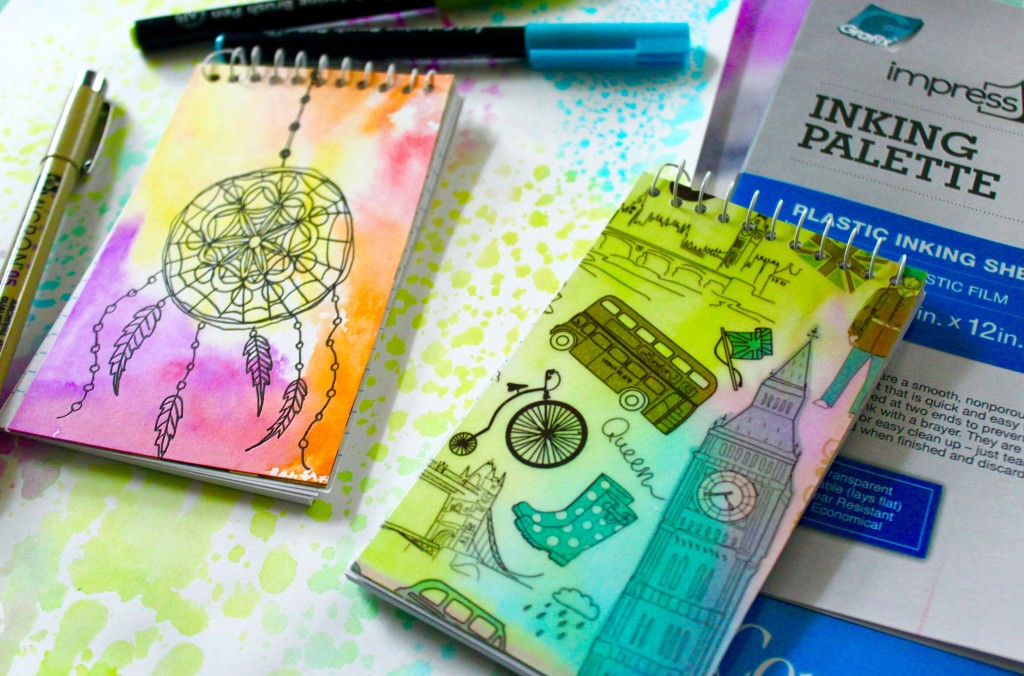
You can use it for cards, art journals, or backgrounds for hand lettering. I think I’m going to alter some small notebooks that I got for .25 each.
1
Remove the wire coil.
2
I want a really good, smooth adhesive for this, so I’m going to use Artist-tac, which is an adhesive sheet made by Grafix. Peel off one corner of the paper backing, and press the notebook cover face-down. Peel off, and you have a perfectly even, incredibly thin layer of adhesive. Press the adhesive to the back of your dyed paper, and trim.
3
Use a small hole punch to punch the holes for the wire coil.
4
Now, you know I LOVE to doodle. So of course I want to pretty up my notebook with a hand drawn design. I’m using a Pigma® Micron® pen in size 05 to doodle a dream catcher. Of course, you can draw anything you’d like.
5
If doodling really isn’t your thing, here’s one more idea. You can print any design you’d like on Computer Grafix adhesive-backed sheets.There’s no need to reverse your image with this specific type of transparency plastic.
6
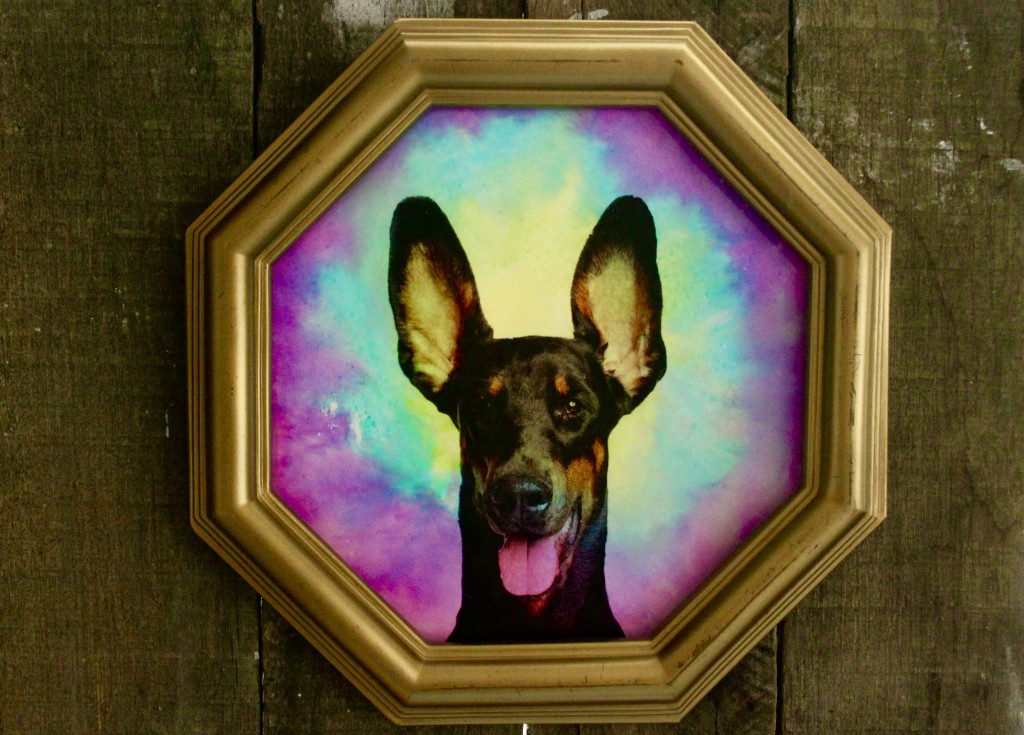
After adhering your dyed paper to the notebook cover, press the front of the notebook down on the adhesive side of the printed Computer Grafix sheet and trim. You can even print photos to lay over your dyed paper! The project ideas for this paper dying technique are endless.
To discover more about Koi® Watercolor Brush pens and Pigma® Micron® Pens, visit my sponsor, SakuraofAmerica.com. To learn more about Computer Grafix self-adhesive transparency film, Artist-Tac adhesive, and Inking Palette pads, check out my sponsor GrafixArts.com.
Made By Marzipan may have received product or payment for this post. Posts may contain affiliate links. Disclosed in accordance with the Federal Trade Commission's 16 CFR, Part 255.

 Finished?
Show it off!
