Make your own hard cover book or journal. Part 1: how to sew signatures to create a text block. In Part 2, I’ll demonstrate how to create the cover.
How to:
made with
colored paper (2 sheets)
book press (Optional)
1
Begin by folding sheets of paper in half. Fold each sheet individually for best results. I’m using 20 sheets of standard printer paper, but you could add more if you’d like.
2
Collate the folded papers into groups of 4. In book-making, each of these groups is referred to as a “signature.” I have 5 signatures, but you could add more.
3
Measure ½ inch from the top and bottom edge and mark by the spine with a pencil. Then add two more evenly spaced marks between the first two. If you’re using standard sized printer paper, that will be 2 ½ inches from the first marks.
4
Stack the signatures. Use clothespins to secure them together, then extend your marks down along the spine of each signature. This ensures all holes will be properly aligned.
5
I’m labeling each mark alphabetically from right to left. This isn’t required, by it does make assembly easier for the first couple of books.
6
Use a very large needle (such as a doll-making needle) to poke through each mark, directly on the spine. Be sure the pages are properly aligned as you do this.
7
Now we’re ready to sew. Multiply the height of your paper by the number of signatures you have. Then multiply that number by two. Cut your thread to that length. Thread the needle and double the thread. (You should use thread the same color as your pages; I’m just using red so you can easily follow along.)
8
Starting from the outside, poke the needle into hole A on the first signature. Leave a thread tail of 3 inches. Go out through hole B, then into hole C, and out through the final hole D.
9
Lay the second signature on top of the first. Go into hole H on the left, then out through G. Now we’re going to secure both signatures by going back into hole C on the first signature. Go out through B on the first signature, then go up and into hole F on the second signature. Go out through E.
10
Now tie the loose tail from hole A with your sewing thread. Be sure to pull the thread taut, then tie in a square knot.
11
As we move forward, we’ll always be securing the top signature to the one beneath it. It’s helpful to clip the center page of the last sewn signature to hold your place.
12
Add the third signature to the stack, and go into I on the right. Go out through J. Then go down and back into F on the second signature, and out through G. Go up and into K on the third signature, and out through L. To secure the end, slide the needle under the stitch holding the first two signatures together and pull taut.
13
Now onto the fourth signature. Go into P, and out through O. Let’s move our clip to hold our place. Go down and into K on the third signature, and out through J. Go up to the fourth signature and into N, and out through M. Secure at the end by sliding the needle through the stitch holding the previous two signatures.
14
I’m on my fifth and last signature. You would repeat the previous method to secure any additional signatures. Once you reach the end of your last signature, slide the needle between the stitches as you did before. Then slide it under one more time, and thread the needle through the loop in the thread. Pull to knot. In book-making, a sewn set of signatures is referred to as a text block.
15
I made a simple book press, which I demonstrate in another tutorial. However, you could use the clothespins for this next step. You’ll need a white PVA glue. My favorite for book-making is Aleene’s Acid-Free Tacky Glue, because it’s acid-free, isn’t runny, and remains flexible when dry. However, most white glues will work, including Elmer’s school glue.
Glue the spine of the book. If you’re using clothespins, you’ll need to glue the areas you can access, wait for it to dry, then move the clips to glue underneath.
16
You can also add a ribbon bookmark. Cut a segment of ribbon to the length of the spine plus 2 inches. Carefully singe the end of the ribbon with a lighter to prevent fraying, then adhere the ribbon 1 inch down the spine.
17
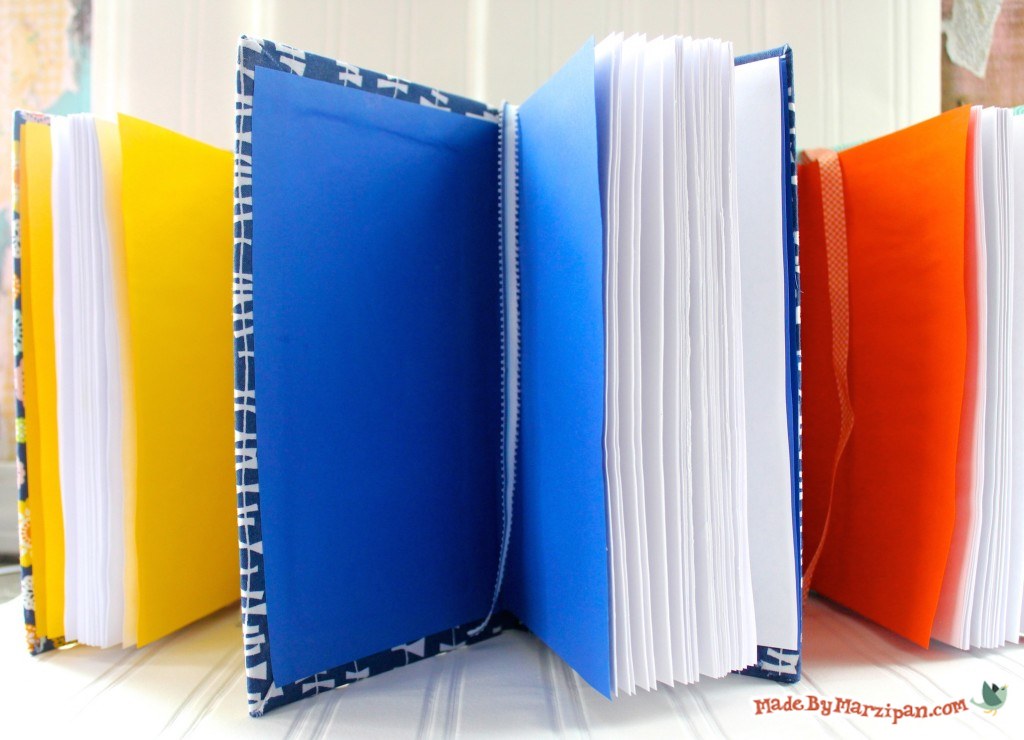
Next we’ll add the endpapers. Fold two sheets of colored paper in half so they are the same dimensions as your text block pages. Add one to the front of the text block and one to the back.
18
Cut a 3 inch-scrap of cardstock that’s the same height as your text block. Wrap around the spine and crease. This will reinforce the spine. Add glue to the cardstock and adhere to the spine. Place in the book press or clip.
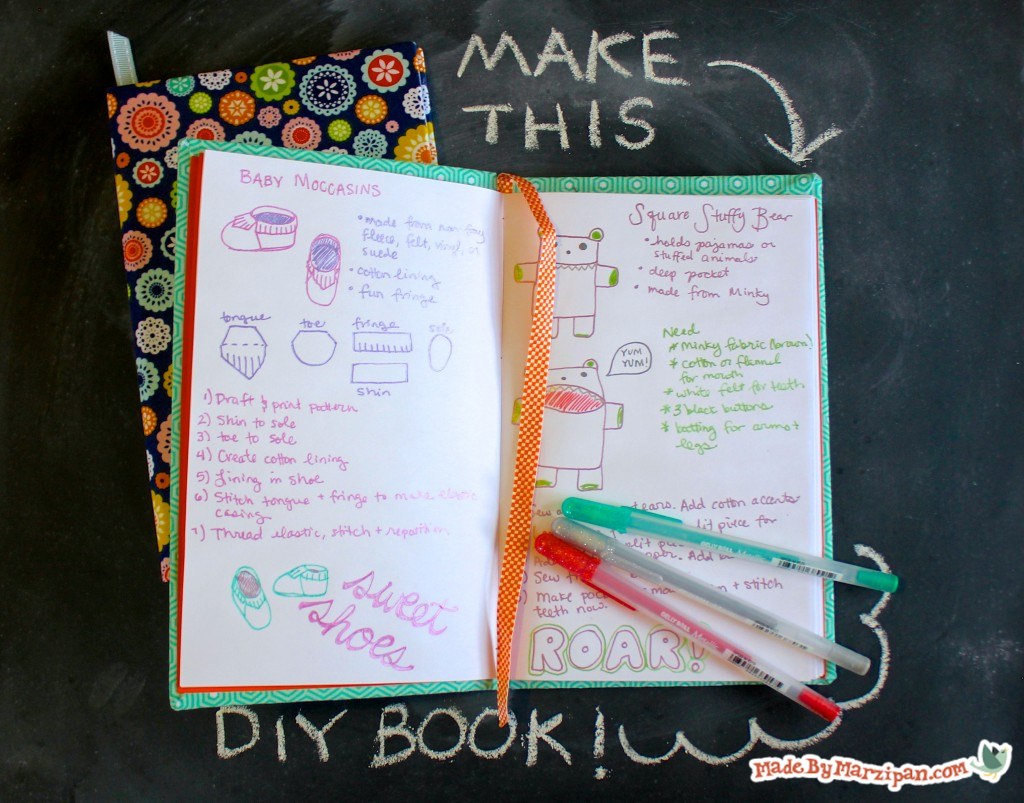
In Part 2, I’ll show you how to create a hard cover using acid-free chipboard, made by Grafix. I’ll also share ideas for decorating the cover using Rub-Onz transfer film, and for making the interior of your journal as beautiful as the exterior, using Sakura’s Gelly Roll® pens.
Made By Marzipan may have received product or payment for this post. Posts may contain affiliate links. Disclosed in accordance with the Federal Trade Commission's 16 CFR, Part 255.

 Finished?
Show it off!
very interesting! I am confused, but I thank you for showing me this :)
well done!
I;ve always wanted to learn how to do this. Especially when making your own paper…TFS dee
Oh I love bookmaking. Lovely tutorial.
You are awesome! Thank you!
Can u use coloured paper aswell
Any color u want
Nice! ; D
This will be good for my chapterbooks that I write!!!!!
You are sooooo talented. Keep going!!!!!
Thanks so much, Ellen!
I make book binding books and sell them at my school and it started with you well done your the most talented women I ever met thanks again
Thank you!