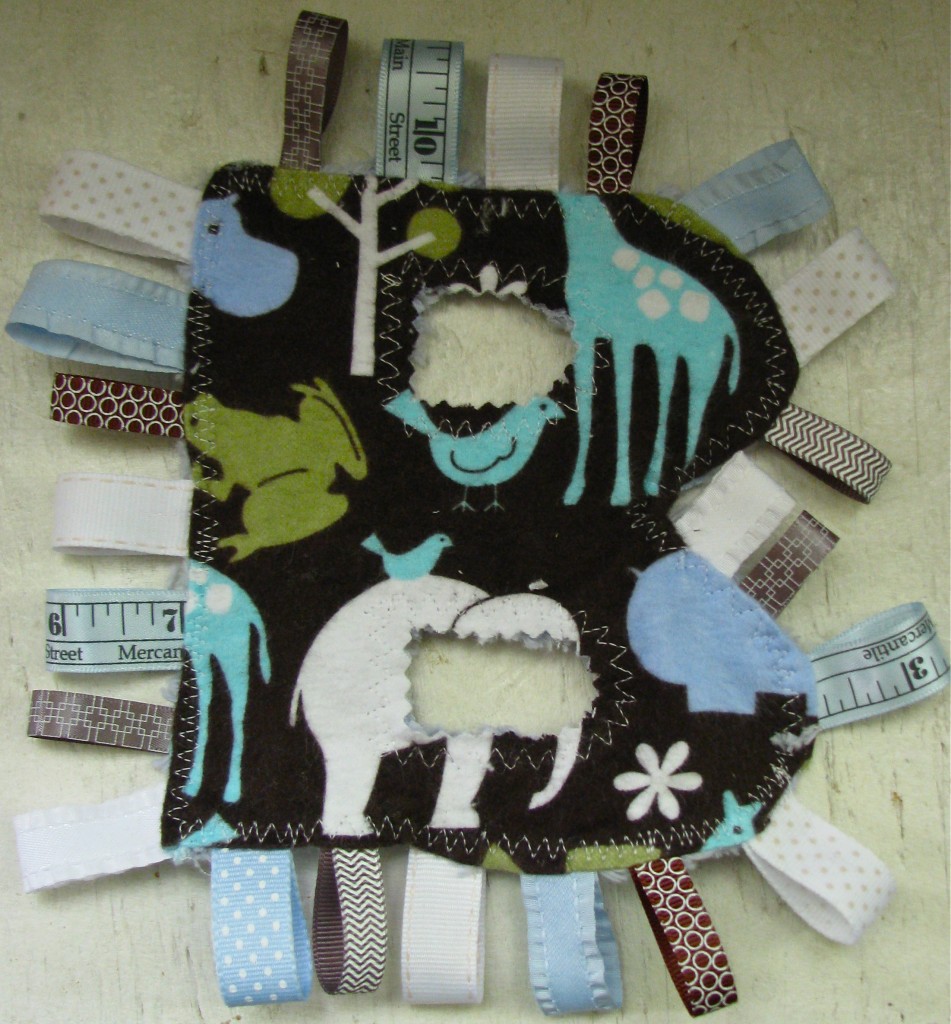
This personalized taggie makes the ideal baby shower gift, and takes less than 30 minutes to create.
How to:
1
Print off a large sans-serif letter from your computer. You can use the first letter of baby’s name, or just a generic “B” for “baby.” (If you’d like to use the B, you can print off my template at the bottom of the page.)
2
Lay the letter face-down on the back (wrong side) of your flannel. Trace the letter and cut out. (If your letter has holes in it, like B or D, do not cut out the holes yet– they might shift a bit while sewing.) Now lay the letter face-up on the back (wrong side) of the felt. Trace and cut out.
3
Now we’ll pin on the ribbon tags. Fold a ribbon segment in half, and with the flannel still face-down, pin the ribbon to the edge of the letter, with the loop pointing inward towards the center. Space ribbons evenly around the perimeter of the letter.
4
Lay the felt letter face-down on top of the front of the letter (right sides together). Pin in place and sew around the outside edge of your letter, leaving a two-inch hole at the bottom for turning inside out.
5
Remove the pins and turn the letter inside out. Topstitch (a zig-zag stitch looks cute) along the perimeter of your letter. Fold the hole shut and topstitch it shut.
6
Trace and cut the centers out of the paper letter. Pin on top of your fabric letter, and use as a guide to sew around the outside of it. (Don’t worry if you accidentally catch the edge of the paper in your stitch, the paper will rip out easily.)
7
Remove the paper, and cut out the center of your letter. You can use pinking shears if you’d like.
8
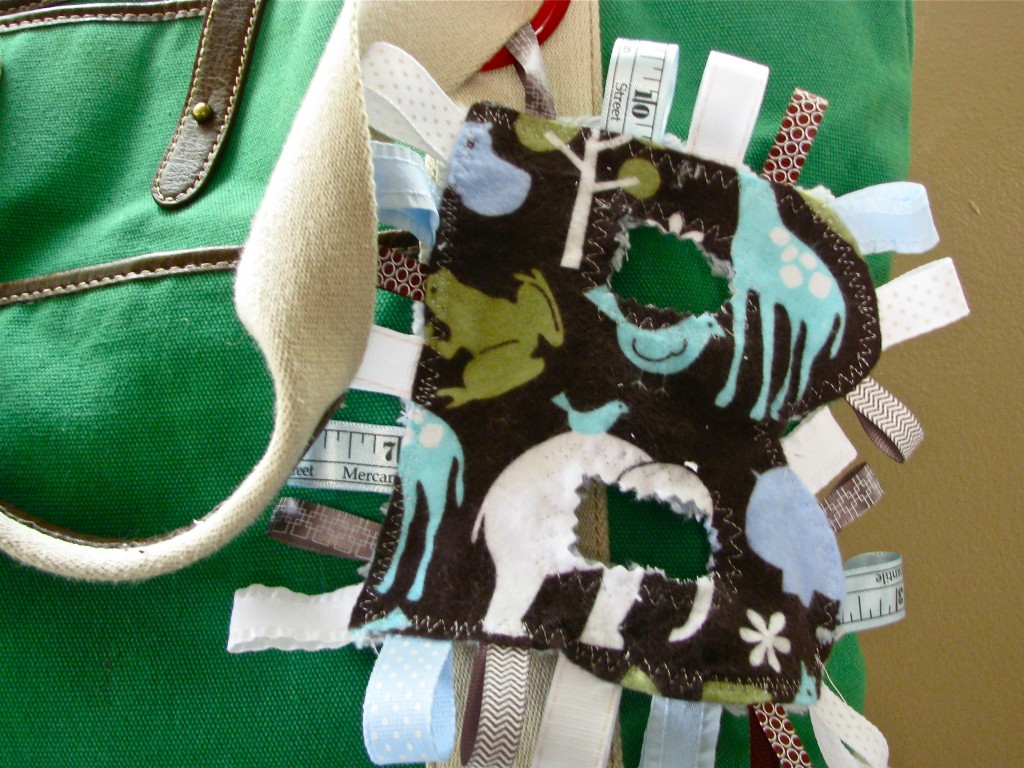
You can add a linking toy to one of the ribbons so it hangs nicely from a diaper bag or carseat handle.
Made By Marzipan may have received product or payment for this post. Posts may contain affiliate links. Disclosed in accordance with the Federal Trade Commission's 16 CFR, Part 255.

 Finished?
Show it off!
