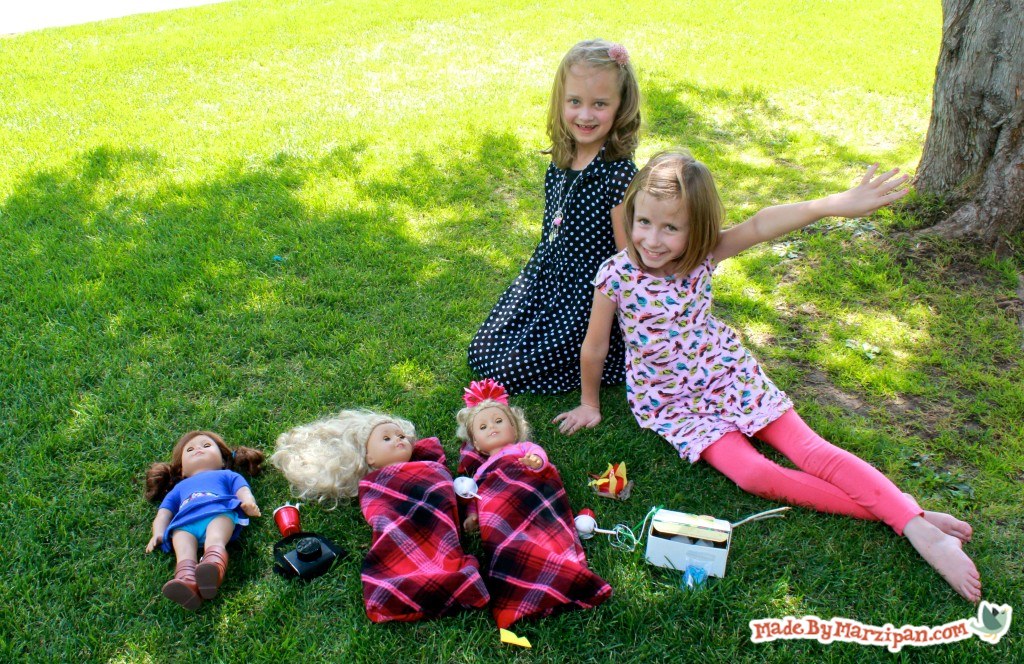
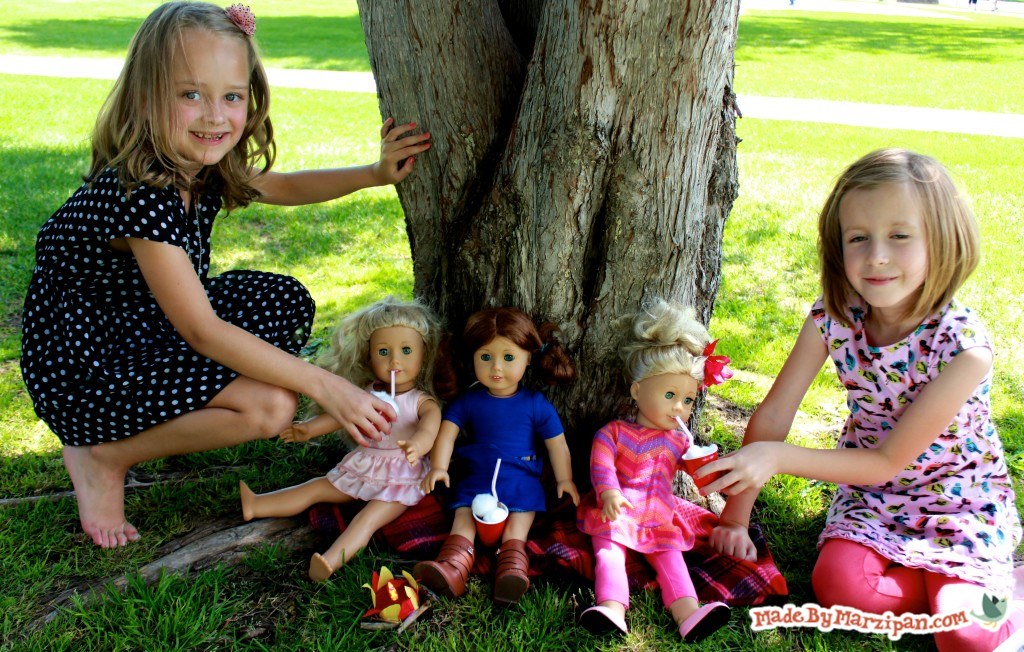
Learn how to make hot chocolate, a cooler with ice, and a sleeping bag with pillow for your American Girl doll!
How to:
made with
cotton balls
small cups
brown paper
tea box
tiny plastic bag
beads
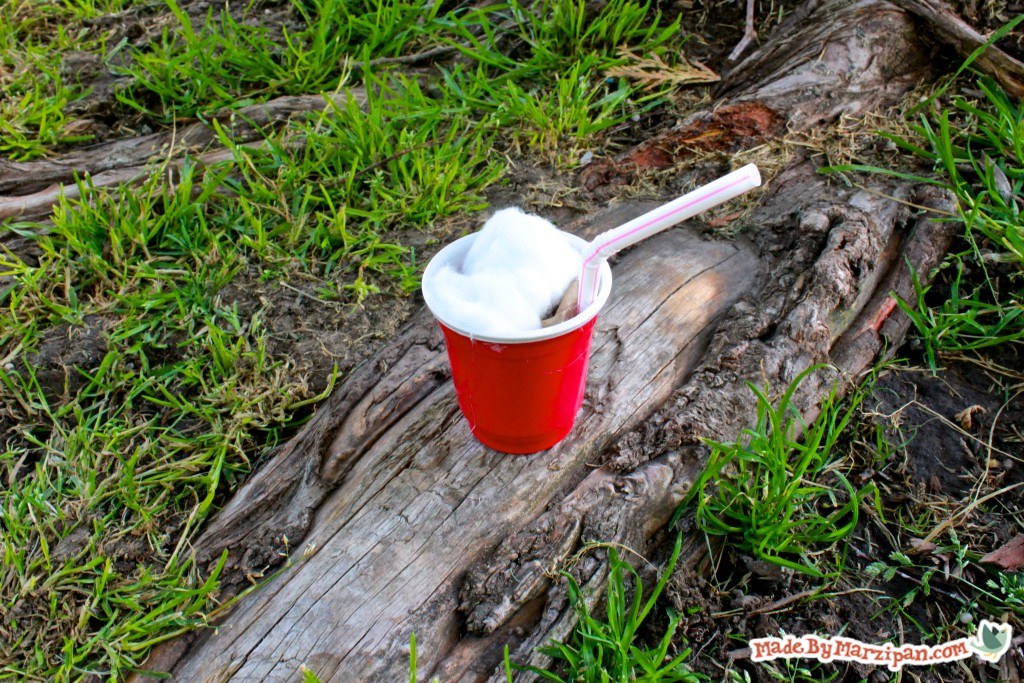
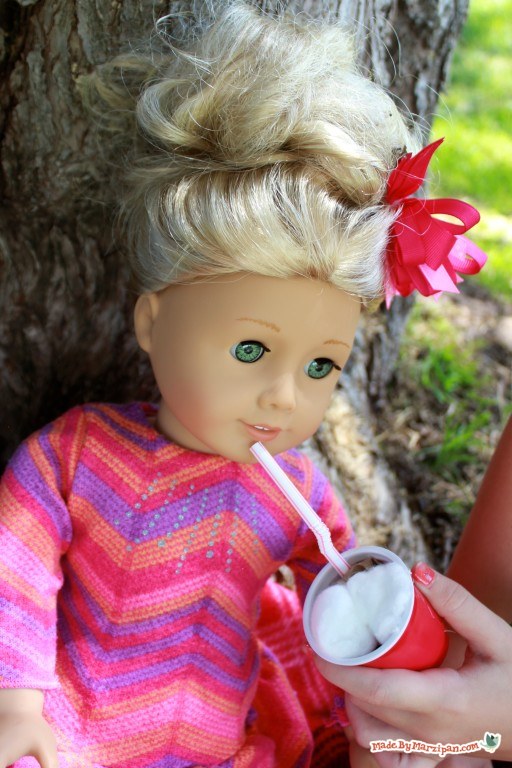
Hot Chocolate
1
You’ll need little cups. We got these at the Dollar Store. Cut a square of brown paper. You can use construction paper or even a brown paper bag.
2
Crumple the paper into a ball and stuff it in the cup.
3
Cut a piece of a plastic straw so it’s a couple of inches taller than the cup. Have a grown-up hot glue it inside the cup.
4
Hot glue a couple of cotton balls inside the cup to look like whipped cream.
Cooler & Ice
1
A tea box is perfect for this. Trace the length of the tea box onto white or red craft foam and cut out.
2
Wrap the foam around the sides of the box and have a grown-up hot glue it in place.
3
Trace the lid but not the flaps. Cut out of white or red craft foam and hot glue to the top of the box.
4
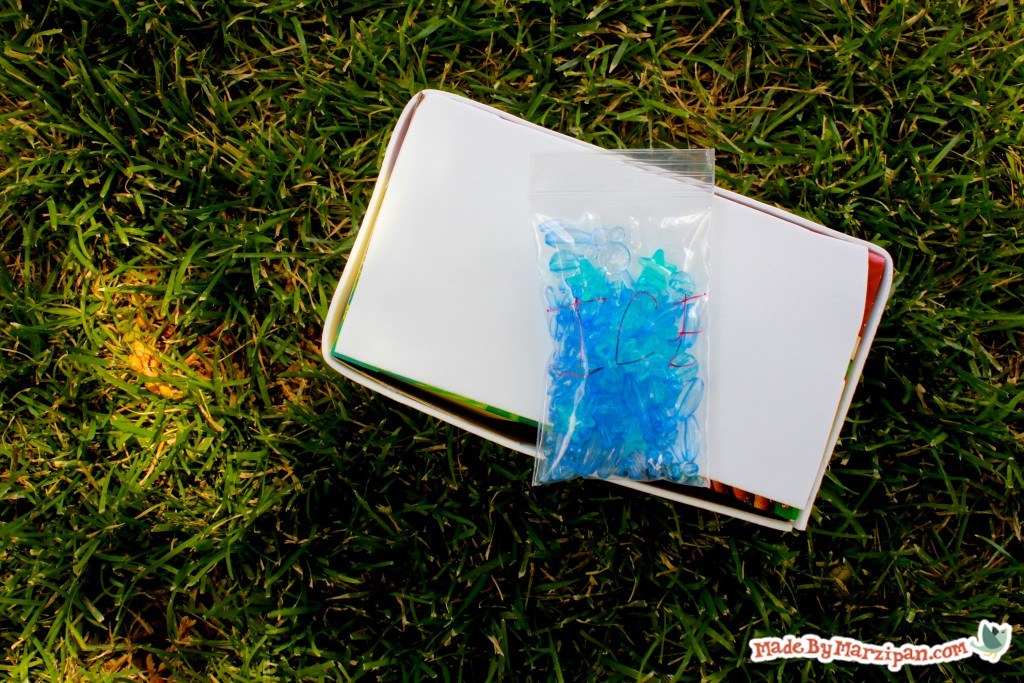
Write “Ice” on a tiny plastic bag with a permanent marker. You can find little bags in the craft or pharmacy section of most stores.
5
We found these clear blue beads at the Dollar Store. Fill the bag so it looks like it’s full of ice.
6
Trim off the side flaps of the box and add the ice. Now it’s ready to store doll food!
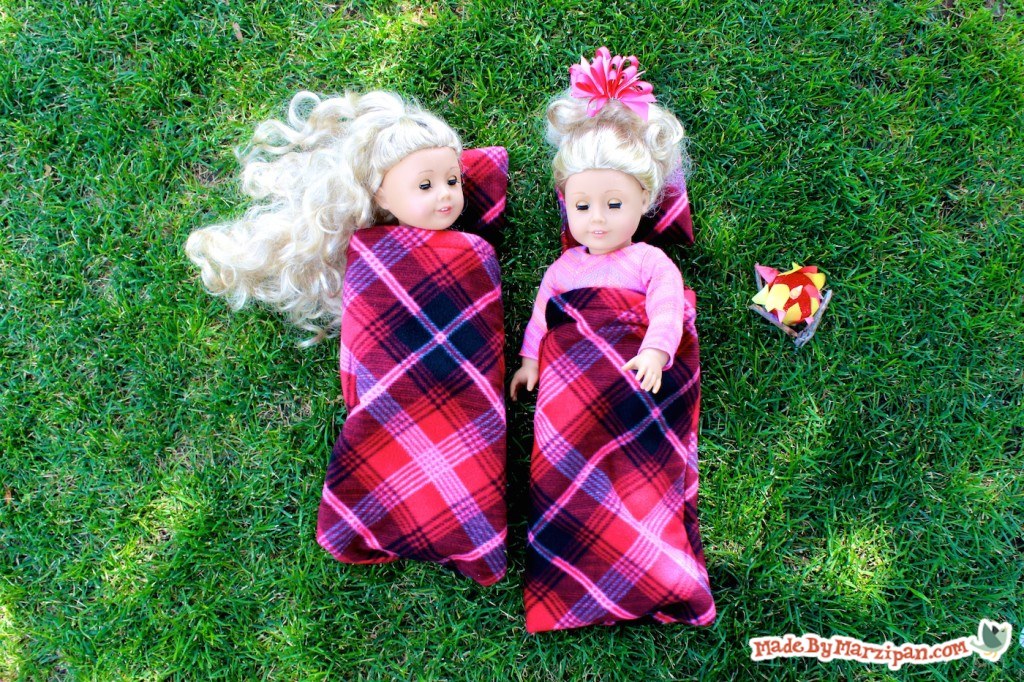
Sleeping Bag
It’s easy to sew a sleeping bag and pillow for your doll. If you don’t know how to use a sewing machine, you can ask a grown up for help while you work the foot pedal.
1
You need to use fleece because the edges won’t fray. Cut out a rectangle that’s about 19 and a half inches tall by 18 inches wide for the sleeping bag.
2
Cut a rectangle that’s 10 by 7 inches for the pillow.
3
With the fabric right-side down, fold down a short end of the sleeping bag rectangle twice so it has a hem about an inch and a half wide. Pin in place.
4
Sew along the inside edge of the hem. Don’t forget to backstitch at the beginning and end.
5
Fold the fabric right-sides together, with the hemmed end at top. Pin along the short bottom and long side.
6
Sew the short bottom and long side with a ⅝ inch seam.
7
Carefully trim off the excess fabric in the bottom corners. Don’t cut your stitches.
8
Turn right side out and poke out the bottom corners. Try it on your doll!
Pillow
1
Fold the pillow rectangle in half, right sides together, so it’s 5 by 7 inches.
2
Pin the long side and one short side. Sew with a five-eighths inch seam. Don’t forget to backstitch when starting and finishing.
3
Carefully trim off the extra fabric in the corners, being careful not to cut your stitches.
4
Turn right side out. Stuff with batting or cotton balls.
5
Fold the top edges of the fabric inward and pin. Sew together at top.
To see Part 1 of this tutorial, click here.
Made By Marzipan may have received product or payment for this post. Posts may contain affiliate links. Disclosed in accordance with the Federal Trade Commission's 16 CFR, Part 255.

 Finished?