Today I’m going to show you how I add my handlettering to a photograph, using Photoshop. This technique looks great on advertisements, website headers, and prints for resale.
Tips:
1
You want to be sure that you’re using a photo that you actually have the rights to, so you don’t have any legal trouble down the road. This video is sponsored by GraphicStock.com, a subscription service that allows you to download royalty-free photos that you can then use indefinitely, even in commercial projects. Click here to try it for 1 week free; use it to download up to 140 images.
How to:
1
I’m downloading this gorgeous photo of a horse. It has plenty of negative space for lettering. I am going to go ahead and crop it into a square, so my finished project will look pretty on Instagram.
2
Print the picture, and use washi tape to add a piece of tracing paper on top. I’m partial to Strathmore’s 300 series tracing paper. This allows us to easily work around the horse’s profile. I’m going to speed up the footage so you can watch the sketch.
3
I’m doing what I call a “wave layout,” with the words following a series of curved lines. I’m loosely following the outline of the horse.
4
Leave a small spacing gap before drawing the cap height guideline for the second series of words. Repeat until your quote fills most of the photo’s negative space. (I’m using a quote by Virginia Woolf.)
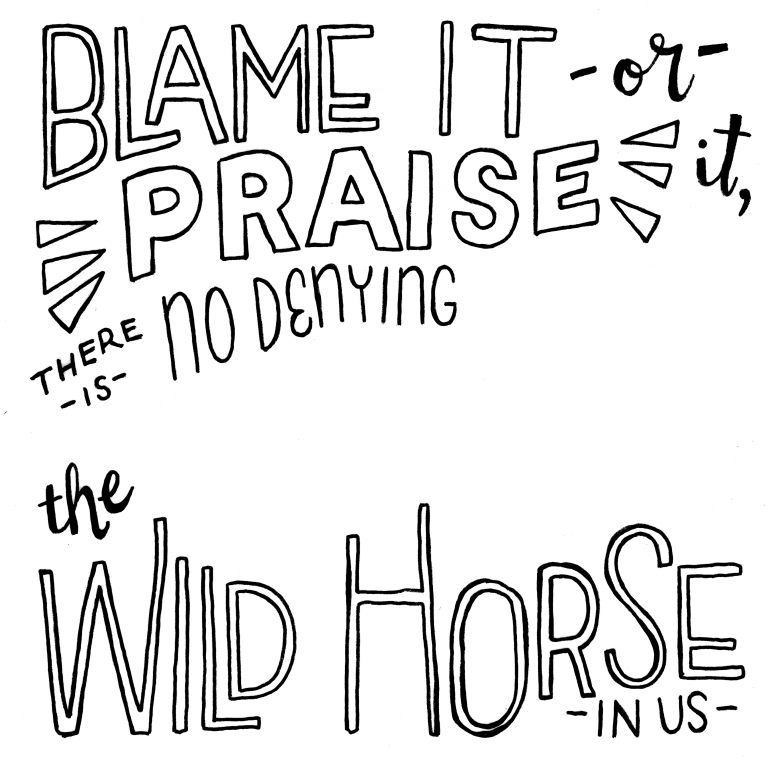
5
Now that I have my sketch done, I can ink it. I’m using my favorite Pigma Micron pen in size 05. I’m not using a ruler at all for this project, as I want the finished design to be somewhere between rough and whimsical. When you’re done inking, gently erase your pencil marks and scan the design.
Now we’re ready to add it to our original picture in Photoshop. I’m going to show you two different ways to do this. The first is quick and easy, but sometimes looks a little rough around the edges. I recommend starting with this method, and then trying the second method if you’re not thrilled with the results.
METHOD 1
1
Place your image of the horse. Then place the image of your lettering.
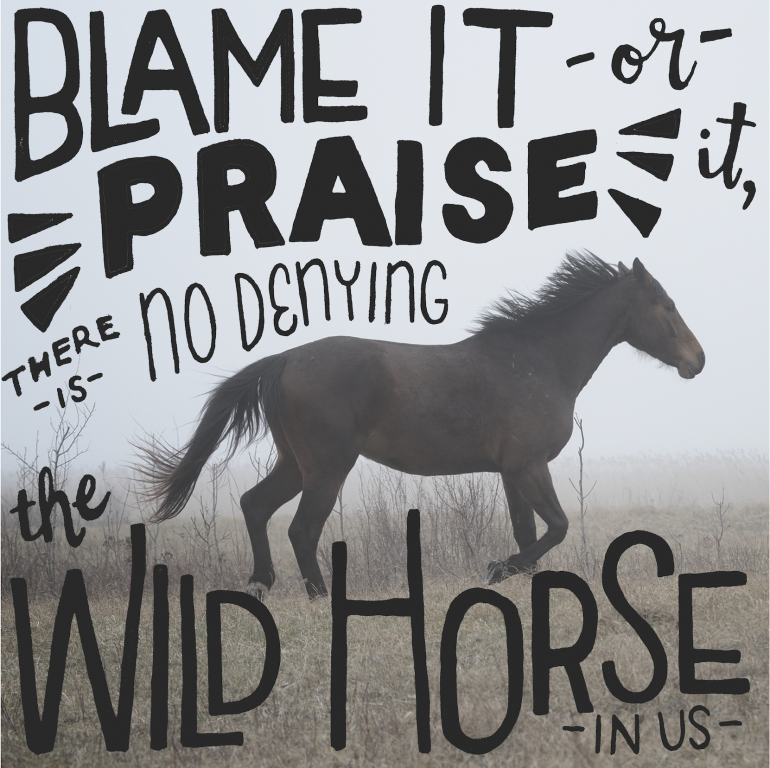
2
We need to remove the white background so we can see the horse beneath. With your lettering layer selected, go to the Layer menu, then select Layer Style, then Blending Options. Slide the top sliding gradient scale to the left, until your background disappears.
3
You can then change your ink color, or fill the letters, using the paint bucket tool.
METHOD 2
1
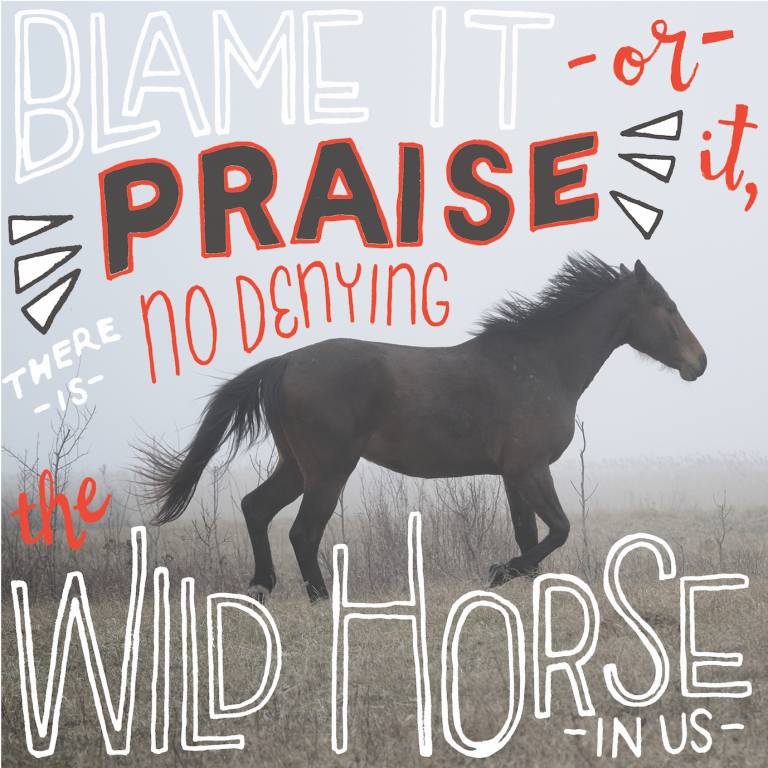
This second method uses a mask, giving you crisper results. Place the horse photo, and then your lettering, as before.
2
Make sure you’re on the lettering layer, and then Select All. Hit copy, then press the Quick Mask button at the bottom of your toolbar. Hit paste, and you should now see your text in pink. Unclick the Quick Mask button.
3
Then make a new layer. Hide the original lettering layer.
4
Make sure you’re on the new layer, and select inverse. Then go to the Edit menu and select Fill, then either Black or Color. Select your desired “ink” color.
5
As with the previous method, you can change outlines and fills using the paint bucket tool.
Lettering is a fun way to add a handmade touch to digital designs and photographs! Click here to see my entire hand lettering gallery!
Made By Marzipan may have received product or payment for this post. Posts may contain affiliate links. Disclosed in accordance with the Federal Trade Commission's 16 CFR, Part 255.

 Finished?