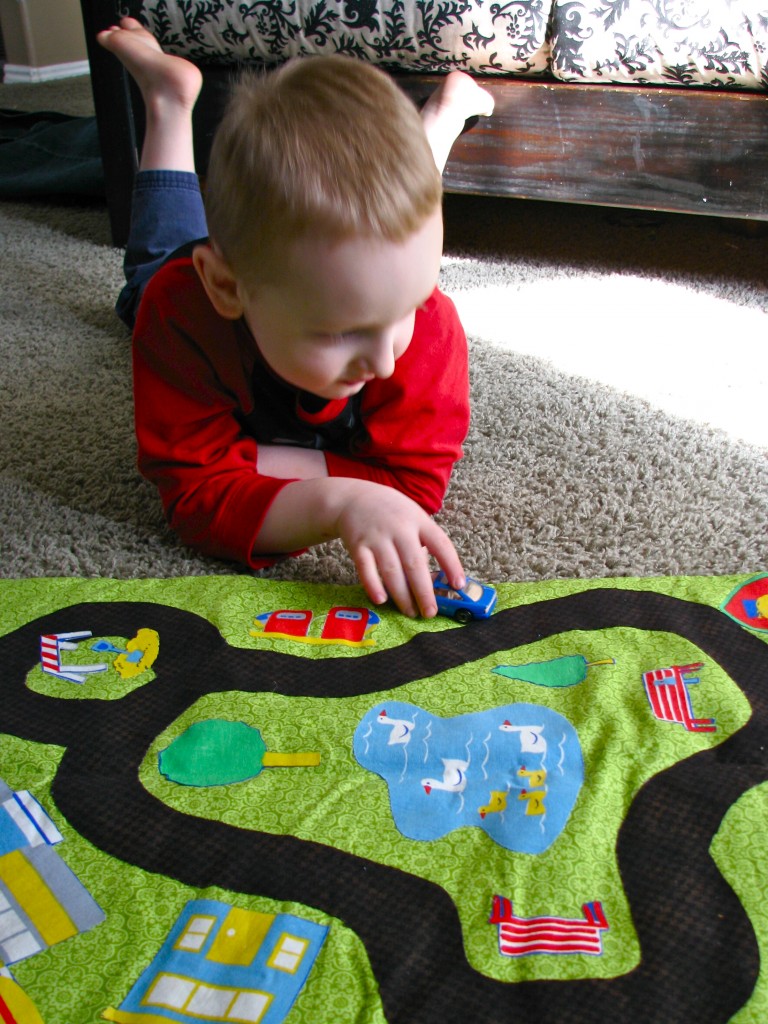

This On-the-Go Car Roll makes playtime portable! It has pockets for six cars and a city to explore.
Tips:
1
I had some fabric in my stash that had a town scene printed on it. It’s been discontinued, but check your fabric store for other fun prints.
How to:
made with
(2) 30x18 in. cotton background fabric
(1) 8x10 in. cotton fabric for pocket
city print fabric (Optional)
double-sided fusible webbing (Wonder Under)
buttons
1
Cut a piece of flannel or cotton to 18 by 10 inches. This will be used for the car pockets. Fold the fabric in half lengthwise, and iron flat.
2
Now we’ll mark the lines for our pocket. First draw lines 3/4 of an inch from the two ends. These represent the seams you’ll have when you sew the mat together.
3
Beginning at the line you drew, draw lines at intervals of 2 and 3/4 inches.
4
Now we’ll cut the background fabric for the car mat. Cut two rectangles that measure 30 x 18 inches.
5
Pin the car pocket securely along a short end of the background fabric. Now we’ll sew them together. You will NOT sew on the first and last lines you drew, at 3/4 of an inch. Those lines will be sewn when the back is added. Instead, start at the next line in. When your’e finished, you should have six pockets.
6
Layer the other background fabric on top of the fabric with the pocket. Place right sides together. I recommend adding a layer of interfacing on top as well.
7
Now we’ll add the elastic closure at the top. Measure four inches in from the righthand edge and pin to the background fabric, with the loop hanging down. Your elastic should be sandwiched between your two fabrics.
8
Sew with a 5/8 seam, leaving a 4 inch hole for turning on a long side. Remove the pins. Trim the four corners at an angle, then turn right side out.
9
Next, sketch a curvy road on the back of black cotton or flannel. Make it about 2 1/2 inches wide. Iron the fabric onto double sided fusible webbing. Cut out the road and remove the paper backing, then iron the road into place.
10
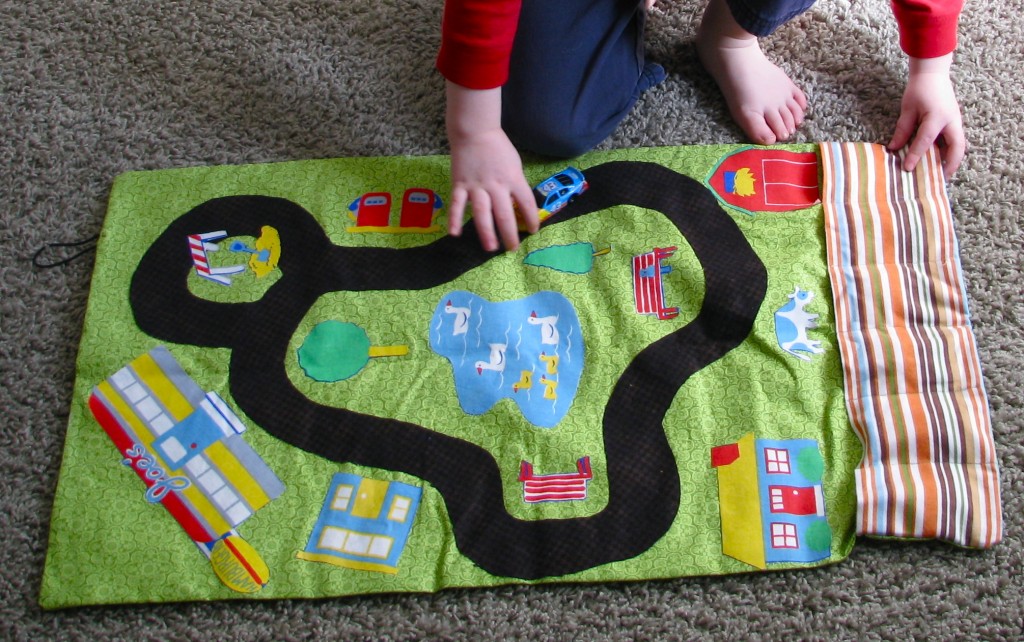
I had this city fabric in my stash. See what your local fabric store has, or make your own buildings from felt. Don’t forget to sew up your hole. If you’d like a more finished look, you can continue topstitching around the perimeter of your car mat.
11
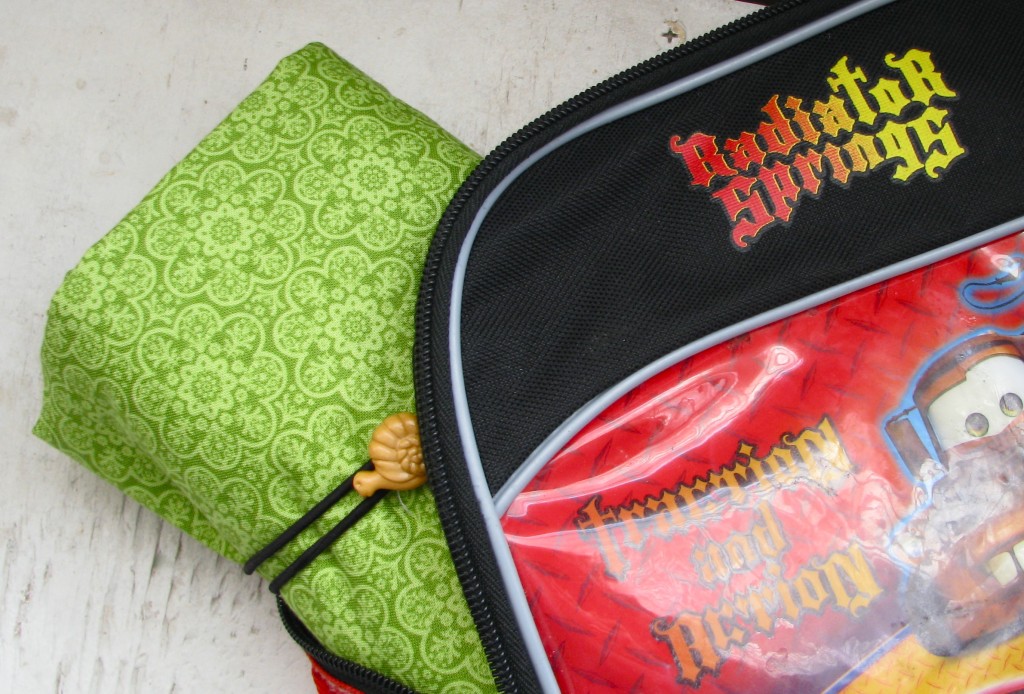
To get the correct placement for the button closure, you’ll need to insert cars, fold the mat in half, and roll up. Pull the elastic tightly and mark where the button should go. Sew on the button and you’re done!
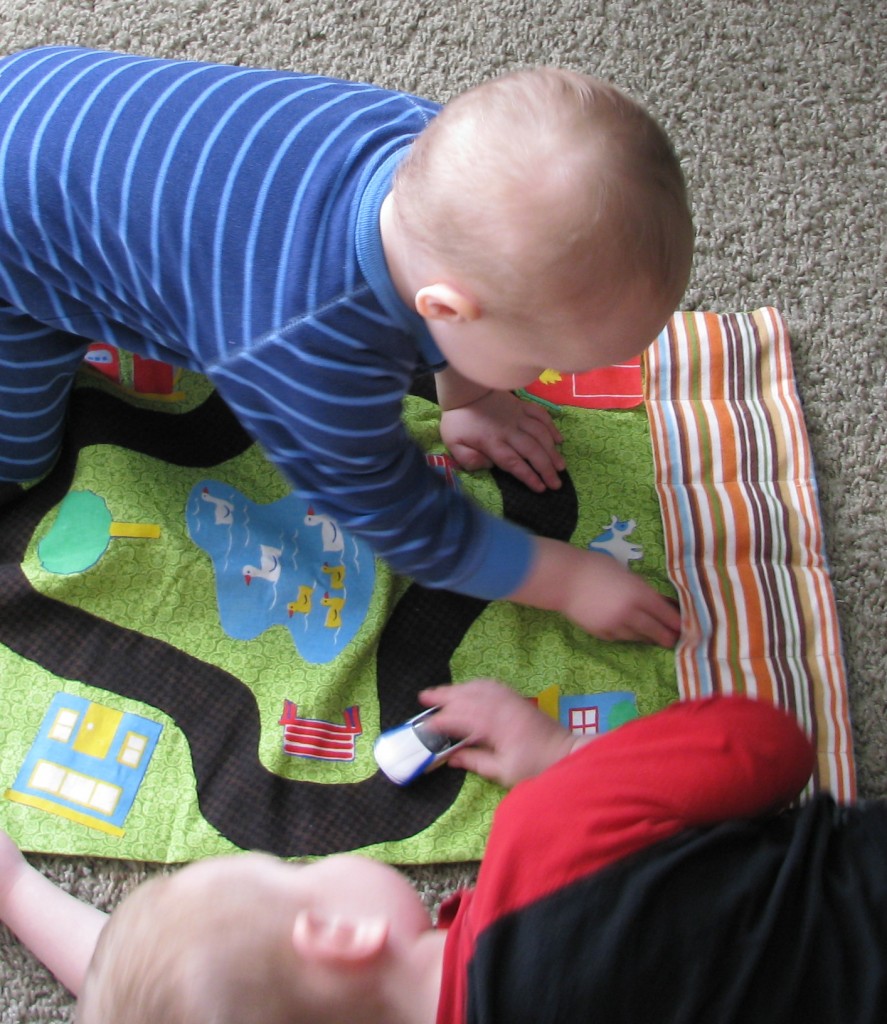
But why stop at a car mat? How about a pasture for ponies, or a battlefield for army men? The possibilities are endless!
Click here to find more toy sewing tutorials!
Made By Marzipan may have received product or payment for this post. Posts may contain affiliate links. Disclosed in accordance with the Federal Trade Commission's 16 CFR, Part 255.

- Cristina
- Steve
 Finished?
Show it off!

This is adorable! You are a genius!