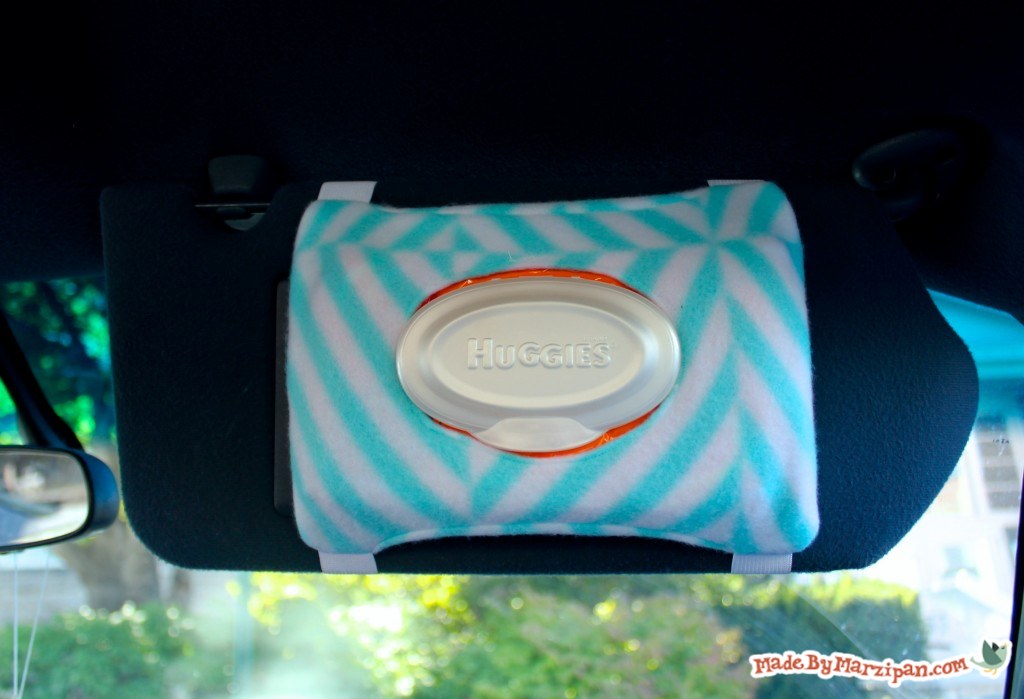
Keep wet wipes within reach when traveling, with Made By Marzipan’s Visor Wipes Holder. Print a free pattern for a Huggies travel pack, or follow the formula to adapt it to your favorite brand.
Tips:
1
We’re going to use fleece for this project, because it has a little stretch and we an avoid adding a lining.
2
If you use Huggies brand wipes, you can print the free pattern by clicking the download link above the “Made With” list. The pattern is for a 32-count travel pack of Huggies wipes. Print using “no margins, no scaling” (100%).
3
Other wet wipe brands have slightly different dimensions and center openings, so follow along to learn how to adapt for other brands.
How to:
1
We’ll begin by getting a couple of measurements. Measure the package horizontally, including the sides. (For Huggies, this is 9.5 inches.)
2
Then measure vertically, all the way around the package. (For Huggies, this is 10 inches.)
3
Now we’ll use these measurements to figure out how to cut the front piece. Add ½ inch to the horizontal measurement to allow for seams. (Huggies: 9.5 + ½ = 10 in.) Divide the vertical measurement by 2, then add ½ inch for seams. (Huggies: 10 / 2 = 5 + ½ = 5.5 in.) Cut one of these pieces (Huggies: 10 x 5.5 in).
4
For the back piece, keep the horizontal measurement the same as the front piece. Add 2 inches to the vertical measurement (Huggies: 5.5 + 2 = 7.5
. Cut one of these pieces (Huggies: 10 x 7.5 in). Then cut this piece in half, to create two pieces that are 10 x 3 ¾ inches.
5
With the back pieces face-down, fold one long edge on each piece back ¼ inch and hem.
6
Now we’ll make the opening for the front piece. If you’re using Huggies wipes, you can use the template on the free pattern. Otherwise, you’ll need to trace the opening using a piece of paper and pen. Then measure ½ inch in from the edge. Cut out, then trace on the wrong side of the front piece in the center. Remove the opening hole.
7
Next we’ll hem the opening with a scant ⅛ in seam. For the most professional results, it’s best to use a blind hem foot, which has a piece of metal that helps to fold and guide the fabric. However, you can use your standard foot if you’d like. Fold the edge of the opening backward and sew on the wrong side of the fabric.
8
Cut two pieces of 1-inch wide elastic to 7 inches each. With the front piece face-up, lay an elastic piece vertically, 1 inch in from the side. Extend the top of the elastic past the top edge by ¼ inch. Add the second piece of elastic on the other side of the opening in the same manner.
9
Layer a back piece face-down on top of the elastic and front piece, aligning the edges at top and sides. The hemmed edge should be at center. Pin.
10
Adjust the elastic at bottom so that only ¼ inch extends past the fabric. Add the remaining back piece as you did the first. The back pieces will overlap at center. Pin.
11
Sew all the way around the edges with ¼ inch seam. Trim the corners diagonally to reduce bulk, being careful not to snip your stitches.
12
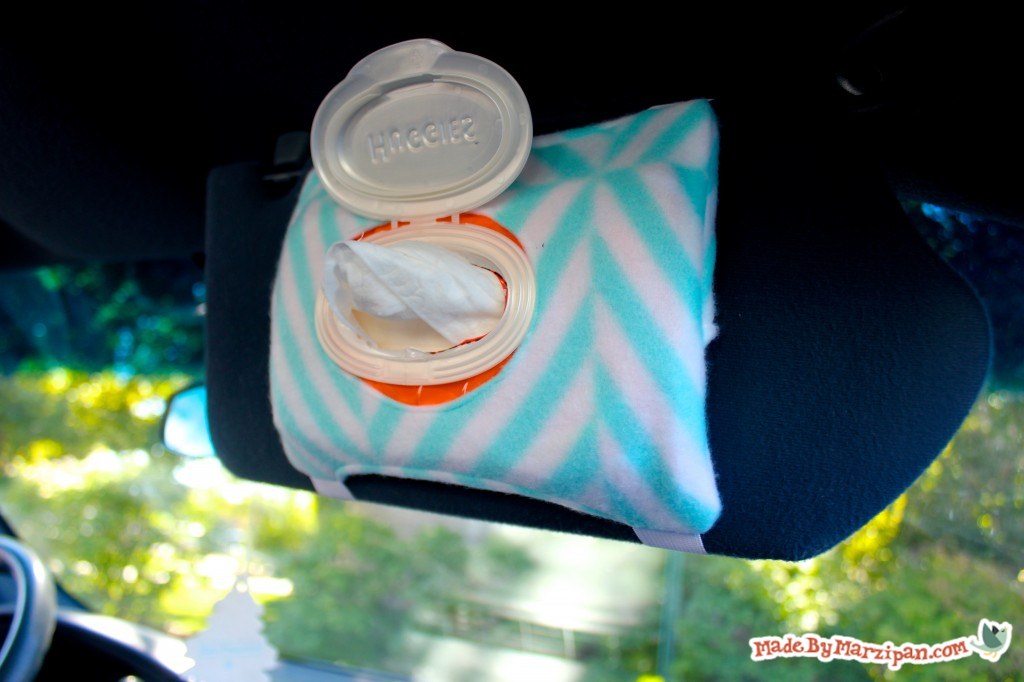
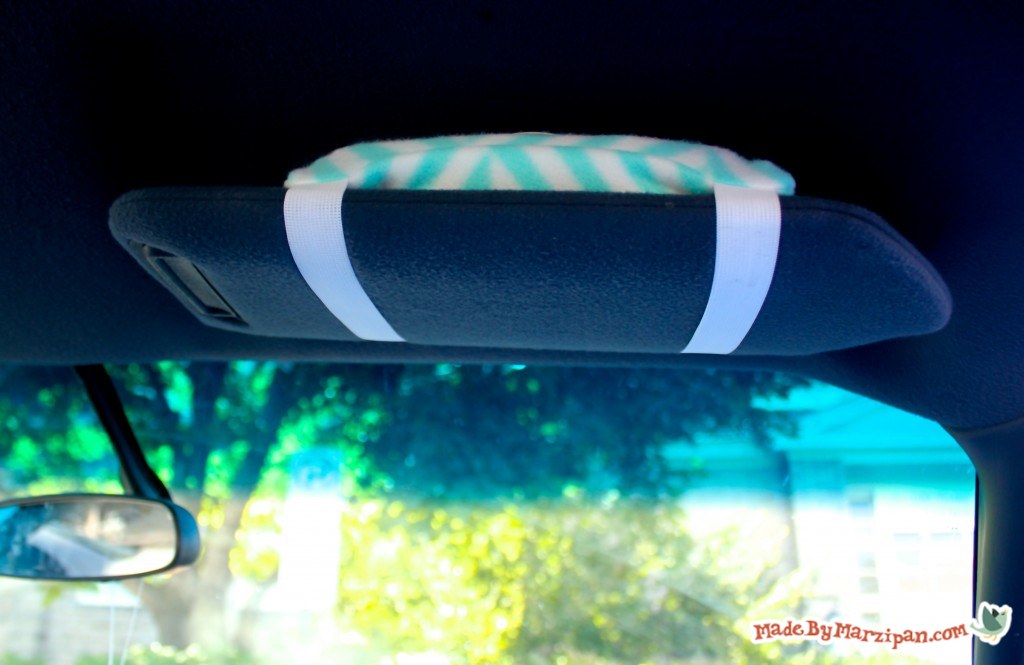
Turn right side out through the opening and poke out the corners. If necessary, flip the elastic to the back. Insert the wipes through the opening in back. Hang on the visor using the elastic straps.
Made By Marzipan may have received product or payment for this post. Posts may contain affiliate links. Disclosed in accordance with the Federal Trade Commission's 16 CFR, Part 255.

 Finished?
Show it off!

This would work for the puffs softpacks. My son, age 5, has allergies real bad and is always needing a tissue in the car.
Thanks for the pattern!
Emily