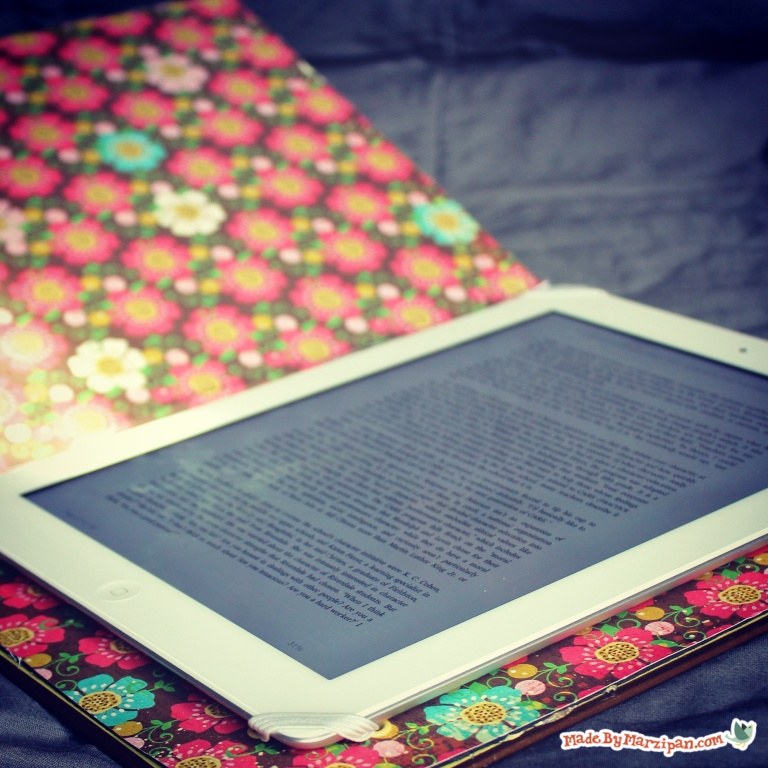

If you love to curl up with a good book on your e-reader or tablet, this project is for you! Recycle an old, damaged book into a protective cover for your device.
How to:
made with
1
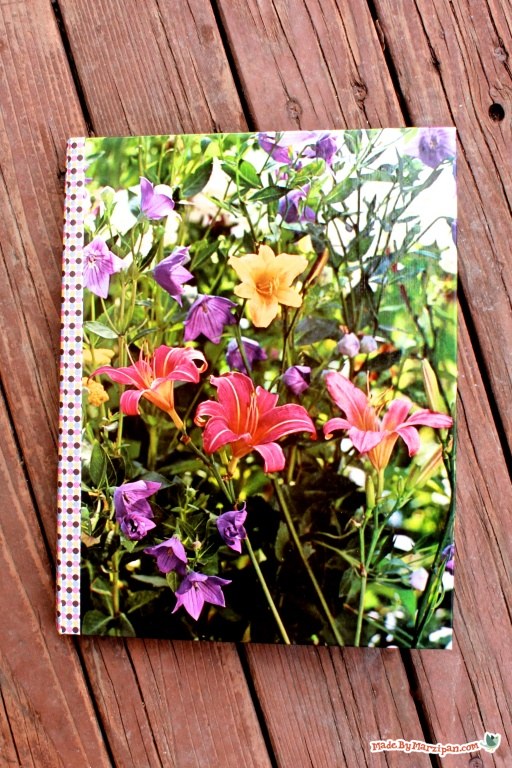
Select a book that is at least 1 inch wider and taller than your device. It also needs to have a spine that is at least as wide as your device. Please choose a book that is already falling apart… we love books!
2
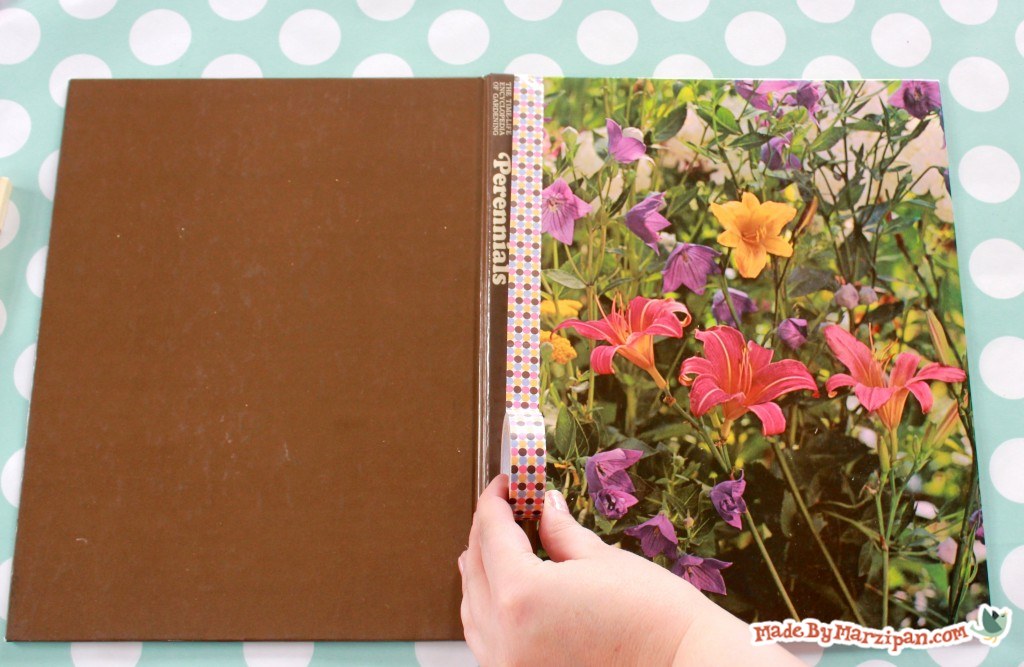
Remove the book’s pages by carefully slicing the endpapers along the inside spine with a craft knife.


3
If you don’t want the title of the book to be visible, you can cover the spine by wrapping it in book tape, decorative duct tape, or washi tape.
4
Cut two pieces of patterned paper and a piece of medium weight chipboard to the same size as the book’s paste-down (the paper on the interior of the cover). If the spine of your book is in poor condition, you can also cut a piece of chipboard to reinforce the spine. Cut it about 1/8 inch narrower than the width of the current spine. Cut a piece of patterned paper to the same dimensions to cover it.

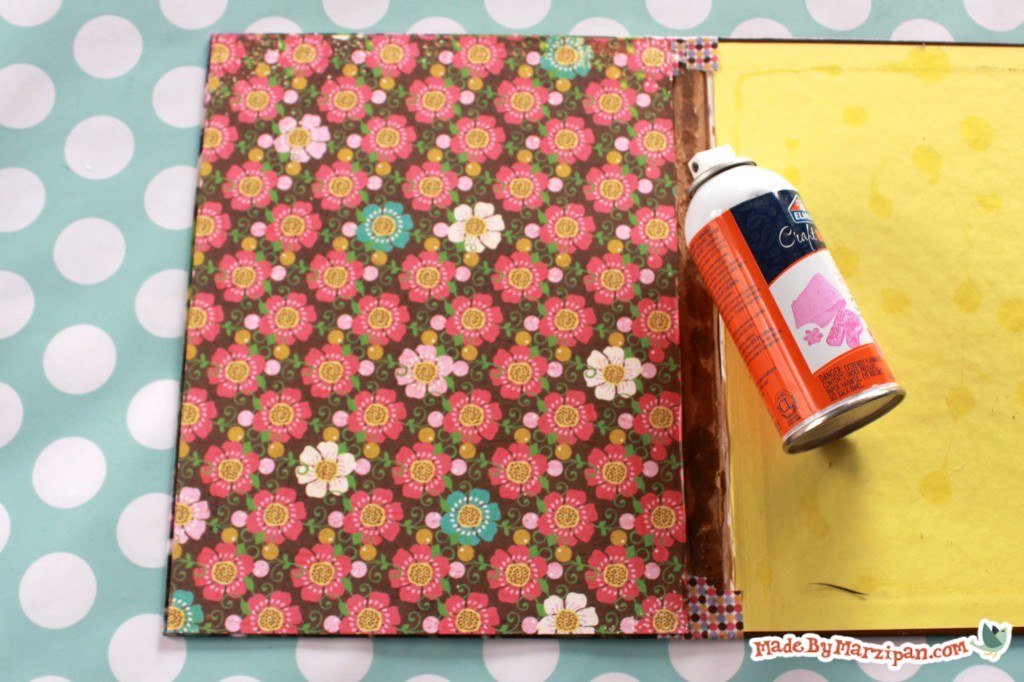
5
Use a spray adhesive to adhere one sheet of patterned paper to the left interior cover.
6
Adhere the other piece of patterned paper to the chipboard paste-down. If you cut a piece of chipboard for the spine, cover that with patterned paper as well.

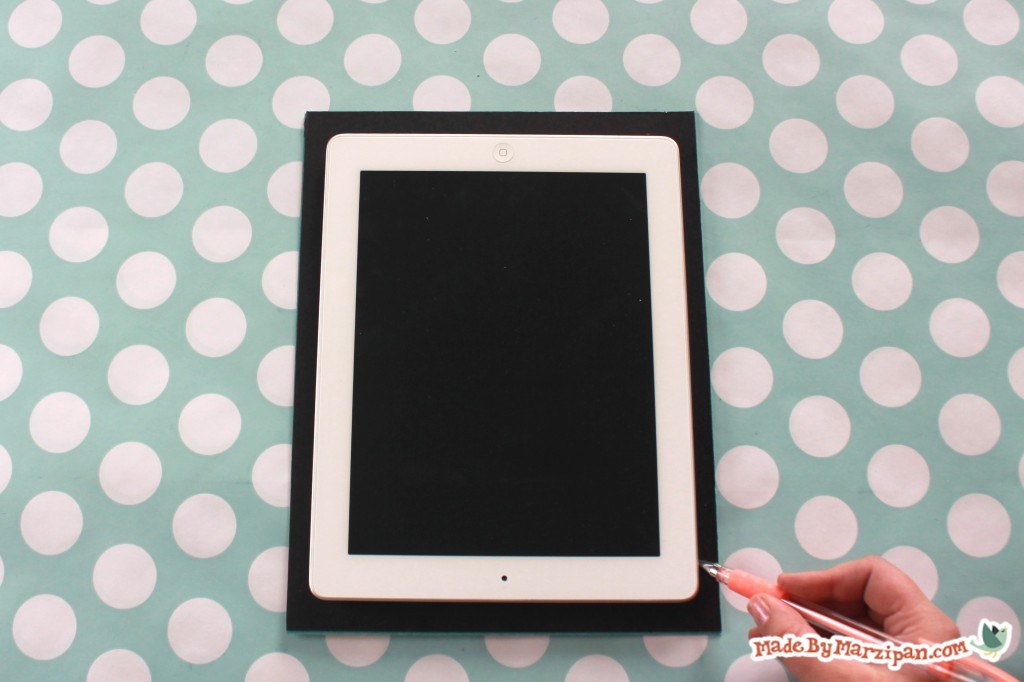
7
Turn the chipboard paste-down piece over, so the patterned side is face-down. Center your device on top and trace it.
8
Measure one inch from each corner, then go inward ¼ inch. Mark this measurement for the eyelet placement. There will be two eyelets in each of the four corners, placed diagonally.
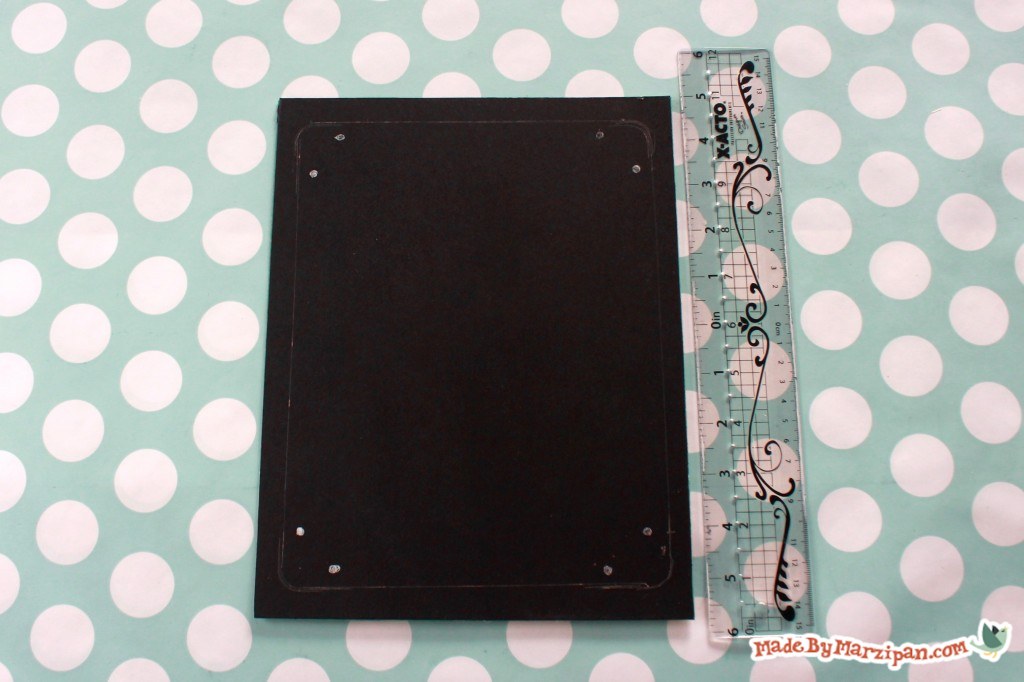
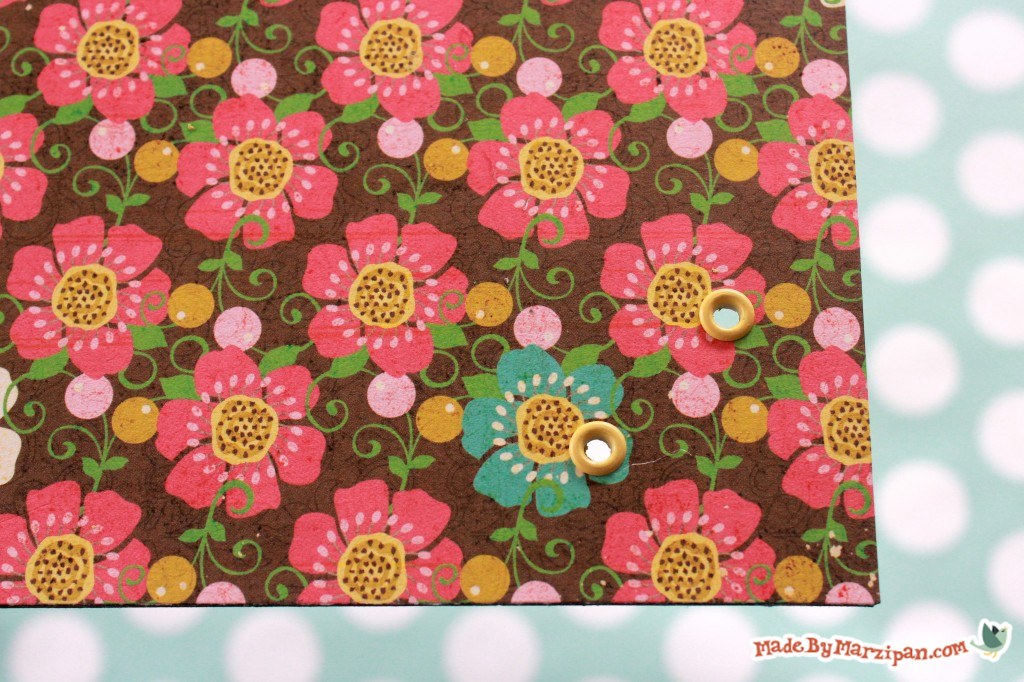
9
Punch the holes, then add eyelets using an eyelet setter.
10
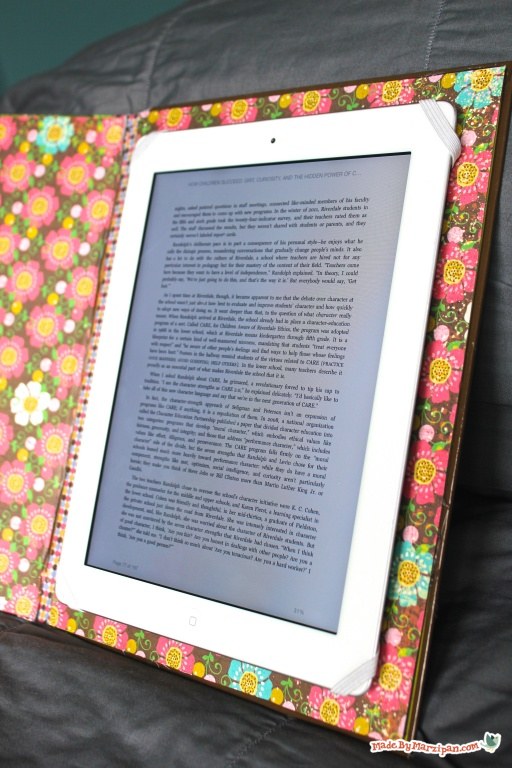
Cut four 6-inch segments of ¼-inch wide elastic. Thread both ends of an elastic piece downward through the eyelets.

11
Carefully slide your device into place, with the elastic going over each corner.

12
Gently turn it over, then tie the elastic segments with snug knots on the back. Remove the device.

13
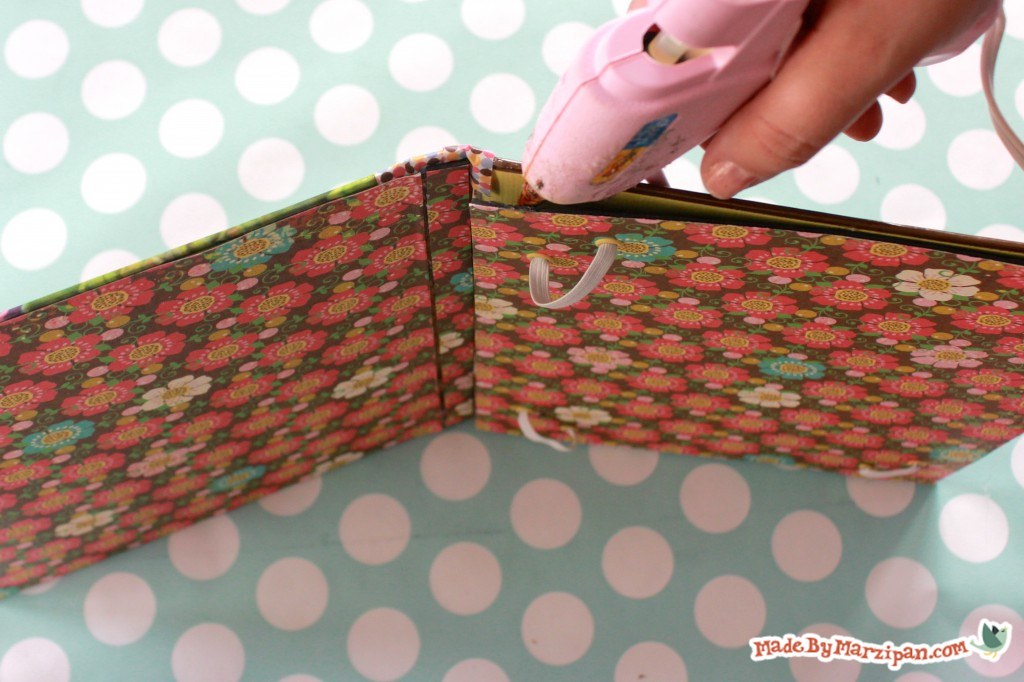
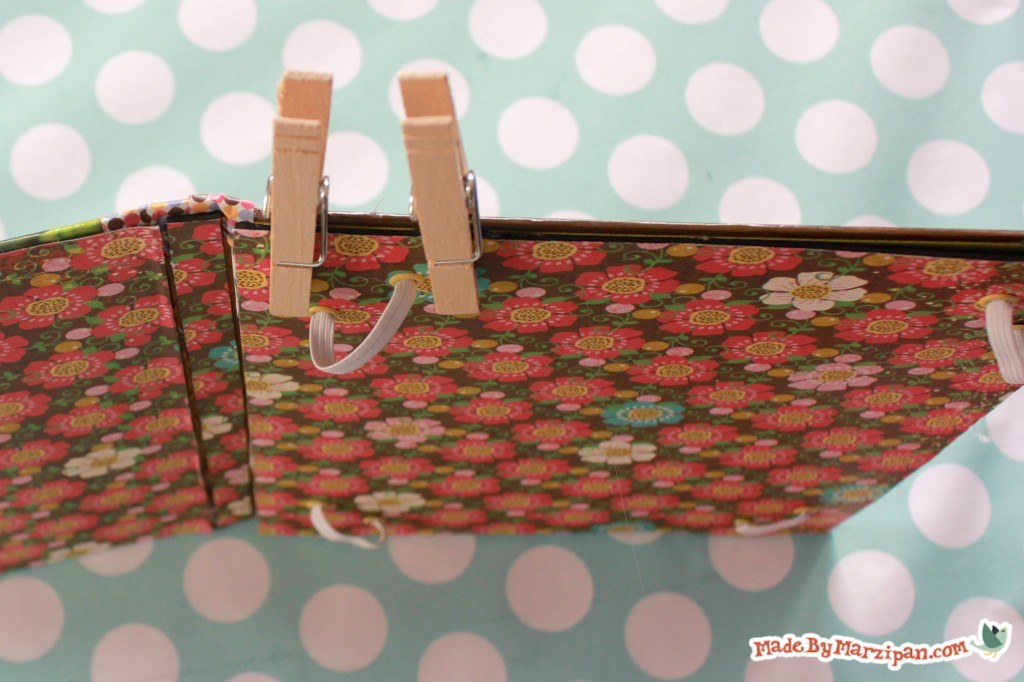
Add a generous amount of hot glue to the back of the chipboard paste-down and press firmly to the right interior cover of the book. If you’ve made a spine piece, hot glue that as well. The eyelets and elastic will lift the chipboard away from the book cover at the corners. Minimize this by adding hot glue inside the gap, then immediately securing the chipboard to the cover with clothes pins or clips. Wait a few minutes before removing.
14
Add your device and enjoy your new cover!

Made By Marzipan may have received product or payment for this post. Posts may contain affiliate links. Disclosed in accordance with the Federal Trade Commission's 16 CFR, Part 255.

 Finished?
Show it off!
