Has the rock hiding craze hit your area yet? It’s a community game, where people decorate ordinary rocks and hide them in public areas. If you find a rock, you can either keep it or rehide it for someone else to find. You can share what you make and find on social media. Today I’m going to show you how I decorate my rocks, so you can join in the fun.
How to:
1
First you’ll need to find some smooth rocks. I found most of these when I tilled my garden, but you can also find rocks in nature. Medium-sized rocks are easier to draw on, but I prefer the smaller rocks because they’re trickier for rock hunters to find.
2
Rinse and dry the rocks.
3
I like to add a primer coat of white acrylic paint because it makes my colors pop. I recommend covering your work area in newspaper or wrapping paper to keep your desk clean. Let the paint dry completely before moving on to the next step.
4
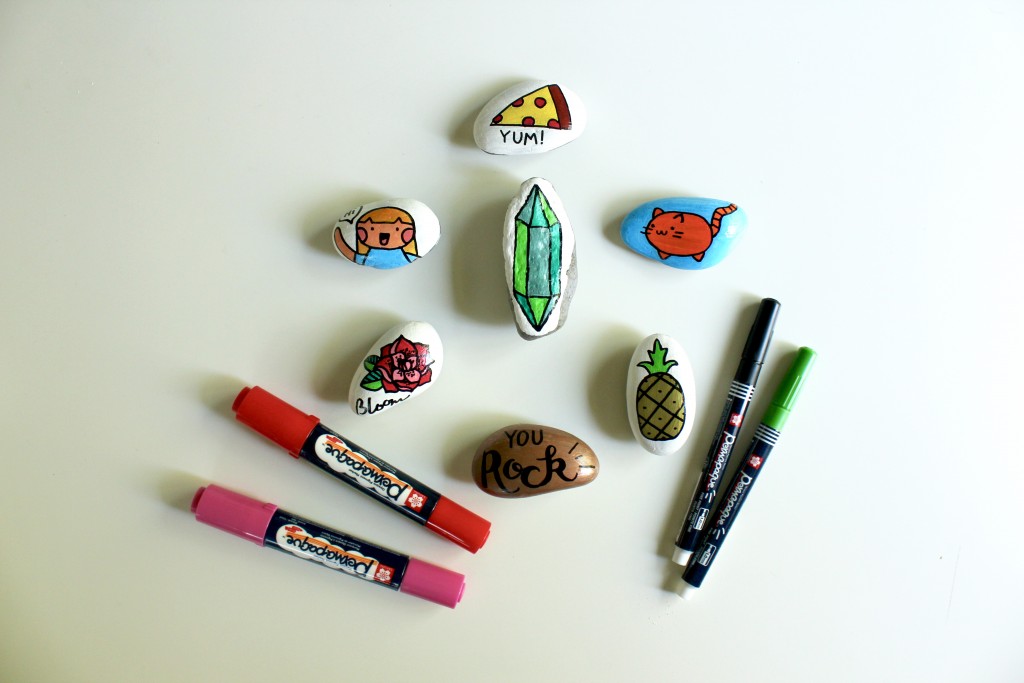
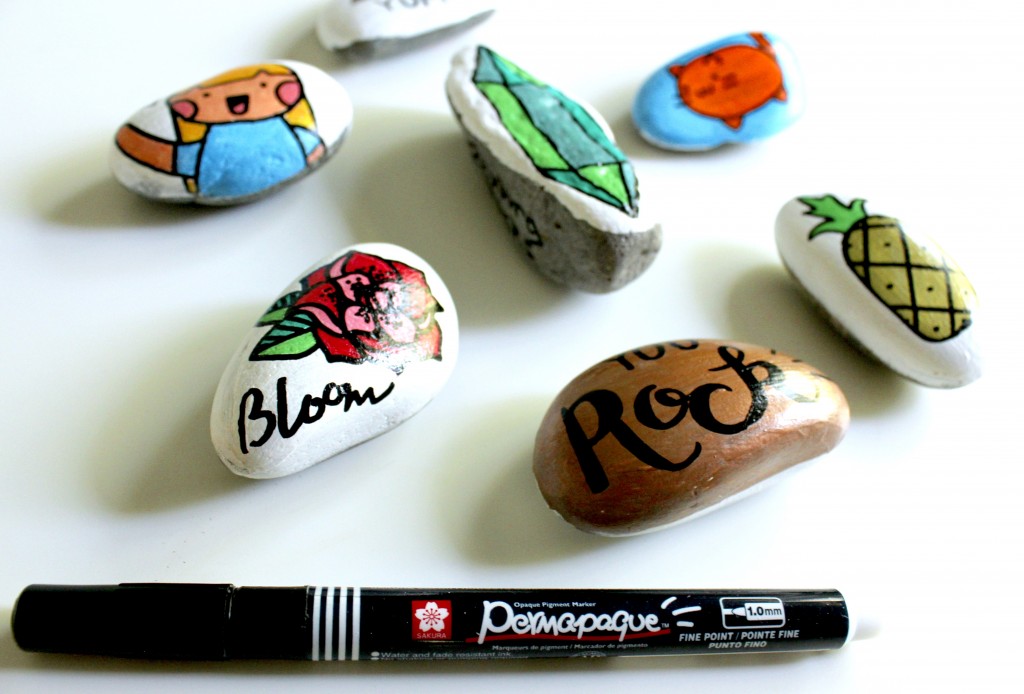
Some people like to only use acrylic paint on their rocks, but paint can be messy, and it’s hard to add detail on small rocks. Other people use markers, but they don’t show up as well as paint does. I think the best solution is to use markers that have paint-like ink. I prefer Permapaque markers by Sakura. They contain opaque ink that has the vibrancy and coverage of paint. They have dual tip markers, with a chisel point and medium point, as well as fine tipped markers. They’re easy to control and mess-free.
5
You can draw pretty much anything on your rocks, as long as it’s family-friendly. You never know who might find your rock! You can doodle food, animals, or pop culture characters. You can make designs and patterns, or try a landscape. You can even hand letter a positive message.
I’ve found that outlining my drawings with a black Permapaque marker makes them stand out more. I like to use the fine tip markers for detail work, the medium point for filling in smaller areas, and the chisel tip for filling in backgrounds.
6
Don’t forget to label your rock with a hashtag, if you hope to see it shared on social media. Many communities have Facebook pages, often the name of the city followed by “rocks,” such as Vancouver Rocks. Do a quick online search to see if there’s a group in your area, if not, you might want to consider starting one.
7
Finally, spray your rocks with a clear coat to seal them and make them weather-resistant. Be sure to spray in a well-ventilated area. Placing your rocks in a disposable pan or box will keep the spray where you want it.
8
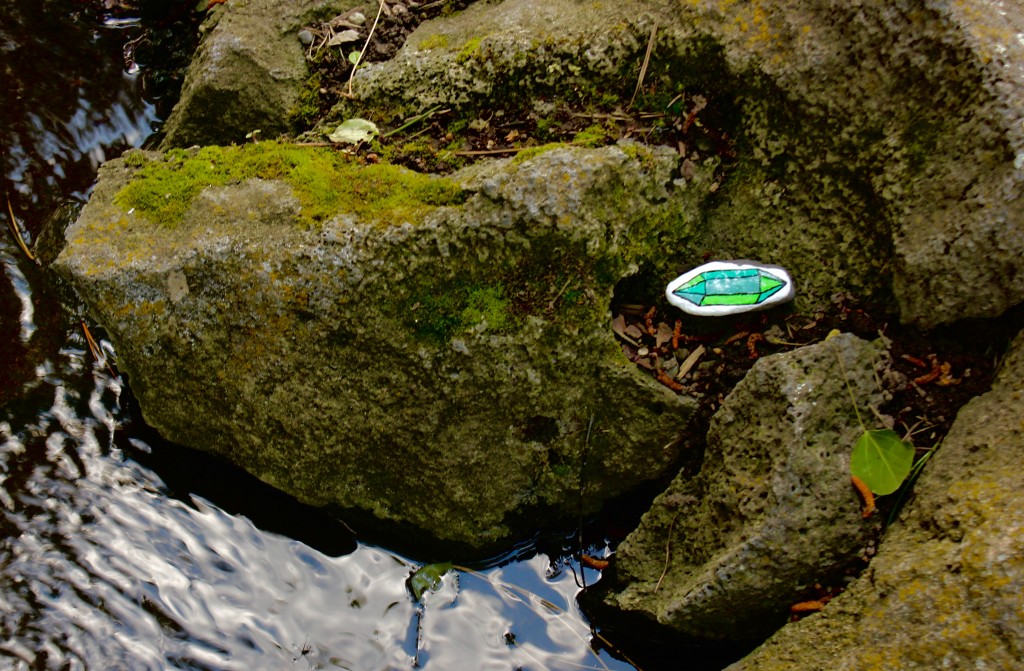
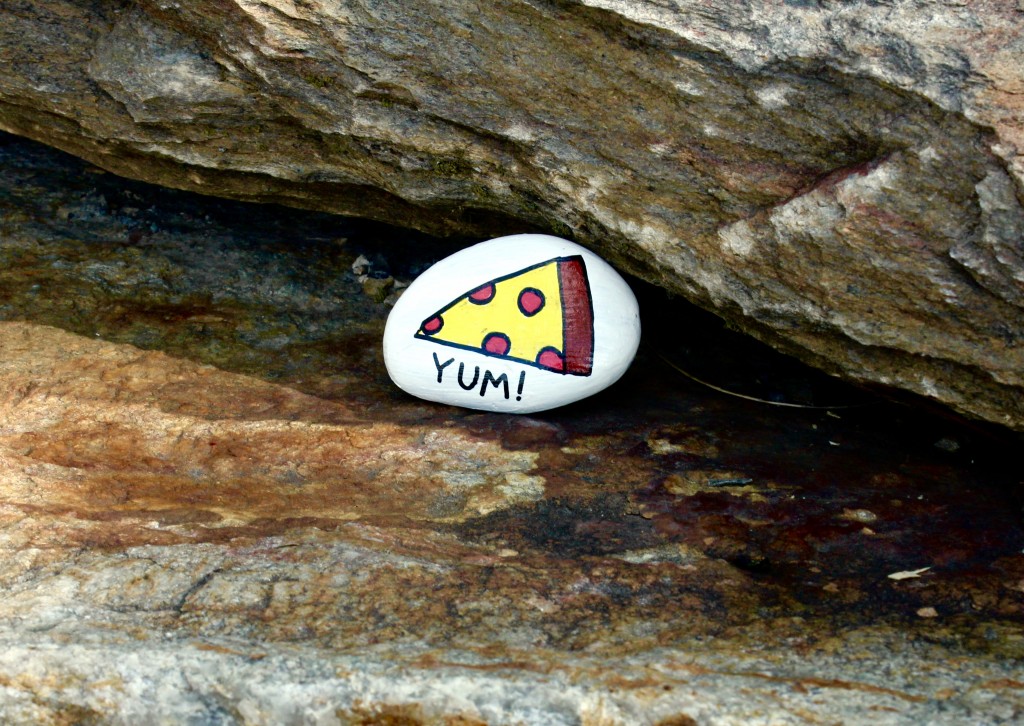
Allow to dry, and then it’s time to hide! Public parks and nature trails are a great place to stash your rocks, but avoid placing them in grassy areas, because they can damage lawnmowers. Never trespass, and only hide your rocks in locations that are safely accessible. Keep the game safe and fun for everyone.
9
Once they’re hidden, you have the option of posting a hint on social media for local rock hunters. Keep an eye on the page to see which of your rocks have been found!
Rock decorating and hiding is a fun way to share small works of art with your community. Happy hunting!
Made By Marzipan may have received product or payment for this post. Posts may contain affiliate links. Disclosed in accordance with the Federal Trade Commission's 16 CFR, Part 255.

 Finished?
Show it off!
