For decades, my father carried a little notebook everywhere he went. He used it for note-taking, list-making, and planning. I used to tease him about it, but as it turns out, he was just ahead of the Bullet Journaling trend.
Today’s concept of Bullet Journaling stems from designer Ryder Carroll, and you can learn more about his methods on BulletJournal.com. Like my father’s notebooks, these bullet journals are a highly customizable approach to organizing your life. You can use a bullet journal for Scheduling & prioritizing, to-do lists, tracking habits, and making goals.
1
You’ll need a high quality notebook or journal. I chose a Leuchtturm1917 journal with dotted pages. Your journal will be handled daily, so look for one with a sturdy cover and secure binding.
2
You’ll also need some good pens. It’s pretty disappointing when your ink accidentally smears, or bleeds through onto other pages, so you’ll want to invest in a few high quality pens. I recommend trying a
Pigma® Micron® PN pen by Sakura. These pens feature the Pigma® ink I trust, paired with a new, durable plastic nib that’s great for everyday writing. These come in several colors, but I’m sticking with black and pink for most of my journal.
1
Now we’re ready to set up our journal. This particular journal has a spot to write your name and address in the front. That’s followed by an index, or table of contents. If your journal does not have a printed index, you’ll want save the first 3 or 4 pages to serve as your index.
2
So I’m going to skip past that, and create a
key page. The
key page is a list of symbols, or “signifiers,” that you use when scheduling. This is sometimes referred to as rapid logging. You can use standard symbols, or you can come up with your own.
- When you have a task to complete, place a dot by it.
- If you’re currently working on that task, you can put a slash through it.
- When you’re finished, turn it into an X to show it’s been completed.
- If a task on your list doesn’t get done that week, you’ll want to migrate > it to the next week.
- Unless you decide it isn’t important, and then I like to use a delete mark to show it’s been canceled.
- I also use a cloud to symbolize an idea I want to think about,
- and a smiley face to note things that made me happy that day.
Feel free to customize your key in a way that works for you.
3
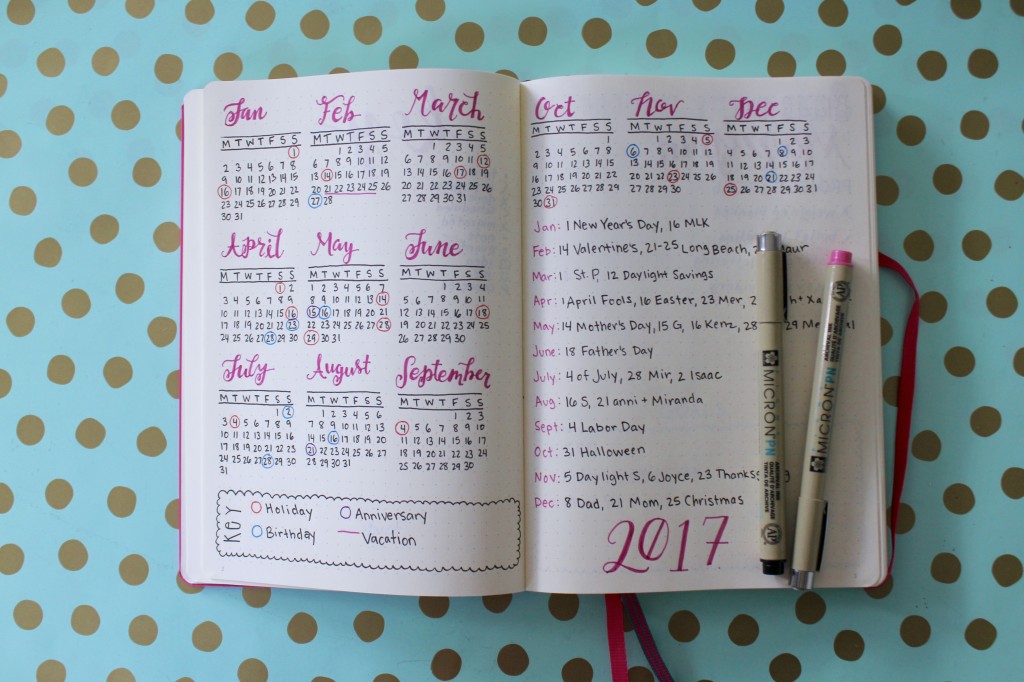
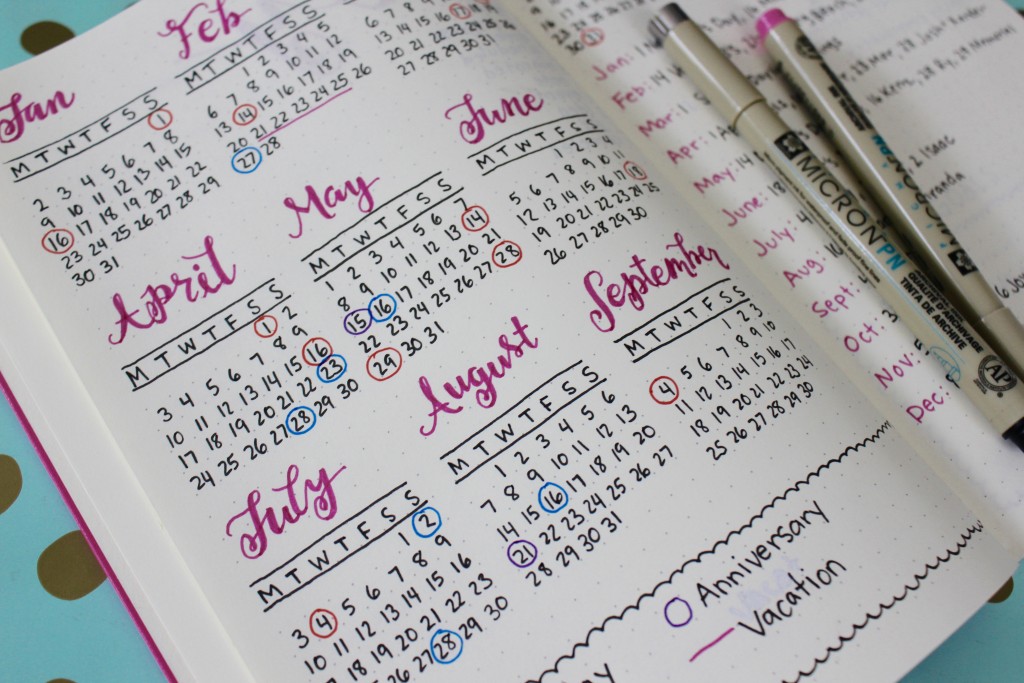
Use the next two pages for your
future log, which is just a fancy way of saying yearly calendar. This provides a big picture view. I’m drawing a mini calendar of each month. Since I live from weekend to weekend, it makes more sense for me to start my weeks with Monday instead of Sunday. Use the dots as guidelines. I’m using different colored pens to mark holidays, birthdays, anniversaries, and vacations. I’m also writing a list that references each marked date.
4
Next we’ll create some
tracking pages. Some people call these “collections” or “modules.” These are pages dedicated to important projects or goals that you’ll work on throughout the year. You may want to create one for your blog, or your fitness goals, or home improvement projects. I like to reserve two pages for each item I’m tracking.
I’ve created a tracking page for my website, Made By Marzipan. I need an area to list project ideas. I recently finished the Weighted Blanket tutorial, so I can turn the dot into an X. I’m in the process of filming this journaling tutorial, so it gets a slash to show it’s progress. I’m also adding a section for goals, large tasks that I’d like to complete throughout the year.
Continue adding tracking pages as needed.
5
I’m jumping straight to my
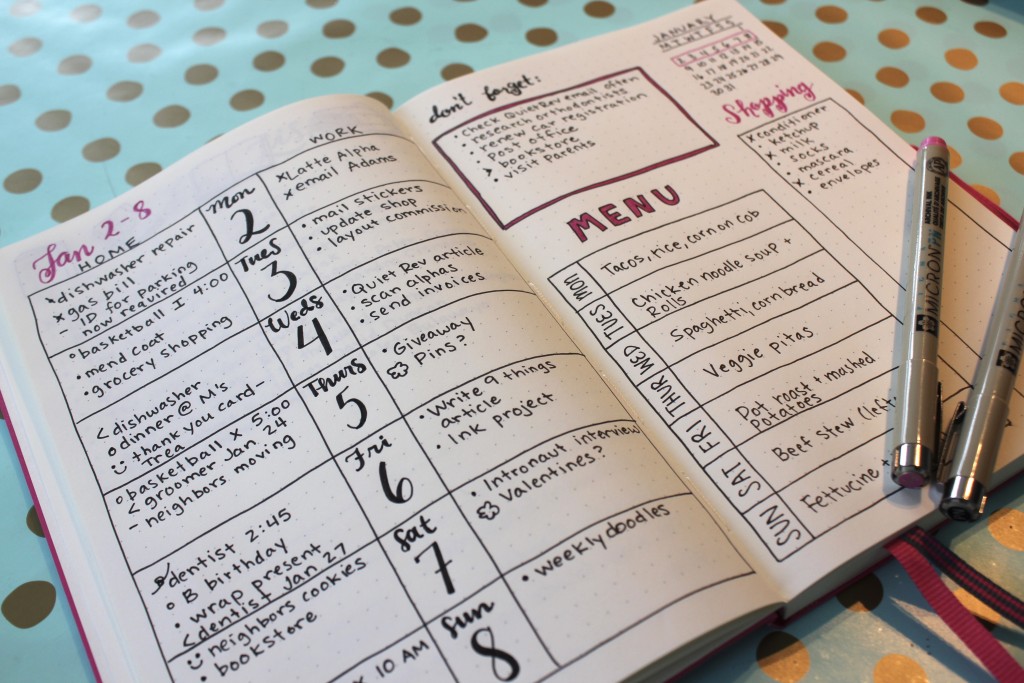
weekly logs next. Some people like to add a monthly log first, but I’ve found that between my future log and my weekly logs, I didn’t really need it. The weekly log is where I write my daily to-do lists. I’m dividing the page into 7 equal rows. It’s helpful to count the dots when doing this. I like to separate my home and work tasks.
On the opposite page, I’m including a little calendar that highlights the current week.
There are also some things I need to do whenever I find the time. So I’m going to add a little “don’t forget” box for those miscellaneous items. If I find a place to squeeze one of these tasks into my schedule, I change the to-do symbol into the “migrate” symbol, and move the task to the correct day. Any tasks I don’t complete this week will be migrated to the following week or canceled.
I’m also adding a shopping list and menu. However, you may want to use this space to track your exercise, sleeping, or spending habits.
6
Now we can go back and create our
index, or table of contents. Remember that your bullet journal should be flexible enough to work around your life. It’s okay to add another tracking page in the middle of the book, or to change the format of your weekly logs.
I hope you enjoyed seeing how I set up my bullet journal. But remember, a bullet journal is meant to work around your life, not complicate it. So if an aspect of your journal isn’t quite working for you, change it up. Make it your own, and it will become a valuable tool for organizing your life! Sponsored by SakuraOfAmerica.

 Finished?
This is so helpful
You at rainbows and unicorns to my life. Your positive attitude is WOW……