Learn to sew a weighted blanket with this easy video tutorial!
Tips:
1
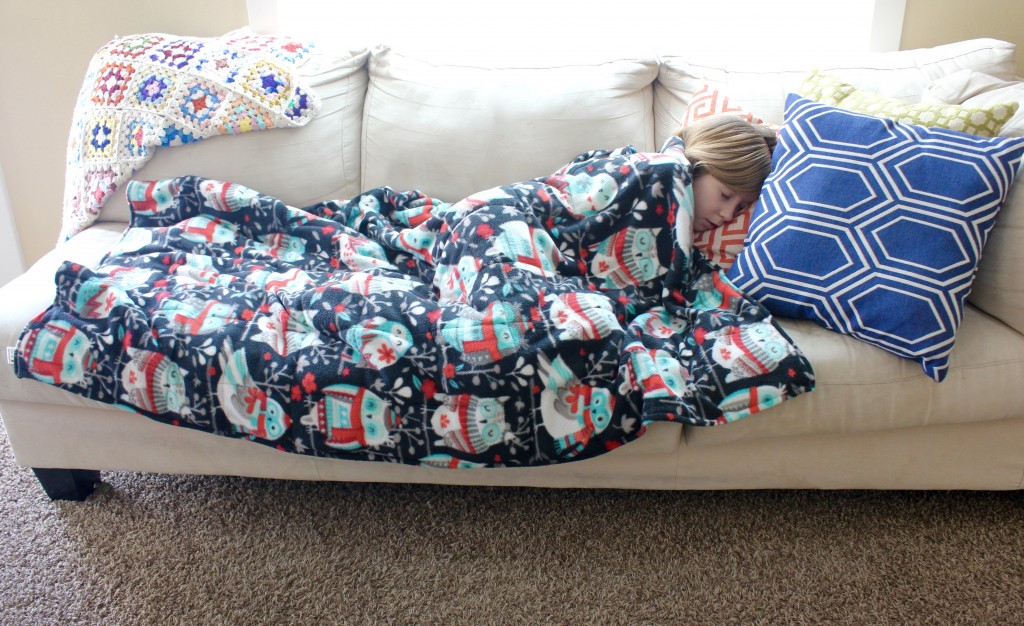
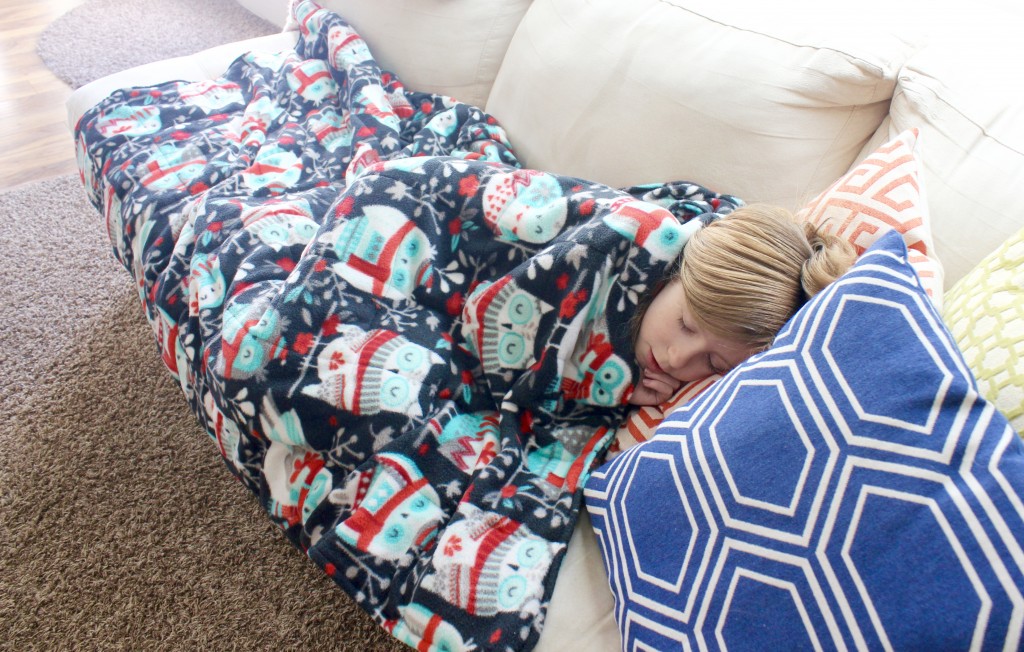
Weighted blankets are heavy blankets that are said to have a calming effect for those with sensory processing disorders, anxiety, and autism. I’m not a therapist or medical professional, so I’m not going to make any claims about whether a weighted blanket will be beneficial for you or your child. But if you’d like to try one, I can show you how to make your own. These blankets can cost hundreds of dollars online, but my child-sized blanket cost me a total of $30.
2
You’ll need enough fabric for the front and back of your blanket. You can make a blanket in any size, however, I think it’s a good idea to make it large enough to comfortably cover the person it’s intended for, without a great deal of excess fabric. This will ensure that most of the weight is lying directly on the person.
3
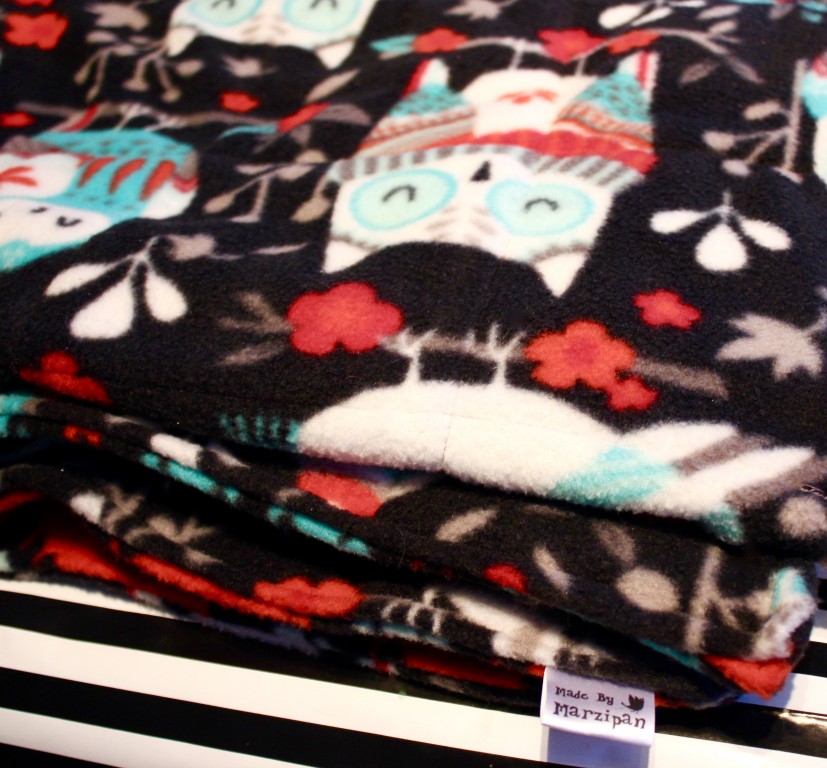
You can make the blanket out of any fabric, but my first choice is fleece. Its heavy weight equals more durability and less strain on seams. You can also use Minky, however, be aware that Minky is rather slippery to sew with, so fleece is an easier option to work with. (I got my fabric on clearance for $9 total.)
4
You’ll also need plastic poly pellets, which are similar to what’s inside of Beanie Babies. Some people fill their blankets with different items, however, I think these pellets are the most comfortable and durable. You can machine wash the blanket and tumble dry on low with no problems. The retail price at craft stores is about $5 a pound, however, many craft chains have coupons on their apps, so you can get the pellets for up to half off.
5
The standard weight for a blanket is 10% of the person’s body weight, plus 1 pound. If the individual has a high BMI, base this calculation on the ideal body weight for that person’s age and height. This blanket is for my niece, who is 50 pounds, so I’m using 6 pounds of plastic pellets.
6
These blankets can be heavy and awkward to work with. It helps to have an extension table on your sewing machine, and a large table as your work surface. If you have a walking foot for your sewing machine, that might be useful, too.
How to:
made with
scissors
funnel (Optional)
kitchen scale or measuring cup
empty wrapping paper tube
1
Start by layering the fabrics right sides together. Pin the long left and right sides together. We’re going to start sewing about 2 inches from the top, because that will make it easier to fold the edge inward later. Sew down the long left and right sides with a ½ inch seam, stopping 2 inches from the bottom. (Leave the short top and bottom sides open.)
2
Turn the blanket right side out. Since you can’t iron fleece or Minky, roll the seams between your fingers to define them. Fold the loose 2 inches at the top and bottom inward. Next we’ll topstitch the seams together. This will help close up the inside seam, so pellets don’t get trapped in there or work their way out of the blanket. Topstitch with a ¼ inch seam.
3
Now we need to draw grid lines so we can sew the pockets. Each pocket will be filled with an equal amount of plastic pellets. I like to keep my pockets between 4 and 6 inches, so that the individual pockets aren’t holding a great deal of weight. To decide how big to make yours, measure your blanket and see which number it’s divisible by. For this blanket, I’m spacing my lines 5 inches apart. Use a piece of chalk or a water soluble fabric marking pen.
These blankets can be heavy and awkward to work with. It helps to have an extension table on your sewing machine, and a large table as your work surface. If you have a walking foot on your sewing machine, that might be useful, too.
4
Turn the bottom and top edges of the blanket inward and pin shut along the marked lines. This will keep your fabric from shifting, and will make it easier to find your marks as you’re sewing. Sew directly along the marked lines to create columns.
5
Now mark your horizontal lines. The pockets can be squares or rectangles, just try to make the rows consistent in size. (It doesn’t really matter whether you mark the front or the back, I’m simply doing the back because the horizontal pattern will be helpful for keeping my lines straight while sewing.)
6
Sew ONLY the horizontal line in the middle right now. I repeat: SEW ONLY THE CENTER HORIZONTAL LINE. We will sew one row at a time, working outward from the center.
7
We want an equal amount of pellets in each pocket. Divide the total ounces of pellets you have, by the number of pockets you have, then use a kitchen scale to divide the pellets. Or, use a measuring cup to figure out how many pellets are in one bag, then figure out how much will fit in each pocket.
8
Insert an empty wrapping paper tube into the first column and push it down to the center seam. Pour in the correct amount of pellets. (You may find a funnel helpful.) Repeat until each column has been filled with same amount of pellets.
9
Sew the next marked line to close the row of pockets. As you sew, smooth the fabric to make sure no pellets pass the marked line. (If you hit one of these, your needle will likely break, so make sure the pellets are pushed back where they belong.)
10
Continue to fill and sew the rows on both sides of that first center seam.
11
Finally, sew the top and bottom rows with a ¼ inch seam, making sure the fabric is folded inward and aligned nicely. I also inserted my business tag in the bottom corner of the last pocket.
Made By Marzipan may have received product or payment for this post. Posts may contain affiliate links. Disclosed in accordance with the Federal Trade Commission's 16 CFR, Part 255.

 Finished?
Show it off!

How much would you charge and would you post to the UK
Can you make me blanket? I am willing to pay. I don’t have a sewing machine. I have 2 autistic kids.