Today I’m going to show you how to make an easy little book, using chipboard, duct tape, and hemp cord. I’ll also show you how to personalize the cover by creating stamps using craft foam.
How to:
made with
scissors
hemp cord
poly index cards
self-adhesive craft foam
1
Cut two pieces of chipboard or mat board to 6 inches square.
2
Cut regular copy paper to 5 ½ x 11 inches. (I put 15 sheets in my book, and since they each have 4 sides when folded, that means I have 60 pages in my book.)
3
Fold each of these pages in half to form a square. These will lie flatter in your book if you fold them individually instead of in a stack.
4
Unfold a page, and insert another page inside of it. Continue until all of your papers are stacked. Lightly tap the edges of the stack against the table until they’re evenly aligned.
5
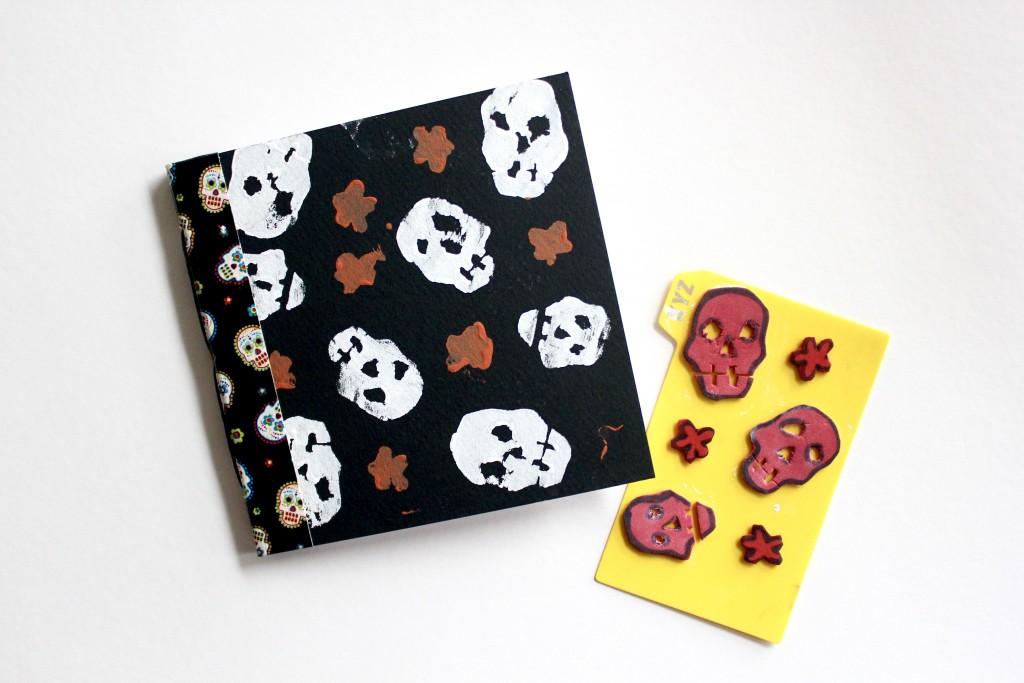
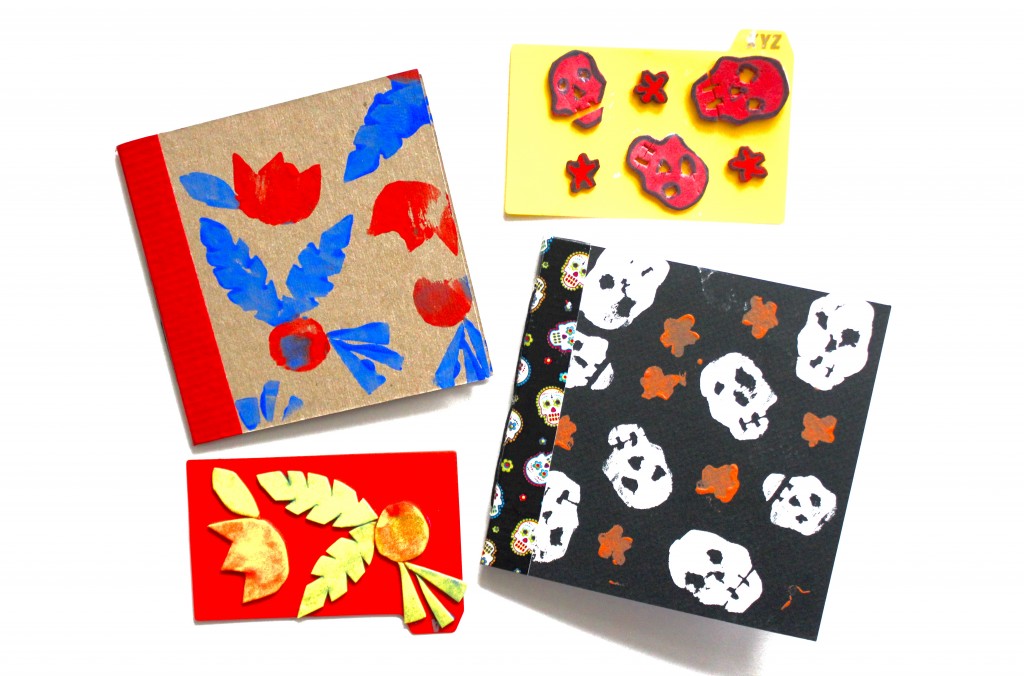
Now I’m going to create a stamp to add a print to the cover. You can leave your cover blank, or cover it with scrapbook paper, but a stamp is a lot of fun to do. You’ll need self-adhesive craft foam. You can make 5 index card size stamps out of each sheet. You’ll also need some poly index cards. These are plastic, so you can wash and reuse your stamp many times. I bought these at Wal-Mart and they cost $4 for 25.
6
Draw your design on the craft foam. Keep it simple, without a lot of detail. Remember that your print will probably not be a perfect copy of your stamp, but that’s part of the charm of printmaking.
7
Cut out the shapes using scissors or an X-acto knife. Adhere the shapes to your plastic card.
8
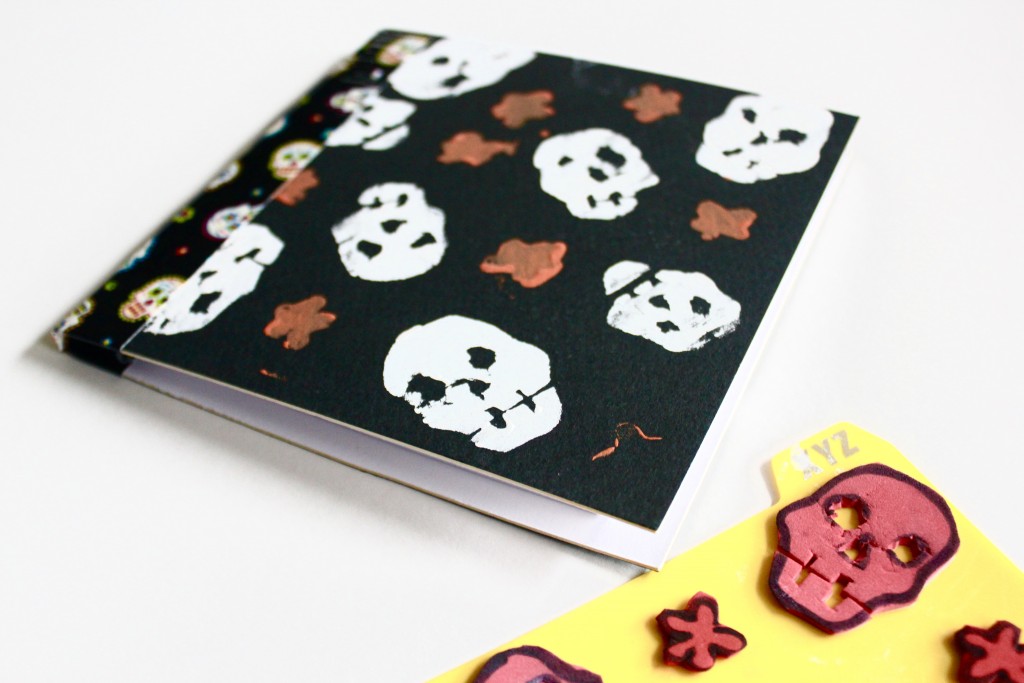
Paint your shapes with acrylic paint. Place against the chipboard and rub lightly. Pushing too hard will distort your shapes. As you can see, the stamped images aren’t perfect, but I like how they’re each unique and the overall effect is distressed.
9
Rinse your stamp immediately for future use.
10
Roll out a piece of duct tape that is slightly longer than your book cover. Where you place your covers on the tape impacts how wide the spine of your book is. For books with only a few pages, place the covers with a ¼ inch gap between them. My book has a lot of pages, so I’m leaving a ½ inch gap. Place the covers print-side down against the tape. Then pull the tape down and align it with the tape at bottom.
11
Snip off the excess tape, and smooth with your finger.
12
Center the pages between the covers of your booklet and press flat. You can use a large doll-making or upholstery needle, or an awl, to poke your holes. I happen to own a large hole punch, so I’m going to use that. You’ll want a small ⅛ inch hole rather than a standard ¼ inch hole punch.
13
Add one hole in the center, and one more at each end, about 1 inch from the edge of the paper. You’re punching through the paper as well as the duct tape.
14
I like to sew my books with hemp cord because it doesn’t fray. You can buy it for a couple of dollars in the jewelry-making section. Cut a piece that’s about 2 ½ times the size of your book… so for this one, about 15 inches.
15
With the book open, poke the cord through the center hole, leaving a tail of about 3 inches.
16
Poke the cord through the top hole and pull taut, being sure to leave the tail by the center hole. Poke the cord down through the center hole again.
17
Poke up through the last hole and pull taut, then tie the two ends together with a tight square knot right over the center hole. Trim the excess cord.
18
Crease each page to flatten, and your book is finished!
Made By Marzipan may have received product or payment for this post. Posts may contain affiliate links. Disclosed in accordance with the Federal Trade Commission's 16 CFR, Part 255.

 Finished?
Show it off!

I found you on YouTube. You have the best tutorials I have ever viewed, especially for how to use products (how can I tell your sponsors?).Thank you! I’m saving your site to my favorites.