These are the cuts you’ll need to make per arrow block.
- Three 1 x 20 in patterned strips
- Two 1.5 x 20 patterned strips
- One 1.5 x20 gray strip (shaft)
- One 1.5 x 5 white rectangle (shaft end)
- Four 4 x 4 white squares (feather background)
- Two 4.5 x 4.5 squares (arrowhead background)
- Two 4 x 15.25 white strips (shaft background)
It seems like a lot to cut, but if you’re making several blocks it goes quickly. The block measures 26 ½ inches long and 8 ¼ inches tall.
Creating the Feathers
You’ll need 5 different prints to create the feathers and arrowhead. I chose to keep mine in the same color family for each arrow. Fat quarters work well for this, since the strips need to be 20 inches long.
1
Layer 3 of the patterned fabrics together and cut to 1 x 20 inches. I recommend using a rotary cutter and ruler on top of a cutting mat.
2
Layer the other 2 patterned fabrics together and cut to 1.5 x 20 inches.
3
Arrange the strips in a pleasing order. Layer two strips right-sides together and sew down the long side with a ¼ inch seam. You can pin these if you find it helpful, but I think it’s fastest to align the edges as I sew.
4
Sew the next strip right-sides together to the previous strip. You can press the previous strip open, or you can just hold it out of the way as you sew, and we can press it later.
5
Repeat this process for the remaining two strips. You should now have a rectangle that’s about 4 x 20 inches.
6
Press the seams in the same direction from the back of the fabric. Then flip it over and press from the front, gently tugging at the fabric to spread the seam.
7
Place the sewn strip right-side down on the cutting mat, the fold it in half width-wise, so it’s about 10 inches long. Smooth with your hands, or press if necessary.
8
Print and cut out the free Arrow Feather pattern by clicking on the link above the supply list. Lay it on the fabric so that the upper right point is along the center fold. The top and bottom edges should align with the edges of your fabric strip. You’ll have a little excess fabric at the end so you don’t have to worry about whether the ends of your fabric strip are perfect.
9
Align the edge of your ruler with the diagonal side of the template and cut. Repeat for the other diagonal side of the template. When you take it apart, you’ll have two feather pieces, as well as a large arrowhead. You’ll also have two small scrap triangles, which you could save for another project, or work into your quilt design. (If the tip on your arrowhead isn’t quite pointed, that’s okay, as the very tip will become a part of the seam allowance later.)
Creating the Shaft
1
Cut a 1.5 x 20 inch gray strip for the shaft. Cut a small 1.5 x 4 inch white rectangle to finish the end of the shaft.
2
Layer the gray strip and white rectangle right-sides together, and sew the short end with a ¼ inch seam. Press.
Speed Tip:
1
Now, I’m going to show you a trick to make this go faster if you’re making multiple arrows. This is an alternate method to the single arrow shaft I just demonstrated. If you are just making one arrow, ignore this tip.
2
To make 4 arrow shafts at once, cut a gray rectangle that is 6 x 20 inches, and a white rectangle that is 6 x 4 inches. Sew right-sides together at a short end and press.
3
Cut into strips that are 1.5 inches wide, to create 4 arrow shafts.
Assembling the Shaft
1
Okay, now we’re back to assembling our arrow. Cut 4 white squares that are 4 x 4 inches. These will make up the background area by the feathers, like so. Press the squares in half on the diagonal.
2
Open a square, wrong-side up, and place it so that the pressed center seam overlaps the edge of the patterned feather by ¼ inch. This will cause the point of the patterned feather piece to extend past the edge of the white square at top, that’s okay.
3
Pin together, then sew on top of the pressed center mark.
4
Fold the white square in half along the seam to create a half square triangle, and press. If you have a light colored background fabric like I do, you might want to snip off the excess point on the feather piece, otherwise, it will be caught in your seams and you don’t have to fuss over it.
5
Repeat the previous steps to finish the opposite side of the feather piece, and then do the same for the opposite feather piece.
6
Now we need to add the background rectangles for the shaft. Cut two white rectangles that are 4 x 15.25 inches. Layer these right-sides together on the feather pieces, sewing with a ¼ inch seam. Press each strip.
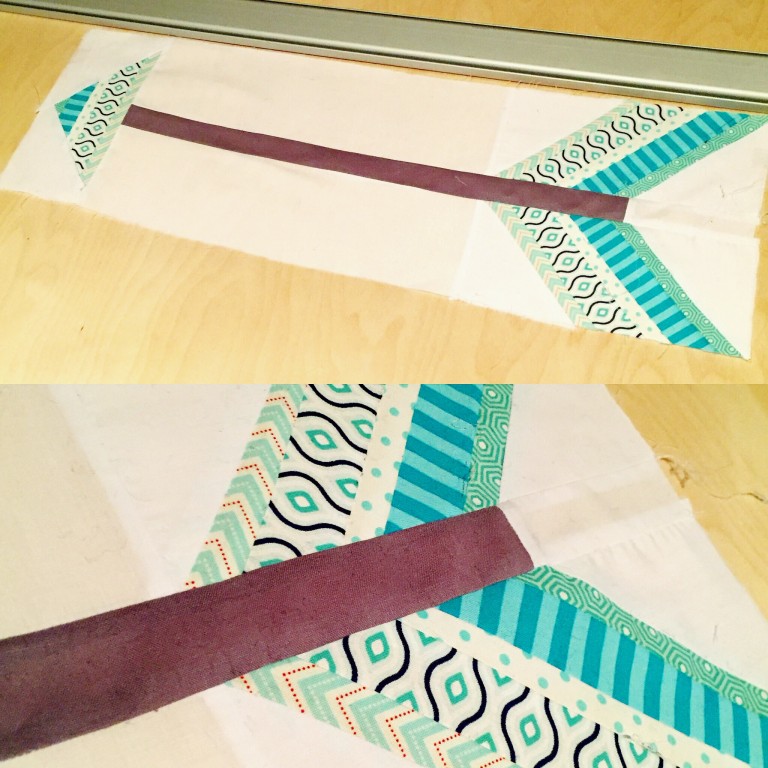
7
Next we are going to sew the top feather strip to the gray shaft. Place right-sides together and sew the long edge. Repeat for the bottom feather strip.
Assembling the Arrowhead
1
Finally, we can assemble the arrowhead. Cut two 4.5 x 4.5 in white squares. Fold on the diagonal and press as you did with the previous squares. Layer wrong-side up on the arrowhead so that the square’s center line is ¼ inch from the edge of the arrowhead.
2
Pin and sew down the center line. Press.
3
Repeat on the other side. The white background fabrics will overlap at the point.
4
Lastly, place the arrowhead piece right-sides together on the shaft piece, and sew the edge with a ¼ inch seam. Press to finish.
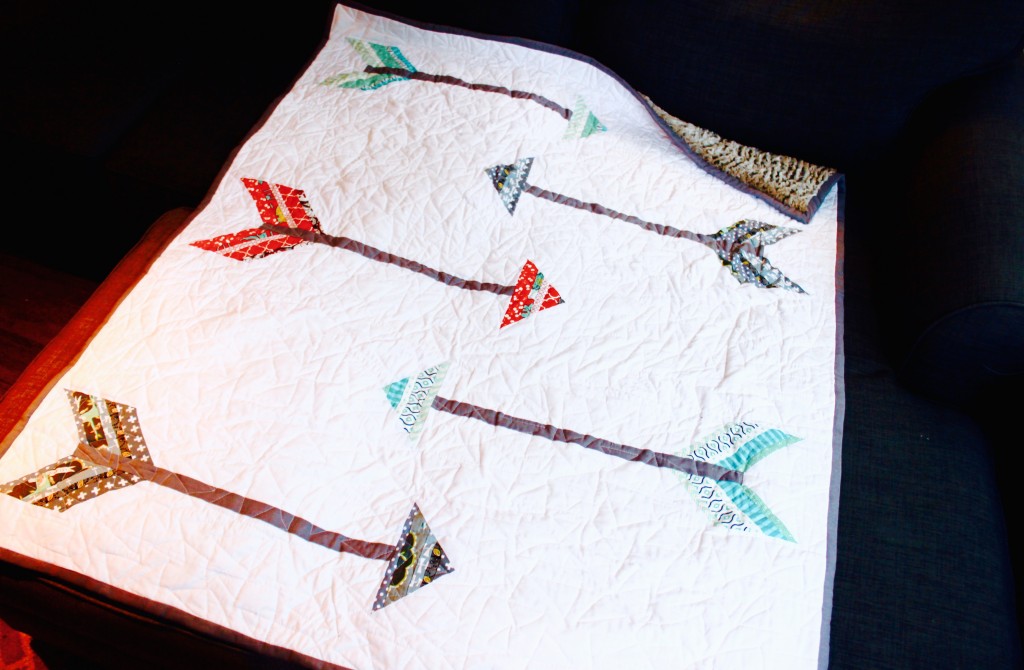
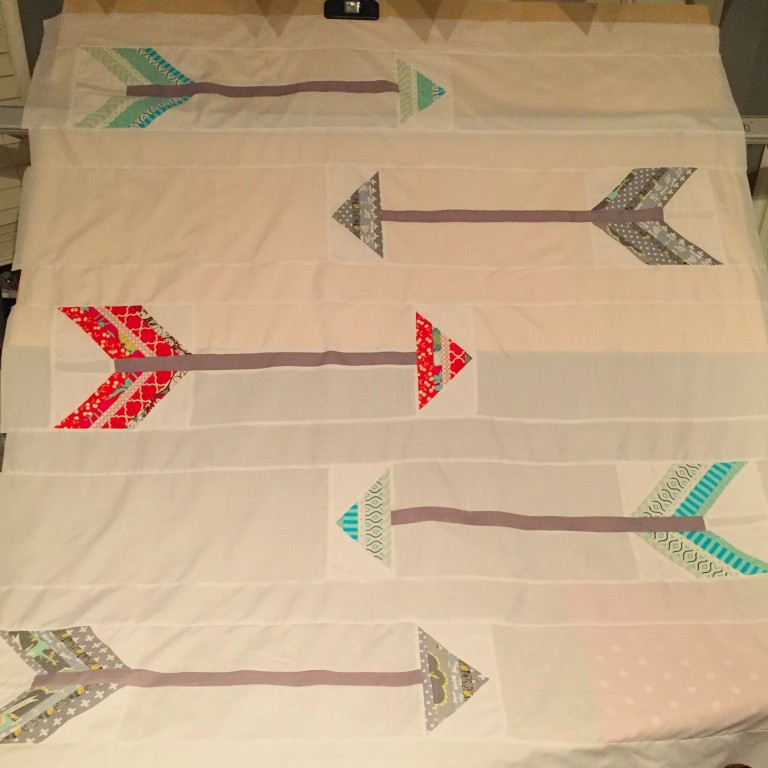
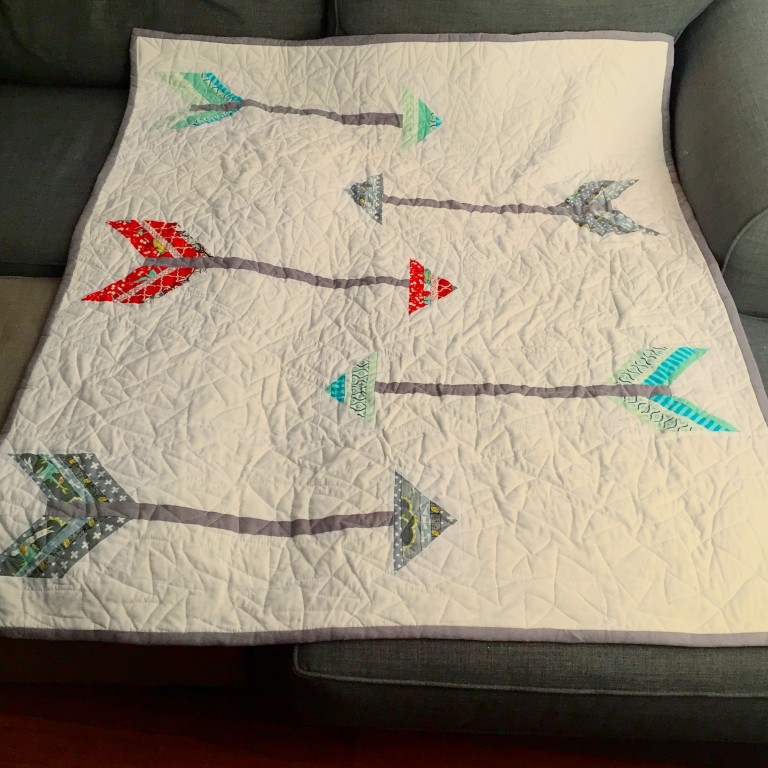
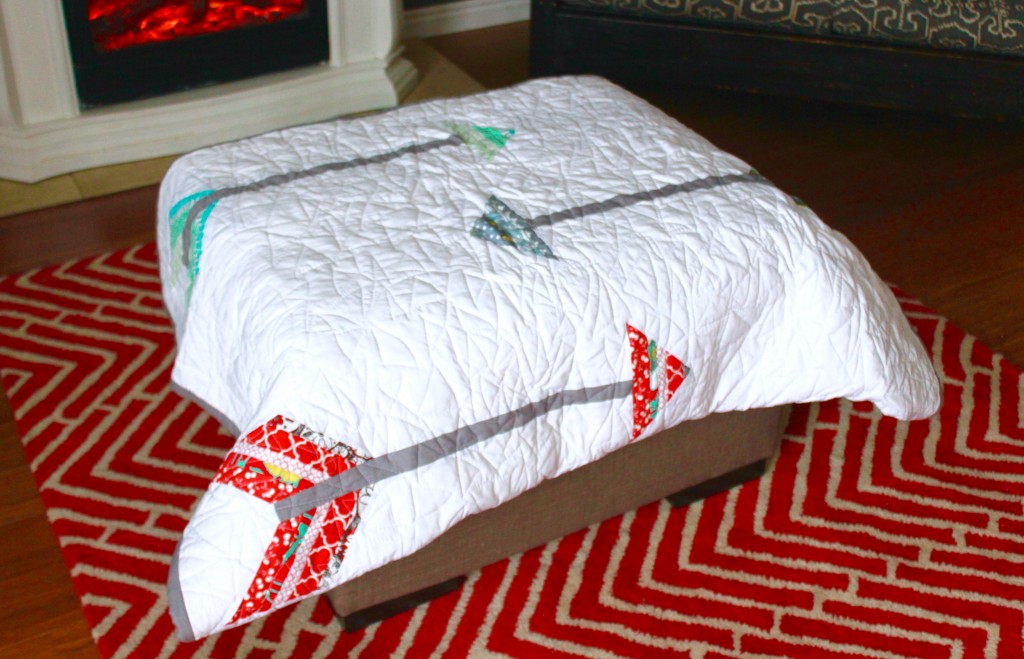
Now you have a completed arrow block! I chose to make a quilt with 5 of these arrows, adding a white strip on each end of every rectangle to make the width 50 inches. I cut white strips that were 3.5 inches wide and 50 inches long and added one of these strips between each arrow.
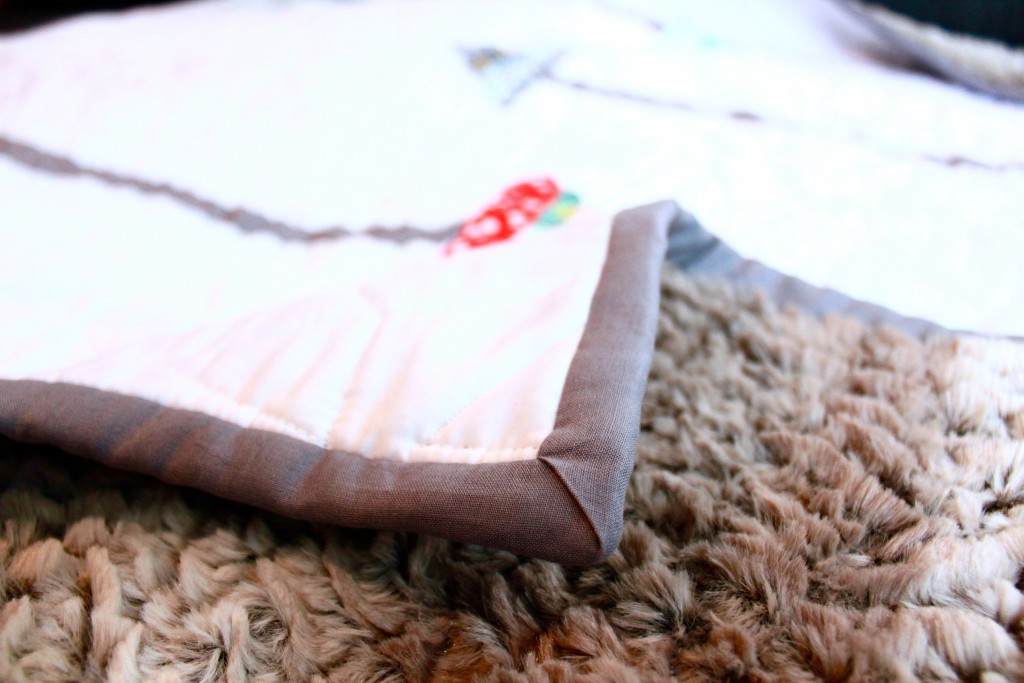
If you’d like to learn how to bind a quilt with mitered corners, please click here. If you want to learn how to free-motion quilt on your regular sewing machine, I have a video for that too!


 Finished?