I recently took a woodworking class where I learned to build my own longboard. I’m not an expert on the process, but I’d love to show you what I learned! First we cut the wood into planks that were 12 inches wide, using a table saw. We used Baltic Birch. Depending on what kind of flex you want your board to have, you can cut either in a vertical or a horizontal direction. I wanted a kicktail on my board, so I wanted it to flex the length of the board rather than the width. We used 4 of these planks per deck.

Next we designed our own boards based on the features we wanted. We considered whether we wanted to build it for speed, hills, or cruising. That helped to determine the shape, length, and whether the board would have any curvature.

I wanted a firm board without a lot of flex, but with a kicktail for easier maneuverability. I opted for a shorter board at 36 inches since I have a small stance (most of the longboards were around 46).

Next we built the press. We cut strips of 2-inch wood to build a frame, gluing and then stapling it together. We added blocks at points where we want the board to curve. Some people had blocks on the center of the long sides, so the deck would gently curve inward. I kept mine flat, except for kicktail at back, which I added two blocks for.

We put the “prettiest” board face down on the press frame, then added a layer of strong wood glue using spatulas. We quickly added the second board, then repeated the process with the other boards. The final board had the drawn template of our deck.

Then we added clamps, using scrap wood as needed to prevent marking the deck. It’s important to use enough of these so your layers won’t separate. Leave it for 24 hours.

The next day we removed it from the clamps and I used a band saw to cut out along my drawn template. It was my first time using a band saw and I thought it was a lot like using a sewing machine :) Then I used a drill press to add the holes for the trucks.

I put on some trucks to test it out. It had some wheel bite when carving, so I used a band saw to sand down wheel wells where the wheel hit the underside of the deck.

And then it rode like a dream! 
Of course I was just as excited to paint it as I was to build it…

This was the sketch I started out with. I wanted to try out some Prism Lettering using enamel paint. There’s a tutorial on it here.

And I ended up going with stripes instead of the original flourishes.

I opted for some script lettering on the kicktail. Then I sprayed it with clear varnish and added some black grip tape.

I didn’t think it was gripping enough, so a friend suggested another idea. We used a clear automotive enamel spray (available at auto supply stores) then sprinkled in beach sand with a salt shaker while it was still wet. (You could also use crushed lava rock.)

The end result is a super textured and glossy finish that is weatherproof and extremely durable.
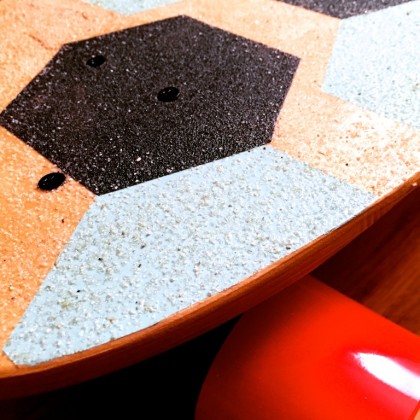
Plus, look at it sparkle!

I finished it up with some 71mm Arbor Summit Wheels (sucrose, so eco-friendly) and reverse kingpin trucks.

It was fun to build and it’s even more fun to ride :)
