A reductive monoprint is created by adding paint to one surface, then removing areas of paint via wiping, masks, or stamping materials. The design is then transferred to a second surface to create an original print. This is the second video in my Printmaking series.
Tips:
1
You’ll need a smooth, clear surface to add the paint to. I’m using Impress Monoprint Plates, made by Grafix. These are washable and reusable plastic sheets that are great for making prints.
2
Today I’m using some block printing ink, made by Speedball, and Liquitex Acrylic paints. You can experiment with different types of paint for different effects.
3
You’ll need a brayer to apply paint smoothly.
4
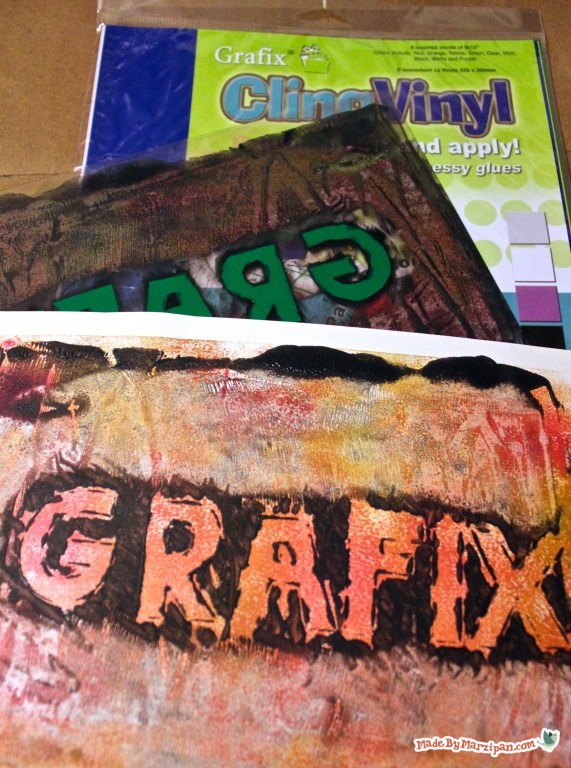
And I’m also using Cling Vinyl to create masks. It’s possible to use freezer paper instead, however, I really love using Grafix Cling Vinyl because it’s washable and reusable, so you can reuse your masks and stencils on multiple projects. So if you find that you love making prints, I would recommend trying it out. I’m cutting out some triangle and mountain shapes, but you can cut out any shape you’d like.
5
I’m using Strathmore Bristol paper. This is another area you can experiment with, as different types of paper will give you different results.
How to:
made with
1
Make sure to cover your work area, as monoprints can be messy. Add a dab of paint to the plate, then smooth out evenly with the brayer. Add your mask shapes. Remember, the areas you place the shapes will be free of paint on your print.
2
Place the paper face-down on the plate and rub firmly with your hand or a clean brayer. Carefully lift the paper.
3
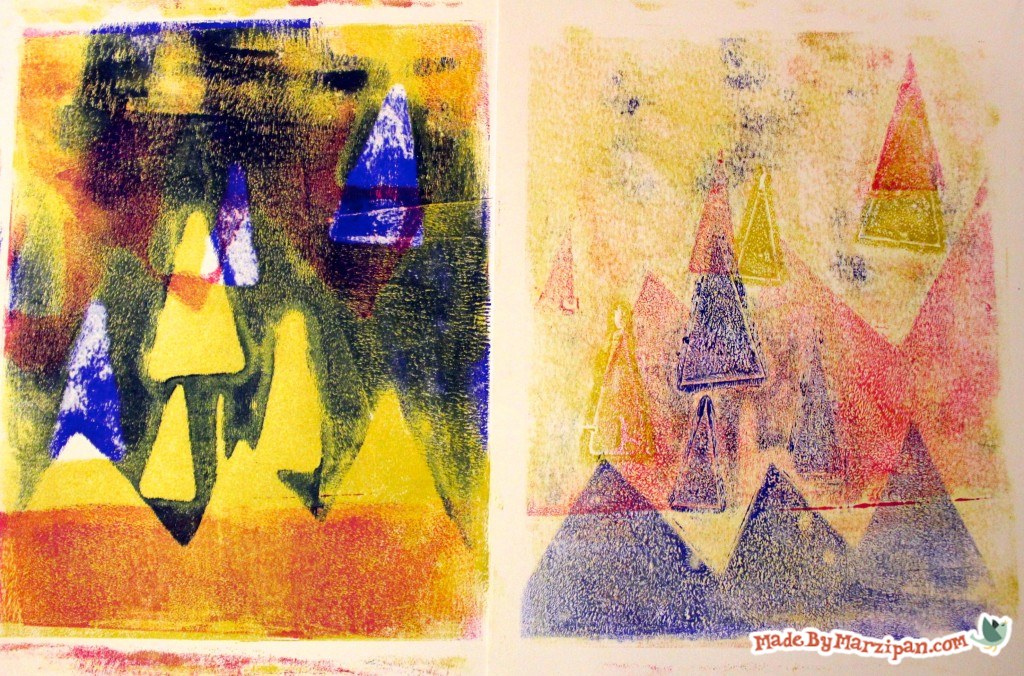
You can take a second print, called a ghost print, with the remaining paint. Remove the masks and press a new sheet of paper on the plate. Rub and then lift the paper.
4
Wash the plate, then roll on a new color. Repeat the process of adding shapes, pressing the paper, and pulling the print. Add as many layers as you like.
Making Letter Masks
1
Let’s try a new design. For this one, I’m going to create some letter masks. I love that I can cut these out of Cling Vinyl, and reuse my alphabets indefinitely. The important thing to remember is that your design will appear backwards on your print. Therefore, you’ll need to place the letters backwards, with the first letter on the right hand side rather than the left. Luckily, Cling Vinyl is two-sided so it’s no problem to reverse the design.
2
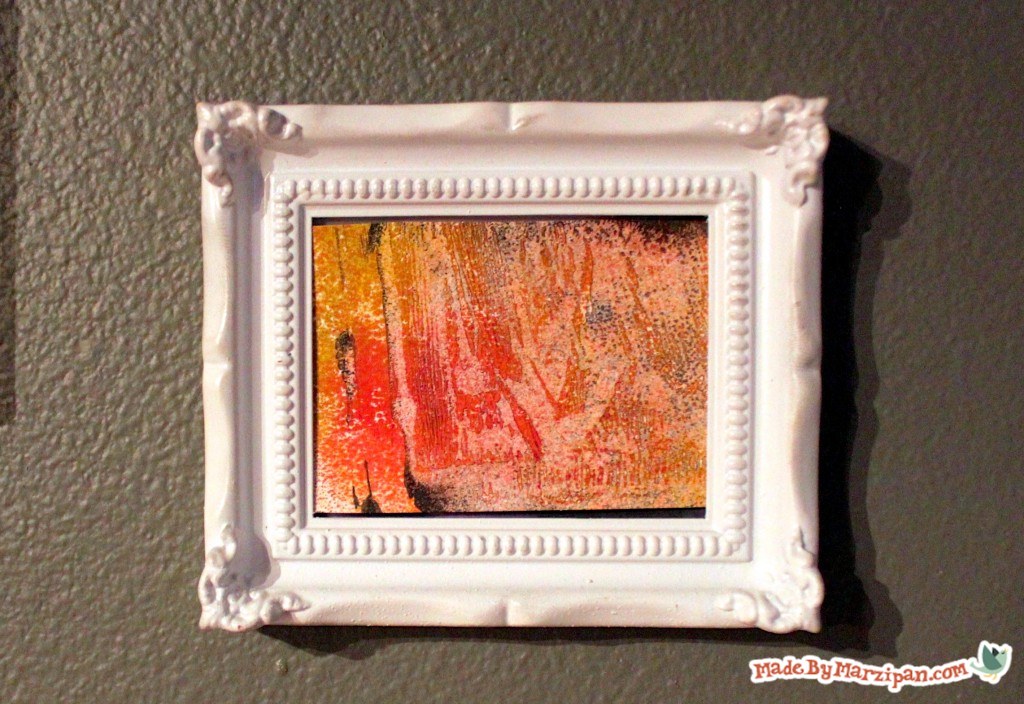
You can also add interest to your prints by removing paint with stamps or textured items. Try using plastic canvas, yarn, or bubble wrap.
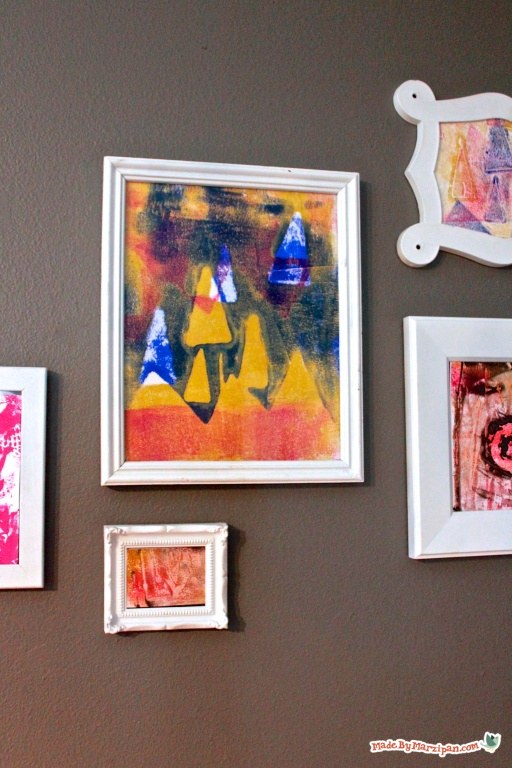
Monoprints are exciting because the results are often unexpected, and you’ll never end up with the exact same print twice. You can frame the whole print, or try cutting it up to create a collection of prints.
Made By Marzipan may have received product or payment for this post. Posts may contain affiliate links. Disclosed in accordance with the Federal Trade Commission's 16 CFR, Part 255.

 Finished?
Show it off!
