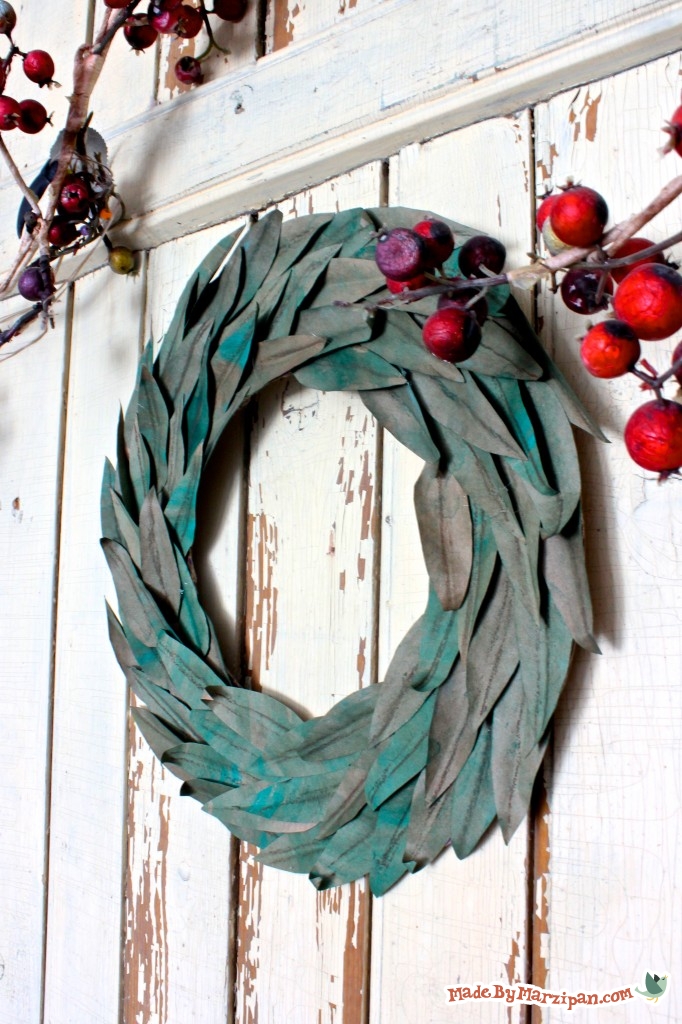
A little paint turns a paper bag, a cardboard box, and a soda tab into this lovely bay leaf wreath.
How to:
1
You’ll need a brown paper grocery bag. One large bag should be enough to make two 12-inch wreaths. Begin by cutting the bag along the center side crease, and across the bottom, so you can lay the bag flat.
2
Next we’ll mix the watercolor paint. I’ve mentioned before that my favorite paints are Sakura’s Koi® Tube Watercolors, because they give you complete control over the intensity and consistency of the paint. For this project, you’ll add quite a bit of water. I used about 1/4 cup of water to a ¼ teaspoon of paint.
3
Paint the paper bag with the watercolors. Allow the paint to pool in some areas for variation. You’ll notice that as the bag absorbs the paint, the color will fade some. If you’d like more intense color, allow the bag to dry and add another layer of paint.
4
Flip over the bag and paint the backside as well. This will make the leaves seem more realistic when viewed from different angles. Hang the bag or prop upright to dry for 15 minutes.
5
Now you can cut out the leaves. A bay leaf is a raindrop shape, about 3 ½ inches long. You can draw your own pattern, or you can print my free printable template (click here).6
Fold the painted bag accordion-style, making sure your folds are wide enough to fit the leaf. Use the template to cut several leaves at once.
7
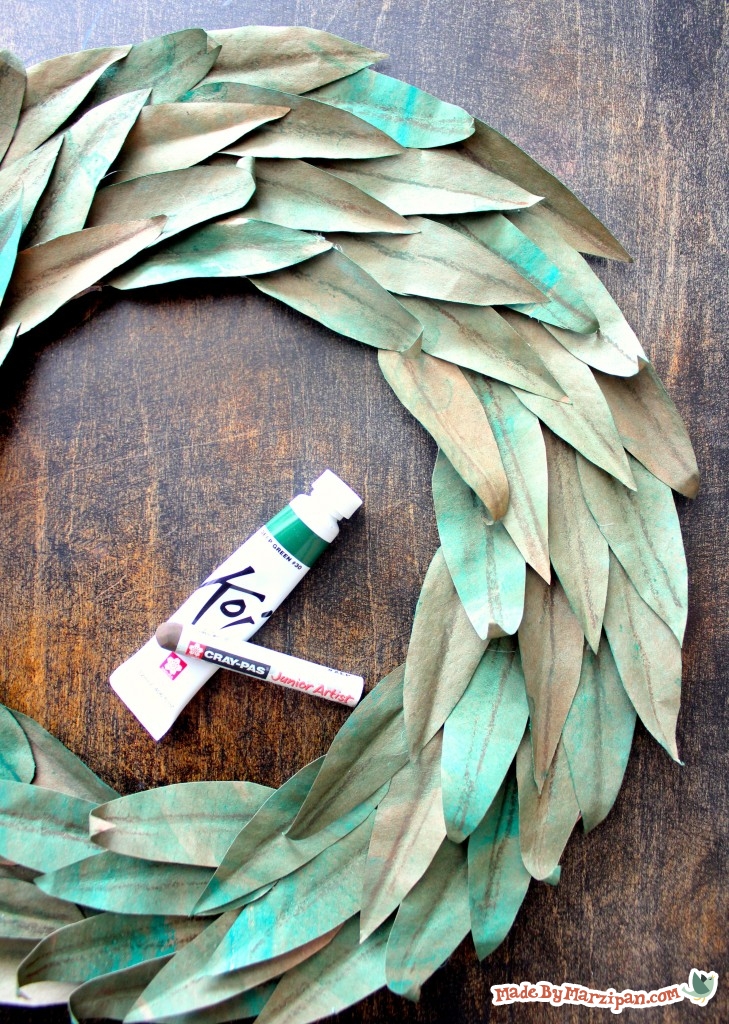
Next fold each leaf lengthwise, creating a center crease. Draw a vein down the crease with a brown Cray-Pas® Junior Artist Oil Pastel. Rub the mark with your fingers to blend.
8
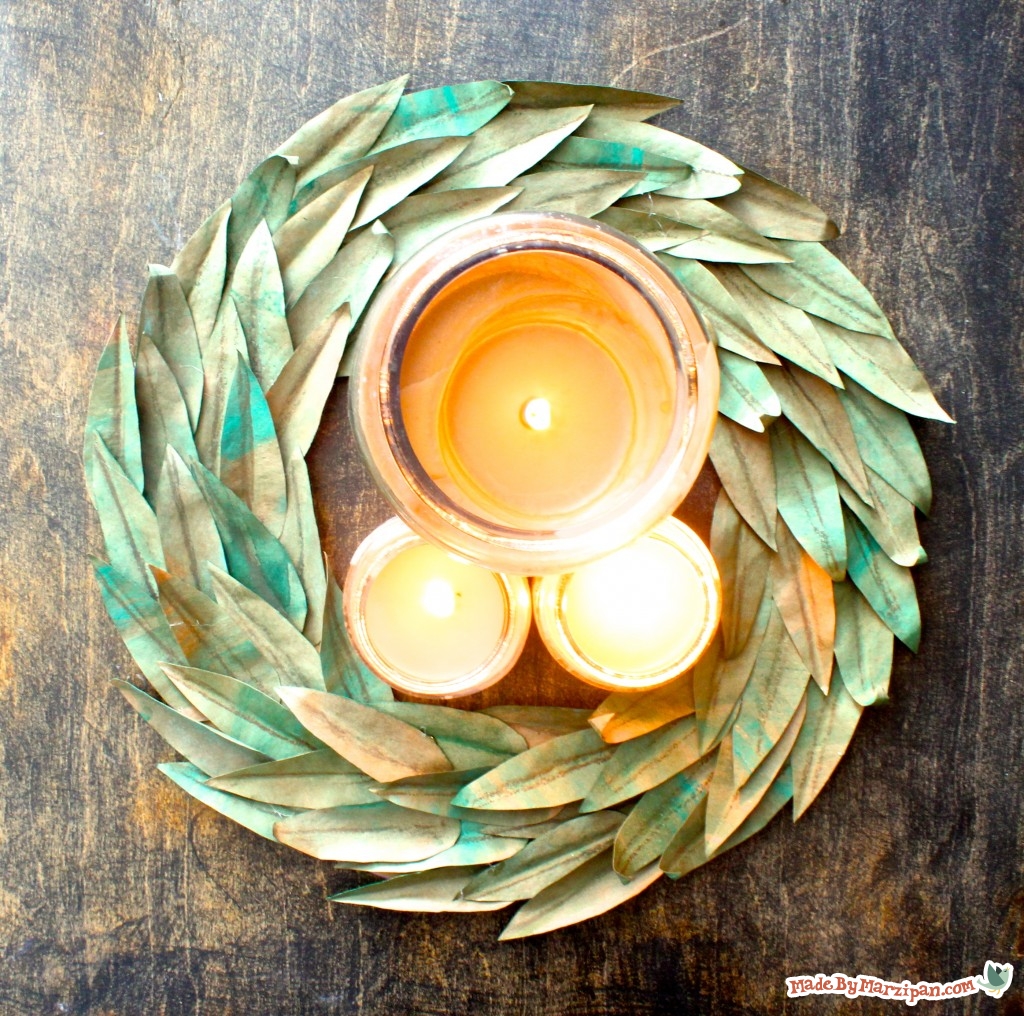
It’s time to make the wreath form. If you’d like a 3-dimensional wreath, you could add the leaves to a store-bought form. But today we’re recycling, so we’ll make a flat form with a cardboard box. Trace a dinner plate to make a circle and cut out.
9
Then trace a bowl or saucer in the center of the cardboard circle and cut out.
10
Now we’ll use a hot glue gun to add the leaves. You’ll want to cover the cardboard entirely. The tips of your leaves should extend slightly past the edge of the cardboard, and you should place them so they follow the curve of the wreath form.
11
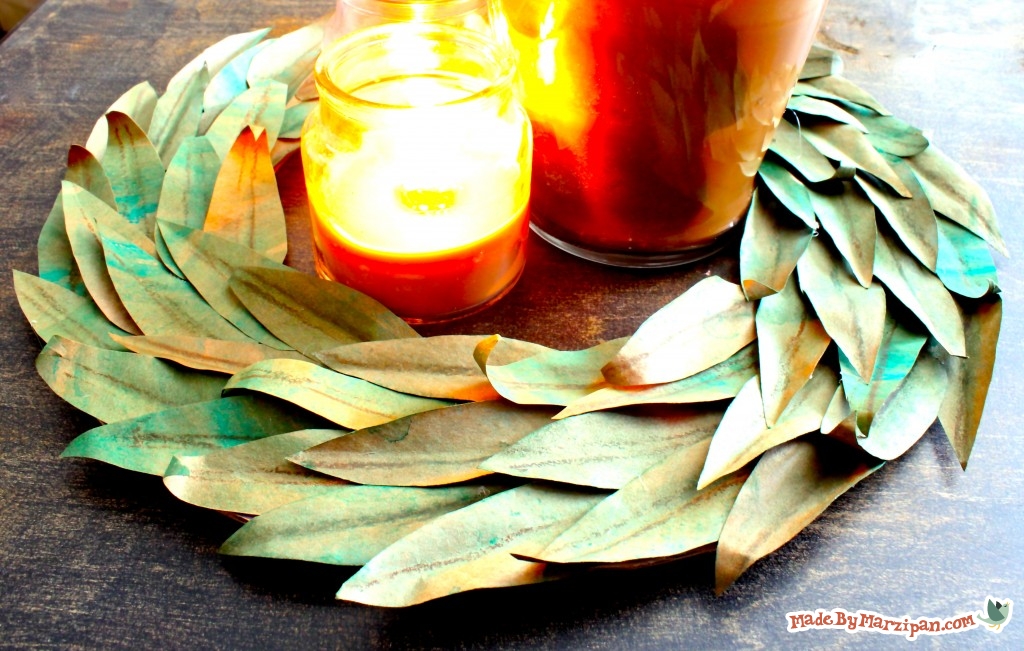
There are a couple of tricks to keep in mind. First, notice how the paint has changed the texture of the bag, making it easy to bend and shape. Curl the tips of some leaves upward, and some backward. Twist some leaves to the right, some the the left. The leaves will hold the shape you give them.
12
The second trick is to always place the round end of the leaf below the leaves you glued previously. To do this, add a dab of hot glue to the round end, then lift the edges of the glued leaves to slide the next leaf beneath. You do not want to glue leaves on top of other leaves. You should only add glue to the round end of the leaf, and not the sides or pointed tip.
13
Finally, you can hot glue a soda can tab to the backside of the wreath as a hanger. A bent paperclip would work as well.
One last tip– you can make this a fall wreath by painting the leaves in various autumn colors. It would make a beautiful centerpiece for the Thanksgiving table!
Made By Marzipan may have received product or payment for this post. Posts may contain affiliate links. Disclosed in accordance with the Federal Trade Commission's 16 CFR, Part 255.

 Finished?
Show it off!

Great stfuf, you helped me out so much!