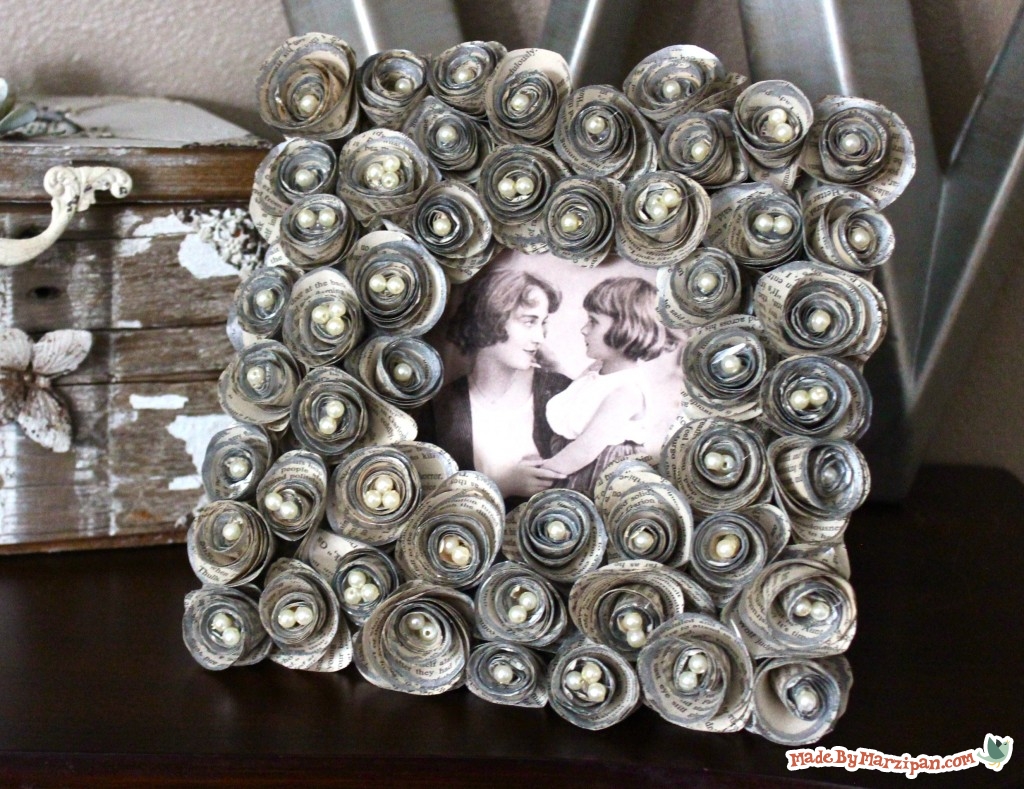
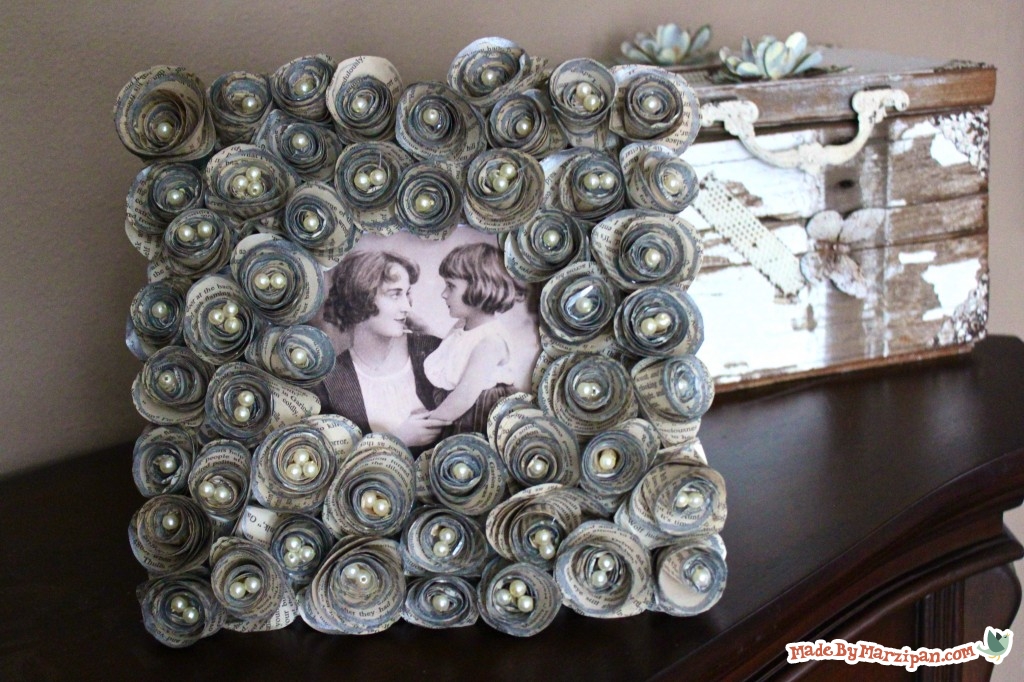
Here’s a craft that gives a second life to old books. This gilded rosette frame would make a romantic wedding gift, or it could be a beautiful way to display heirloom photographs.
Tips:
1
You’ll need an old book. Consider rescuing one from a thrift store for a quarter. I prefer books that are yellowed with age. Paperback books are easier to take apart.
2
You’ll need a frame to cover. I bought this one at the dollar store. Try to select one with a fairly wide edge so that you can fit more rosettes. Remove the glass for now.
How to:
made with
1
To make a rosette, tear three pages at a time from your book. (It’s okay if some of the glue from the binding remains along the edge.)
2
Shake the PenTouch® before using. To get the ink flowing, press the tip down several times.
3
Starting at the long untorn edge, draw a spiral shape, circling in counter-clockwise. Don’t draw off the edge of the paper. Keep the lines less than an inch apart. If the ink flow seems to slow, just press down on the tip again and keep drawing. Try to keep the line thick.
4
Now cut out the spiral shape. Try to cut in the center of your line so that the edges on both sides of the cut are gilded.
5
Next flip over the spiral and use the PenTouch® to trace the cut on the back side as well.
6
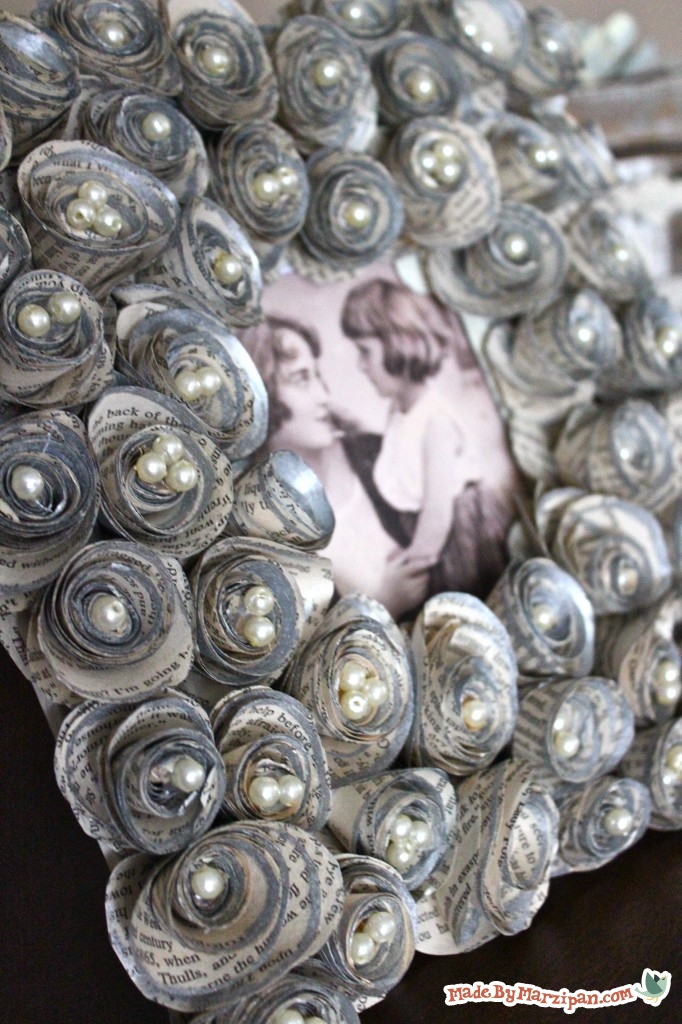
Now we can turn the spiral into a rosette. Make sure your glue gun is plugged in and hot. Begin rolling the rosette from the outer edge. Make the center fairly tight. Once you have it started, you can hold the paper between two fingers, and roll it quickly using your other hand.
7
When the paper is rolled, you’ll have a circle flap left at the end. Add a generous amount of hot glue to this flap, then press the coiled center of rosette down. I like to pinch the rosette between my thumb and finger for a few moments while the glue cools.
8
You can add pearl beads to the center of your paper flower for added dimension. I varied the number of beads for interest.
9
Finally, hot glue your rosette to the frame’s edge.
10
Once you’ve made a few practice rosettes, you might find it’s faster to create these assembly-line style. Don’t worry about making your spirals perfect or your rosettes uniform. It looks better when the flowers are slightly different.
11
When gluing the rosettes, squish them in tightly for a full effect. I needed 50 rosettes to cover this frame.
12
You can get rid of any unsightly glue strands with a hair dryer.
Made By Marzipan may have received product or payment for this post. Posts may contain affiliate links. Disclosed in accordance with the Federal Trade Commission's 16 CFR, Part 255.

 Finished?
Beautiful, thanks