How to:
1
For this project, you’ll need ten pieces of fabric, in five different patterns. I’m using pre-cut squares that I bought in a stack, but you can use scraps if you’d rather.
2
To begin, layer your fabrics. Make sure that you place the matching fabrics right sides together so that you’ll have a front and a back for your bird.
3
Print the template and pin to your fabric, then cut out the pieces. You will need to have a total of 10 bird pieces and 20 wing pieces.
4
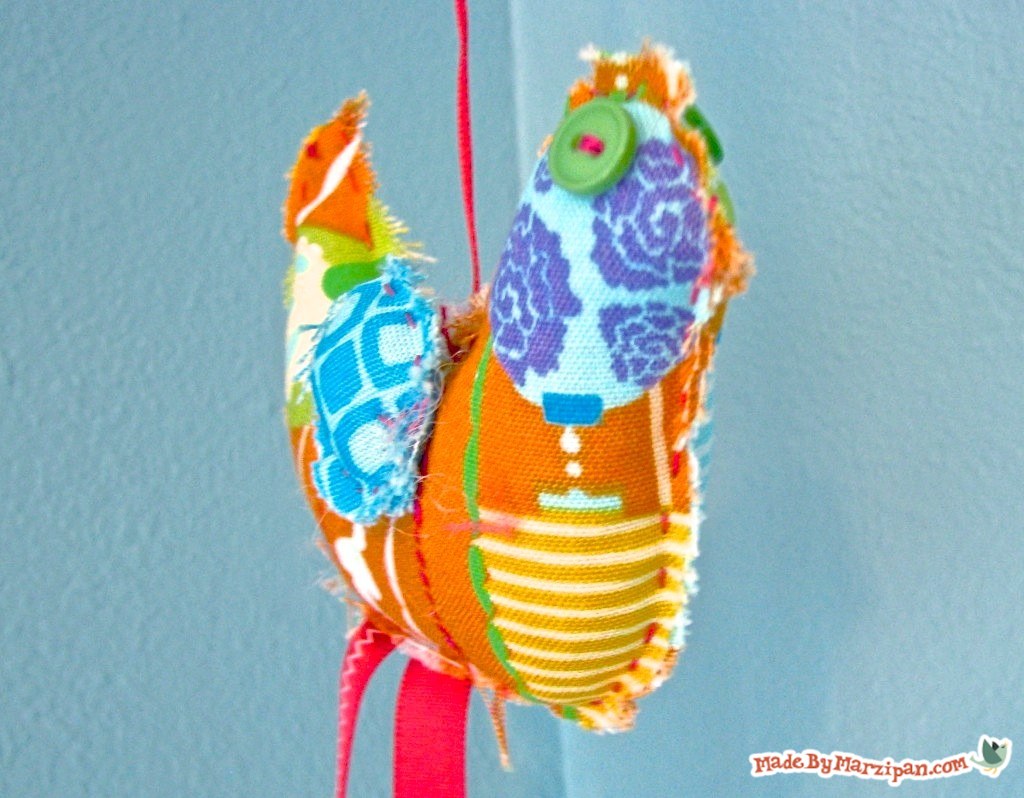
Next choose some buttons for your bird’s eyes. Pick small ones that match. I prefer the ones with two holes instead of four. I recommend using a contrasting thread for visual interest. Double the thread, or use embroidery floss. Sew the buttons on very tightly.
5
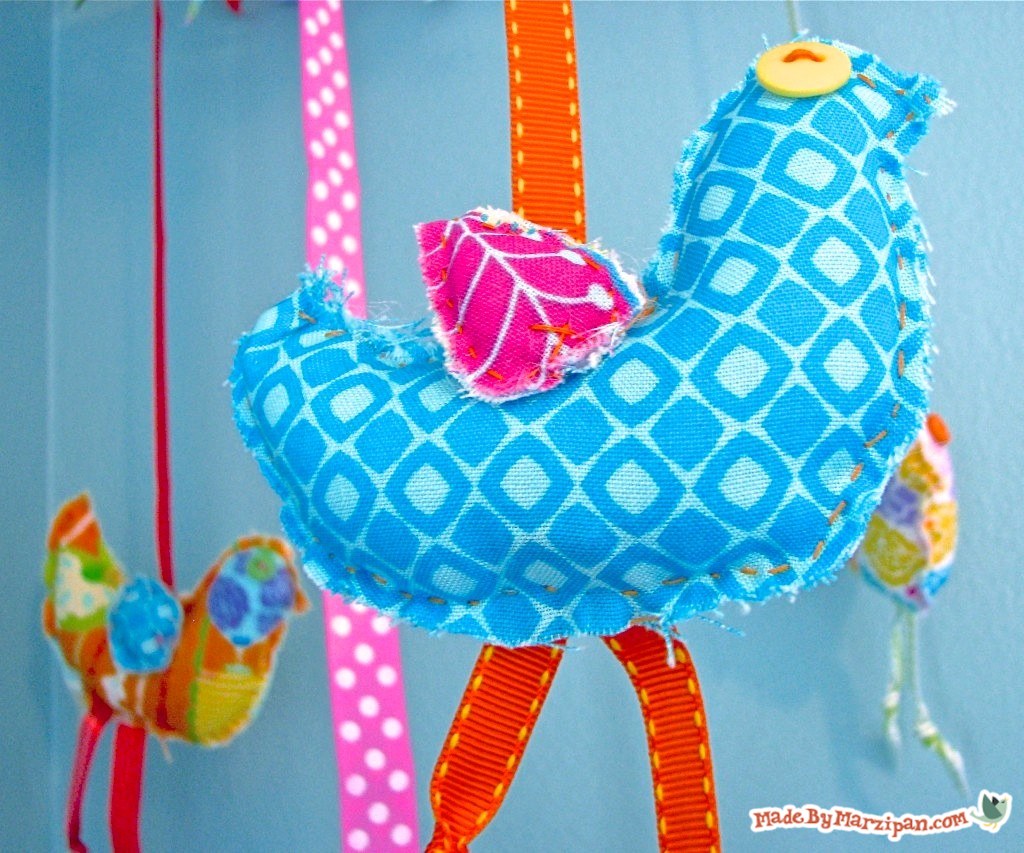
Now we’ll make the wings. Use a different patterned fabric than the body of your bird. Place two pieces wrong sides together and begin hand-stitching at the rounded end. I tried several different methods, including machine sewing and a whip-stitch, but in the end I decided I liked the home-spun feel of a simple running stitch for these birds.
6
Leave the end of the wing open, and stuff with batting. Pinch the opening closed and stitch shut.
7
When you reach the end, you can sew the wing directly onto your bird with a cross stitch. Go over the X several times for durability.
8
Now we can sew the front and back of the bird together. Place wrong sides together and sew with a running stitch. When you reach the center of the tummy, you can add the legs.
9
Knot two ends of a ribbon. The ribbon should measure about six inches in length after it’s knotted. Tuck it in the middle of the bird so the legs dangle down, and pin in place. Stitch over the legs, and continue sewing.
10
When you reach the back area, stuff the bird’s body, then add the hanging ribbon in the center of the back. Pin the ribbon in place, and stitch the bird closed.
11
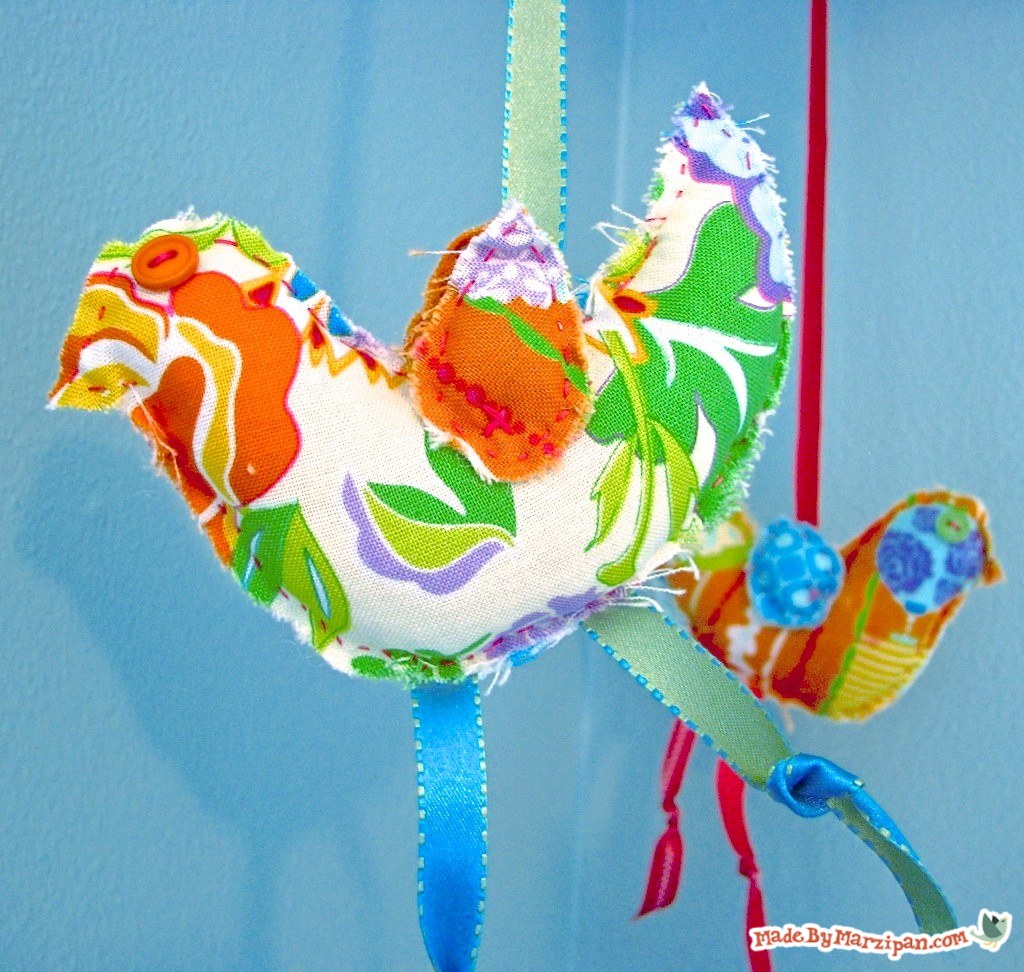
Repeat these steps so that you have a total of five completed birds.
12
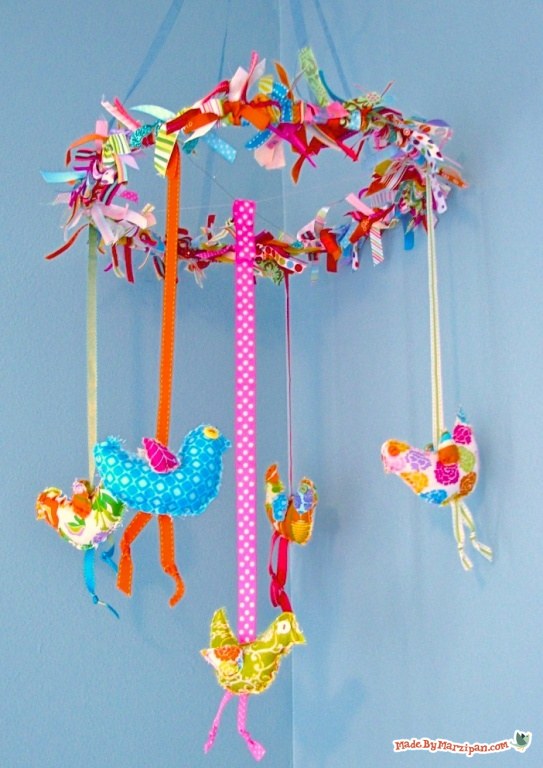
To finish the mobile, you’ll need an embroidery hoop, about 10-12 inches in diameter. You have a couple of options for finishing the mobile. If you’d like, you can stain the wood hoop, or paint it with acrylic paint now. I’m leaving mine bare because it will be covered with ribbon.
13
Now tie a piece of wire across the middle of the hoop. Then cross that wire with another piece of wire, dividing the hoop into four segments.
14
Add a bird to the center where the wire crosses. This bird’s ribbon should be longer than the others. Sew in place, and snip off excess ribbon.
15
Then tie a bird in each quadrant. Hold the mobile up so you can see what length to make your ribbons.
16
If you’d like to cover your hoop in ribbon, cut segments that are about five inches long. Knot them onto the hoop.
17
Every once in a while, bunch the ribbons close together. Add ribbons all the way around, mixing colors while varying textures and widths. Once you’re finished, trim the ribbon ends to approximately the same length.
18
Finally, we’ll add the ribbon for hanging. Cut two segments of ribbon about two feet long. Tie them to the hoop in the same manner you tied the wire, crossing the ribbons in the center.
19
Wrap a small piece of wire around the ribbons where they meet in the middle. Lastly, tie one more segment of ribbon in a bow on top of the wire.
Made By Marzipan may have received product or payment for this post. Posts may contain affiliate links. Disclosed in accordance with the Federal Trade Commission's 16 CFR, Part 255.

 Finished?
I LOVE this!! It is so adorable and I want to make one!! This project definitely warrants use of multiple!! exclamation!! marks!! (clearly). And you included the template? RAD!!!
I have not sewn since 7th grade (oh wow! geez that’s 30 years!). I remembered something from home economics… I had a fun time making this mobile for my niece. I used a smaller embroidery ring. I made a few mistakes in the beginning (putting the wing on upside down) but nothing I couldn’t alter or fix. It took me about an hour + to make one bird. It turned out nice (just don’t look too closely at my stitching). Thanks for the fun idea.
I’m glad your mobile turned out nicely, Bonnie! If you’d like, you can send a photo of your project to madebymarzipan@gmail.com and I’ll put it up on the Marzipan Facebook page :)
This project was so fun and something I could include my 2 step daughters in, as preparation for our new baby girl!! I did a couple things to make it my own style, but that’s what crafting is all about-having fun with whatever you are doing! And I used mostly things I already had around the house as I am on a tight budget– I did splurge on some fabric and an embroidery hoop as I didn’t have one but I found a cool plastic pink one which worked great as some colour showed through after I tied on my fabric strips around the hoop! (I used matching fabric strips instead of buying ribbon because I didn’t have that much ribbon) we had so much fun thank you marzi your awesome!!