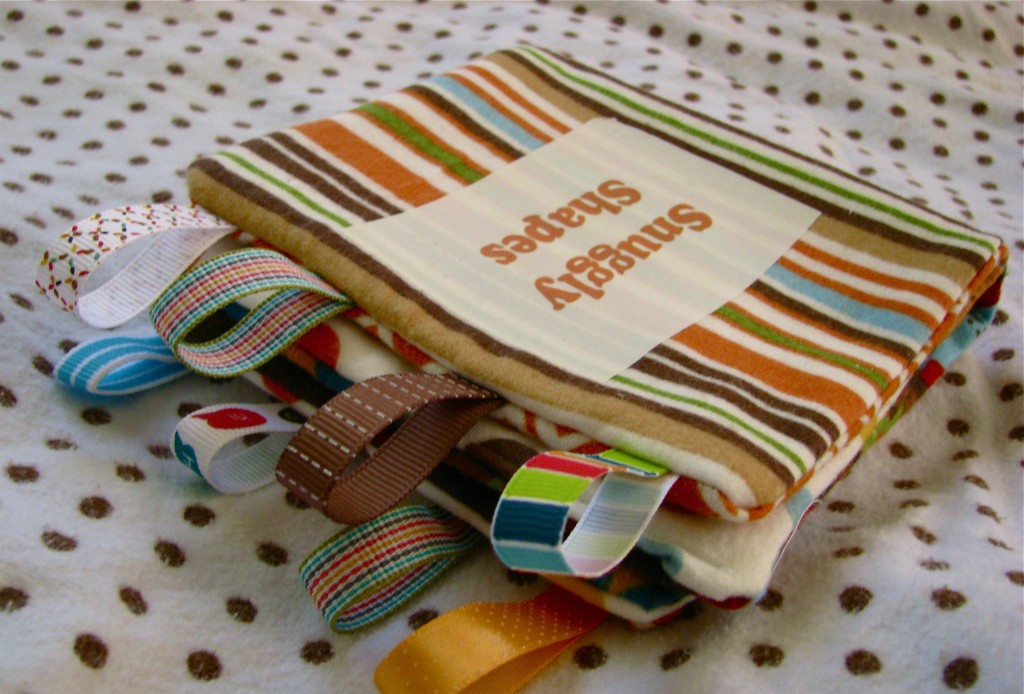
How to:
1
Wash and dry all fabrics to prevent shrinkage later.
2
While your fabric is being washed, you can print out the text for your book. I recommend using Printworks for Darks Transfer Paper, because there is no need to reverse the image, and it allows you to iron the image face-up, so you can see exactly what you’re doing. The template below contains the text for two books on one page. Neatly cut out the text, leaving a small border of white background around each label.
3
Once your fabric is dry, iron it flat. Then cut your patterned flannel into four 6×12 rectangles. Next cut the batting into two rectangles, 6×12 inches.Trim your ribbon so you have 8 4-inch pieces.
4
Layer the fabrics so you know which order you’d like them in. Once you’ve planned that, take the first fabric and lay it pattern-side-up. Fold a ribbon in half so it forms a loop. Pin four ribbons to the short side of the fabric, with the loop end pointing INWARD towards the center of the fabric. (For easy sewing and removal of pins, pin along the length of the ribbon.) Repeat for the other short side of that page.
5
Next lay your second fabric face-down on top of the first (right-sides together). Lay your batting on top of the stack. Sew together, leaving a 2-inch hole for turning fabrics inside out. Remove the pins, and turn inside out. Use the eraser end of a pencil to push out the seams and corners. Fold over edges around hole neatly and sew hole shut. Repeat these steps for the next page (I didn’t add ribbon to the interior pages).
6
Follow the instructions included with your iron-on paper to add your labels to each page. (For the Printworks for Darks, you MUST cover the label with the included tissue paper. If the iron touches the label itself, it will melt and shrivel.)
7
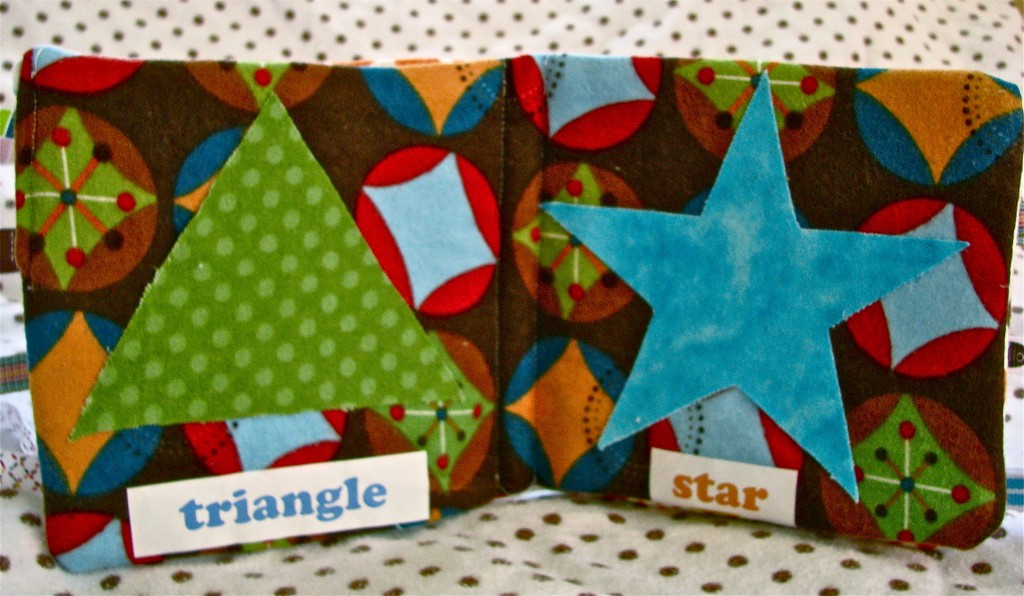
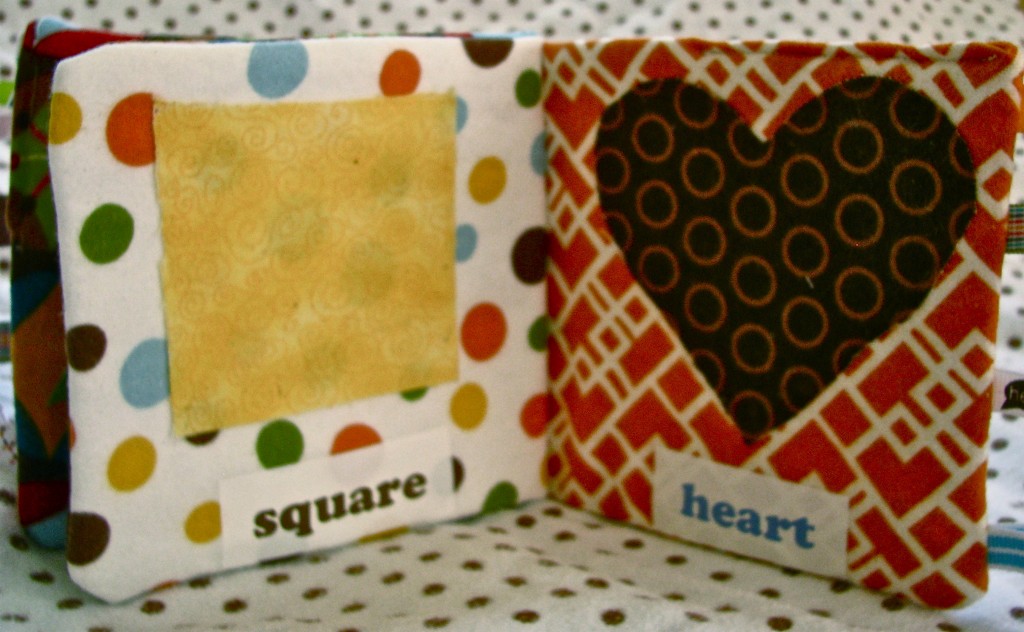
Now iron on your 5×5 patterned fabric pieces to the ROUGH SIDE of the Wonder Under. Flip over and trace your shapes on the back. (NOTE: the template does not include the square– it’s simpler to just cut a 3×3 square.) Cut out shapes. Remove backing. (You can tell that the Wonder Under has properly adhered when the back of the fabric feels smooth and waxy. If you begin to peel off the paper and it looks fuzzy, iron again before removing paper.)
8
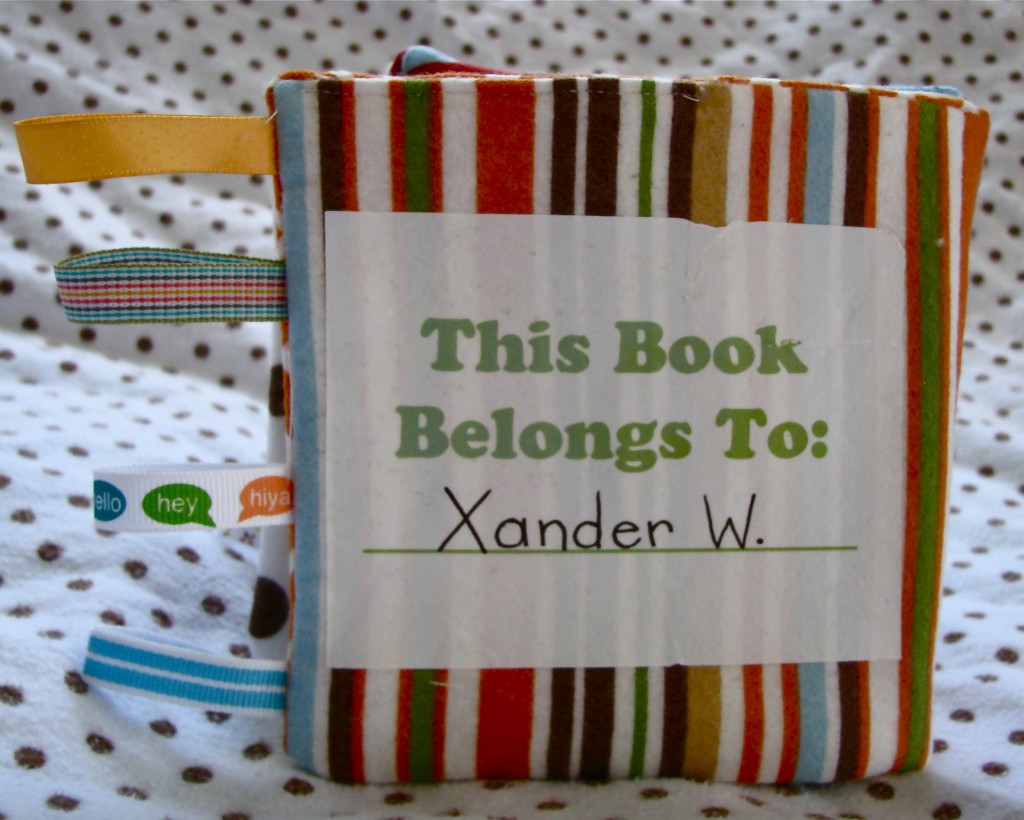
Iron one shape to each page of your book, EXCEPT for the front and back covers (first and last pages). Then layer the pages together, and stitch down the center to complete your book (I chose to make two lines of stitches down the middle, about 1/2 inch apart, to give the book more of a “binding”). Write the child’s name in permanent marker on the back.
Click here to find more toy sewing tutorials!
Made By Marzipan may have received product or payment for this post. Posts may contain affiliate links. Disclosed in accordance with the Federal Trade Commission's 16 CFR, Part 255.

 Finished?
Excellent job!!! I will definitely try this.
I am not able to access the booktext or shapetemplet. I have tried it on two computers and only get garbage, eventhough I allow it to come in to my system.
Thank you for any help.
Hi Sandra! I updated the templates and they should work universally now. Let me know if you have any problems :)
THIS IS AN AWESOME CRAFT AND WOULD BE SO AWESOME TO SEW. I HAVE ADDED IT TO MY FAVORITES AND AM EXCITED TO MAKE 1 OR SEVERAL. THANK YOU FOR SHARING
Bernysblessings.blogspot.com
I’m unable to print the templates.
Thanks
Hi. Were you unable to open them, or could you not figure out how to print them? I was able to open the files… here are the direct links in case you’re having trouble opening them: http://www.madebymarzipan.com/wp-content/uploads/2010/08/shapetemplate.pdf and http://www.madebymarzipan.com/wp-content/uploads/2010/08/booktext.pdf
I found this web looking fro poppy pillows, I took a look and love how nice and easy you make it look.
I will give it a try
thank you for sharing
This is darling! I love it. One more thing to add to my list of things to make for baby :)