
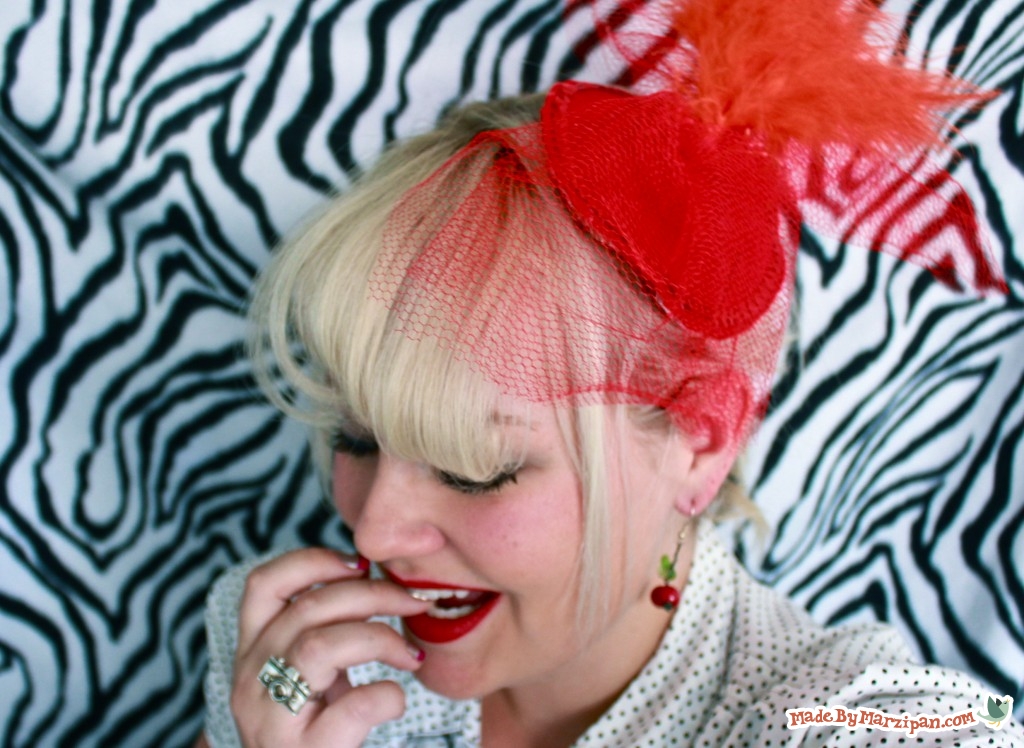

From Katy Perry to Kate Middleton, celebs are rocking these gorgeous hairpieces called fascinators. They’re great for a prom or wedding, or rock them with jeans and heels for vintage glam. No-sew!
Tips:
1
You’ll need felt. You can make do with the 8 x 10 sheets you buy at the craft store, but I prefer felt off the bolt because it tends to be a little stiffer.
2
You’ll also need netting. I prefer the coarser netting with larger holes, but it doesn’t matter too much.
3
You’ll need trim. Rhinestones, pearl strands, or sequins will work. Feathers are fun too. (I buy my feathers at Sportsman’s Warehouse, in the fly fishing section.)
4
Finally, you’ll need some medium-weight interfacing. This is sold in the sewing section on a bolt and is very inexpensive. It will stiffen your fabric and keep the pipe cleaners’ outline from showing beneath the hat.
How to:
made with
1 Begin by hot gluing a piece of interfacing to a piece of felt.You want the surface to be smooth, not lumpy, so hold the tip of the glue gun directly to the interfacing and spread the glue thinly. Adhere together.
2
Draw your hat shape on the interfacing. For this hat, I’m doing a half-sun shape. So I’m tracing half of a small plate, then tracing the corners of a square scrap to make pointed ray shapes. Cut out your shape and make sure that the interfacing and felt are adhered well.
3
Next add your trim. Trace the outline of your shape with trim.
4
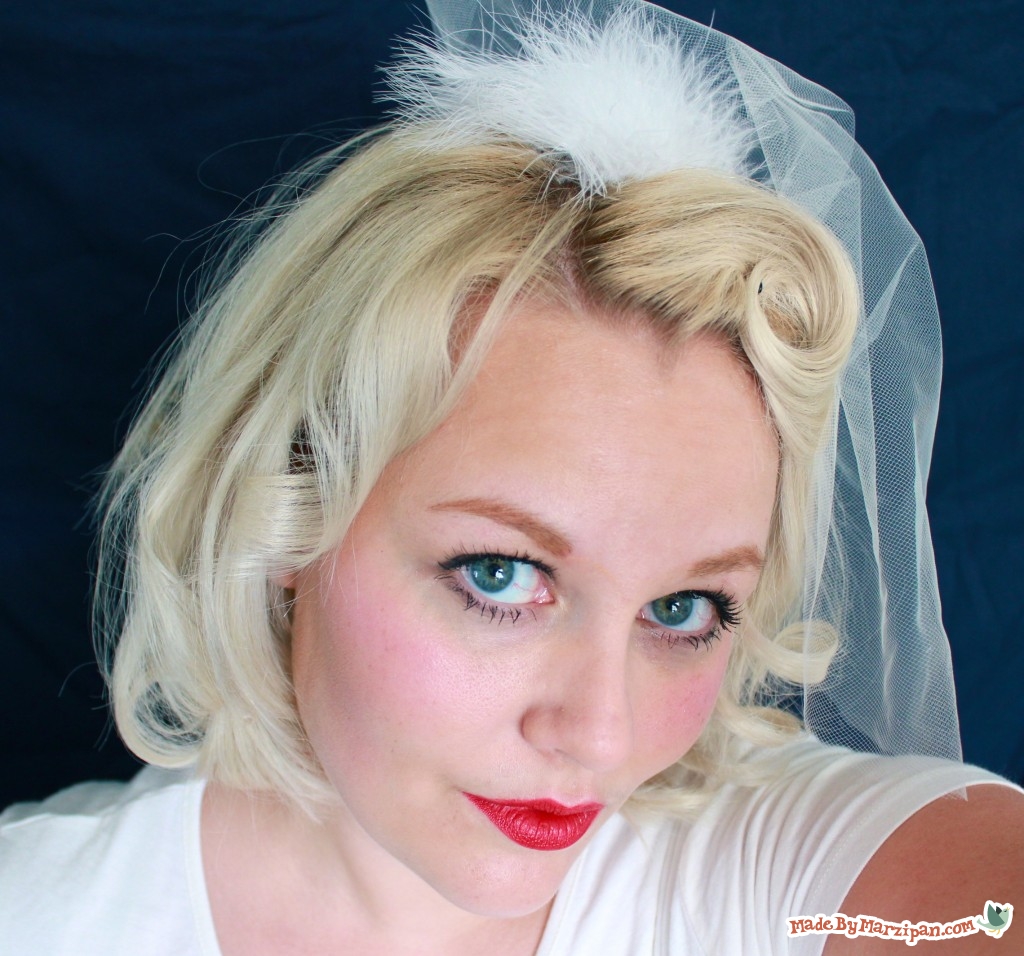
Now comes the netting. Fold the netting in half so it’s of double thickness. Round off the corners to make a large circle shape. For this fascinator, I’m folding the circle in half and pulling the straight edge together, like a fortune cookie. Adhere to the center of the hat.
5
I’m making a little bow from velvet ribbon and adhering that over the spot where I glued the netting.
6
Next glue pipe cleaners to the underside of the hat, following the outline of the shape. This will make the hat stiff but flexible, so you can bend it to the curve of your head for a flattering fit.
7
You can use a blowdryer to get rid of any visible hot glue strands. Add some feathers if you’d like.
This second hat will be a simple circle shape.
1
Follow the steps of gluing the interfacing, tracing, and cutting out.
2
Again, cut out a double-layered circle from netting. This time, pinch the circle in the middle, and adhere to the center of the hat.
3
Add trim around the edge of the hat, and a little in the center over the netting.
4
Add pipe cleaners to the back and feathers if you’d like. For the last fascinator, I cut out a rounded rectangle and added rows of pearls.
To wear, bend the fascinator gently so that it fits the curve of your head. Secure with small bobby pins.
Made By Marzipan may have received product or payment for this post. Posts may contain affiliate links. Disclosed in accordance with the Federal Trade Commission's 16 CFR, Part 255.

 Finished?
Show it off!

Thank you so much for this video and including the written instructions! I have a niece who is getting married and wants something like this. She ask me if I could make it since they are quite expensive to purchase at bridal shops. I agreed believing it would be easy, however, have never made one before and do not have strong sewing skills. Your clear directions and video have given me the confidence to make a few for her to choose from. I am very excited to explore more of your ideas. Thanks so much!!!