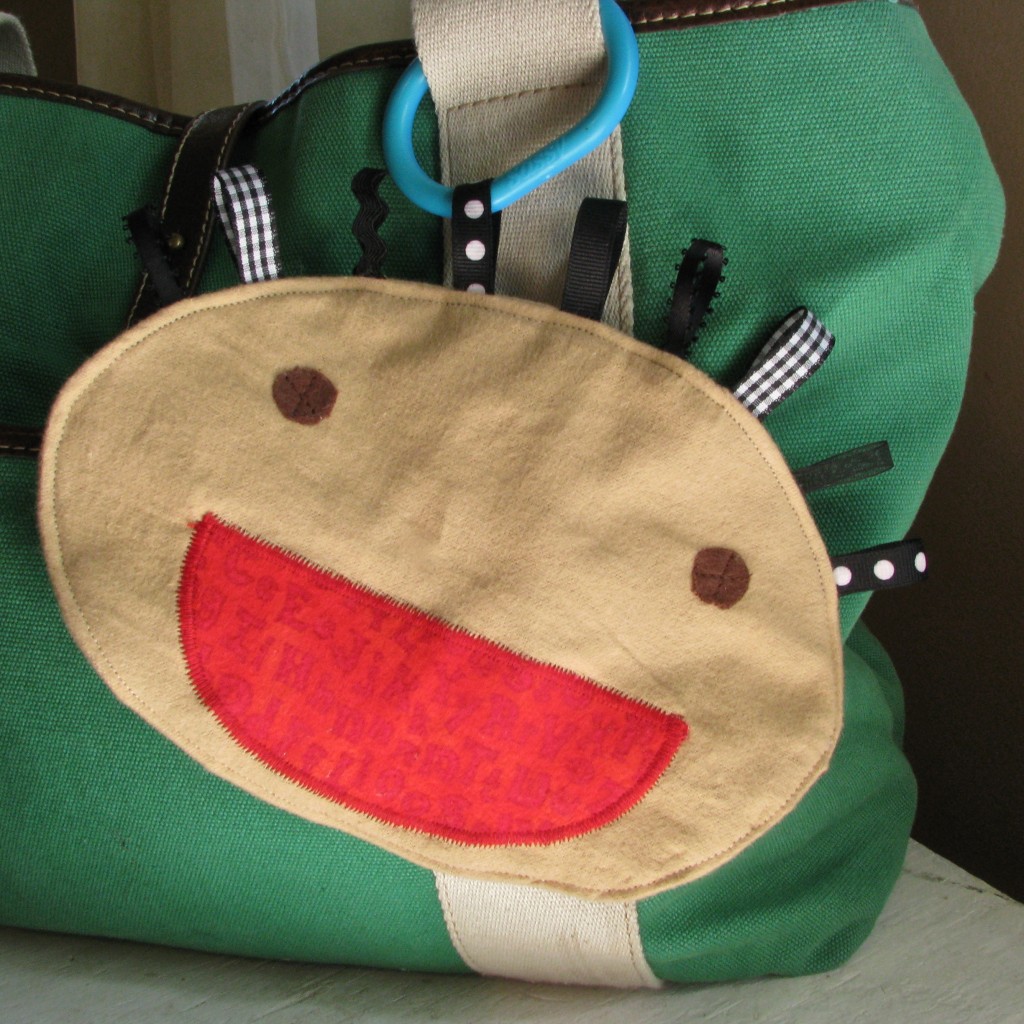
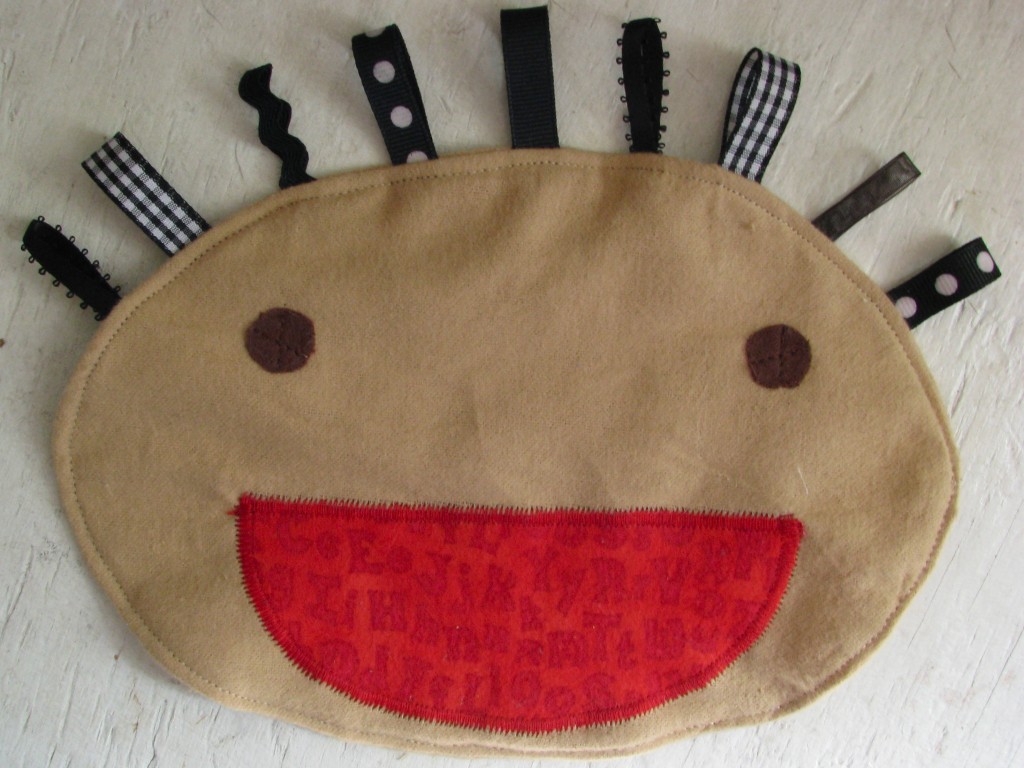
This taggie is made from oh-so-soft felt, with ribbons to tug on in a variety of patterns and textures, and has a special crinkly layer!
How to:
made with
1
Begin by cutting out two pieces of fabric in an oval or round shape. This will be the taggie’s head.
2
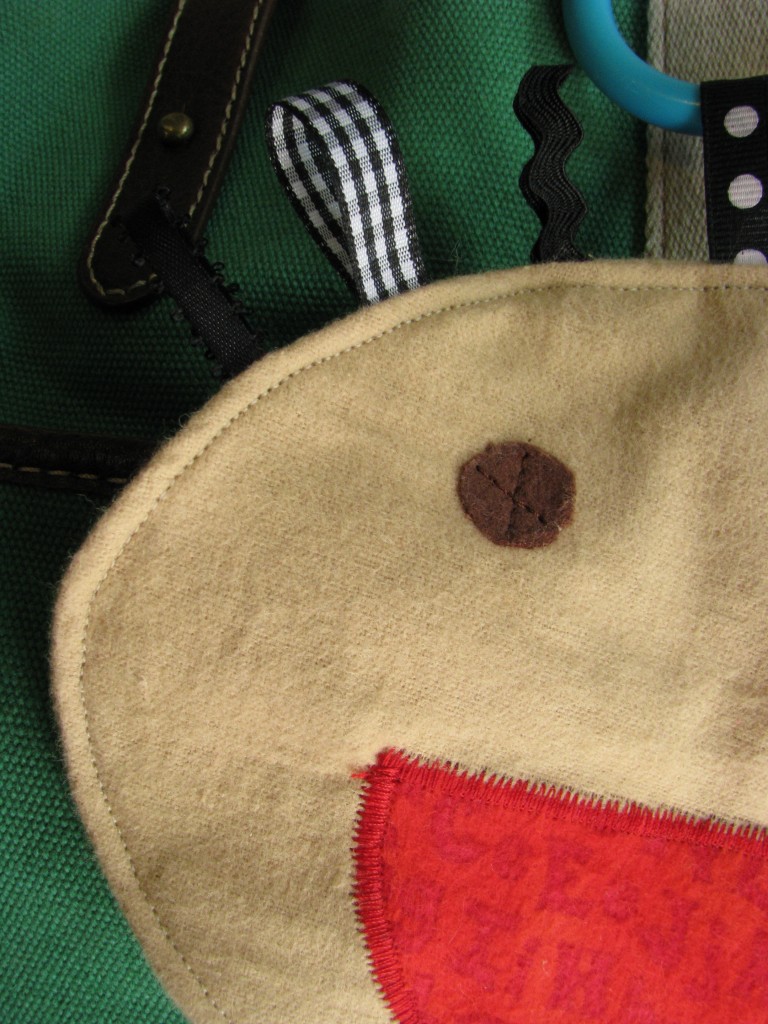
Cut out fabric scraps large enough to make the facial features. Iron these on to double-sided fusible webbing (Wonder Under). Flip over and trace the features. You can use a circle punch for the eyes. Cut out, then remove the paper backing. Iron on to the head.
3
Add stitching around the mouth. I used a tight zig zag stitch. I also stitched on the eyes.
4
Pin on 3-inch ribbon segments: fold ribbon in half so it makes a loop. Pin with the loop pointing inwards.
5
Lay the other head piece on top of the face. Cut an oval out of the plastic bag, the same shape as the head. Layer this on top of the other fabrics. Sew together, leaving a small hole for turning.
6
Cut notches around the seam so that it lies flat when turned right side out (don’t cut the seam). Turn, then poke out all the seams.
7
Sew hole shut, and continue sewing around the perimeter to add a decorative top stitch.
Click to check out Made By Marzipan’s other sewing projects for baby.
Made By Marzipan may have received product or payment for this post. Posts may contain affiliate links. Disclosed in accordance with the Federal Trade Commission's 16 CFR, Part 255.

 Finished?
Show it off!

That is really a cute idea and very cute name. Man, you are just full of ideas!