
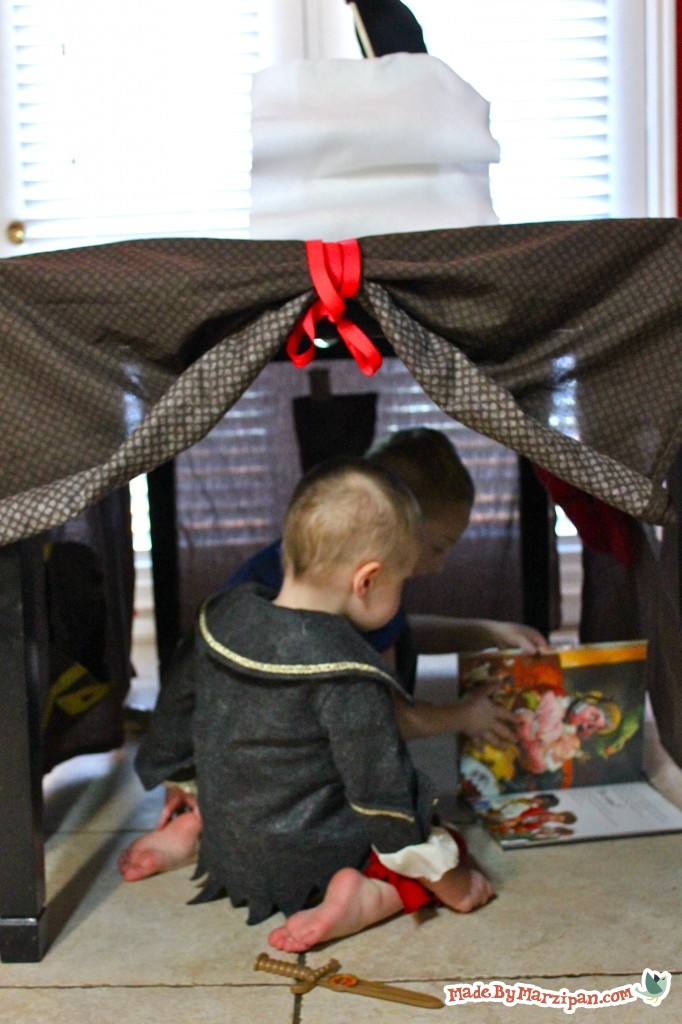
When it’s raining or snowing, a fort provides endless fun for indoor play. Part 1 demonstrates how to sew the basic Tabletop Fort. Part 2 shows tips and techniques for embellishing the fort– mine is a pirate ship!
Tips:
This fort is designed to cover a table and folds flat for easy storage. You can choose to cover a large table, or a card table. I’m using a king-sized sheet on my kitchen table.
How to:
made with
1
Start by laying the sheet on the table. Line up two sides so that the fabric on those sides is even, and touches the floor. The sheet doesn’t touch the floor on one short side of my table. So I’m going to cut off the fabric on that short side. I’ll be adding a different fabric for the door here later.
2
I also have some excess fabric on one of the long sides, so I’m going to trim it. I’m leaving an extra couple of inches so I can hem it.
3
You’ll have extra fabric by the corners. Cut a slit all the way up to the tabletop. Trim the fabric so that you have two extra inches along each side for hemming.
4
Now we’re going to fold and press all the raw edges. This fort won’t be lined, so you’ll need to fold the raw edges twice to encase the seams. Press and pin.
5
Once all your raw edges are pressed and pinned, we’re going to work on the door panel. Cut the fabric to the width and length of the short end of your table, plus an extra two inches on every side for hemming. Again, fold the raw edges twice, press, and pin.
6
Now add the door panel to the sheet by laying it face-down on top of the sheet. Match up the edges of both fabrics and pin together. Leave a space in the middle to add the ribbon ties.
7
To add the ribbon ties, cut a 2-foot length of ribbon. Tuck it between the layers of your door panel and your sheet, in the center. I folded the end of my ribbon under itself to prevent fraying. Pin.
8
Then add another 2-foot segment of ribbon underneath the sheet, matching it up to the other ribbon in the center. Pin.
9
Now you’re ready to sew. I’m starting with my door panel. Be sure that when you sew, the loose ends of your ribbon don’t get caught up in your stitches. Sew all the raw edges you have pinned, on all sides of the fort.
10
Press the seam of the door panel open and flat.
11
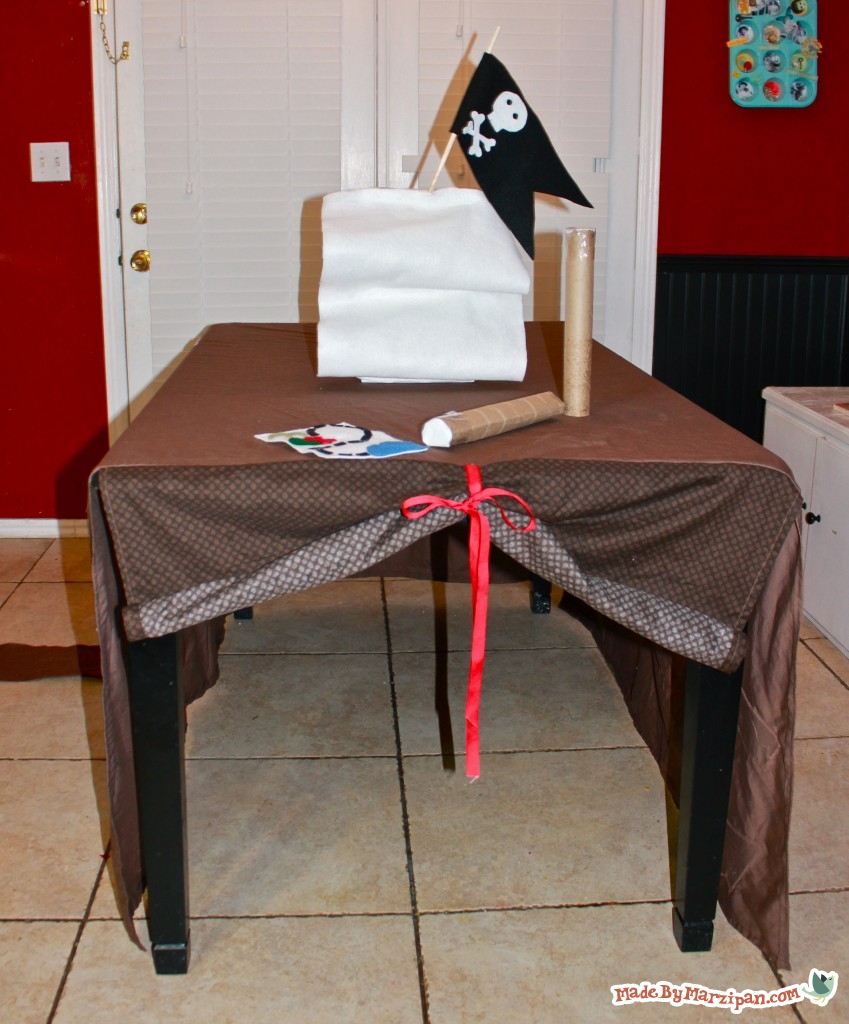
Once it’s sewn, try it on the table. You can keep the doorway open by rolling it up and tying it in a bow. If you’d like a more secretive fort, you can add grommets and ribbon ties at all the corners… but my children are tiny, and I don’t want to be constantly lacing the edges up.
See Part 2: Pirate Ship Version for embellishment ideas!
Made By Marzipan may have received product or payment for this post. Posts may contain affiliate links. Disclosed in accordance with the Federal Trade Commission's 16 CFR, Part 255.

 Finished?
Show it off!
