For part 4 in my Printmaking Series, we’ll be exploring the art of stencil screenprinting. A screenprint is created by adding a stenciled image to a fine mesh screen, then pushing ink through the holes using a squeegee.
Tips:
1
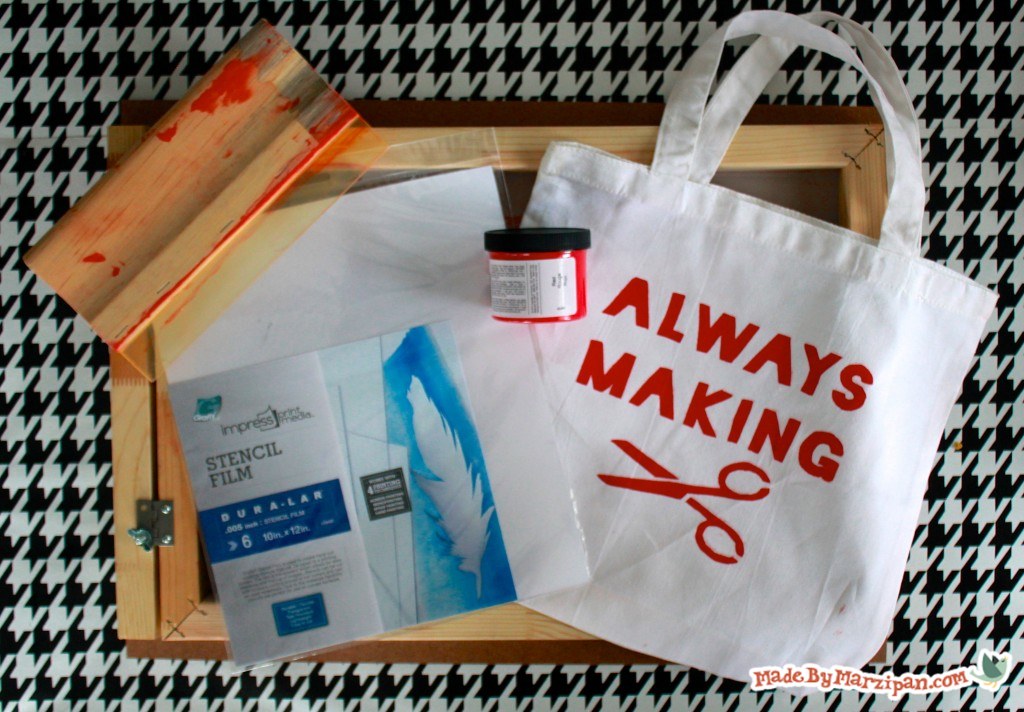
Screenprinting requires some upfront investment, as certain tools are required. However, it’s worthwhile if you enjoy designing. I purchased my hinged screen from DickBlick.com.
How to:
Creating the Stencil
1
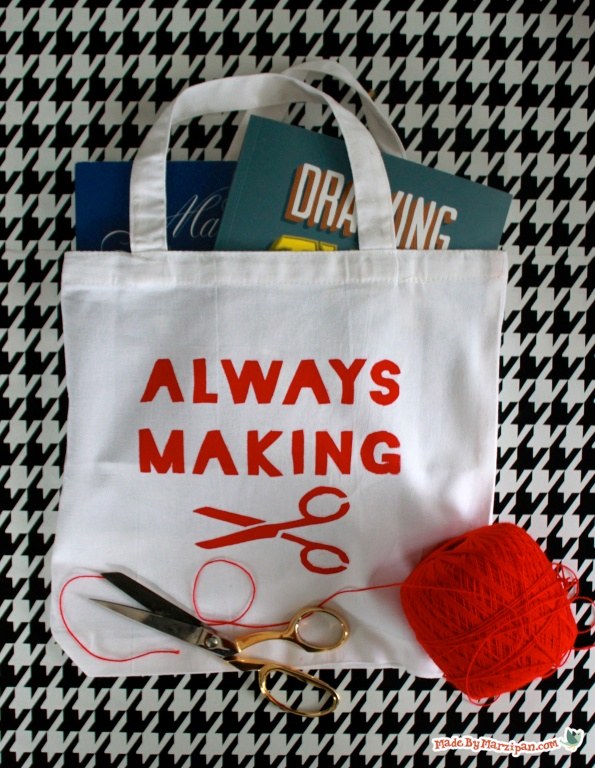
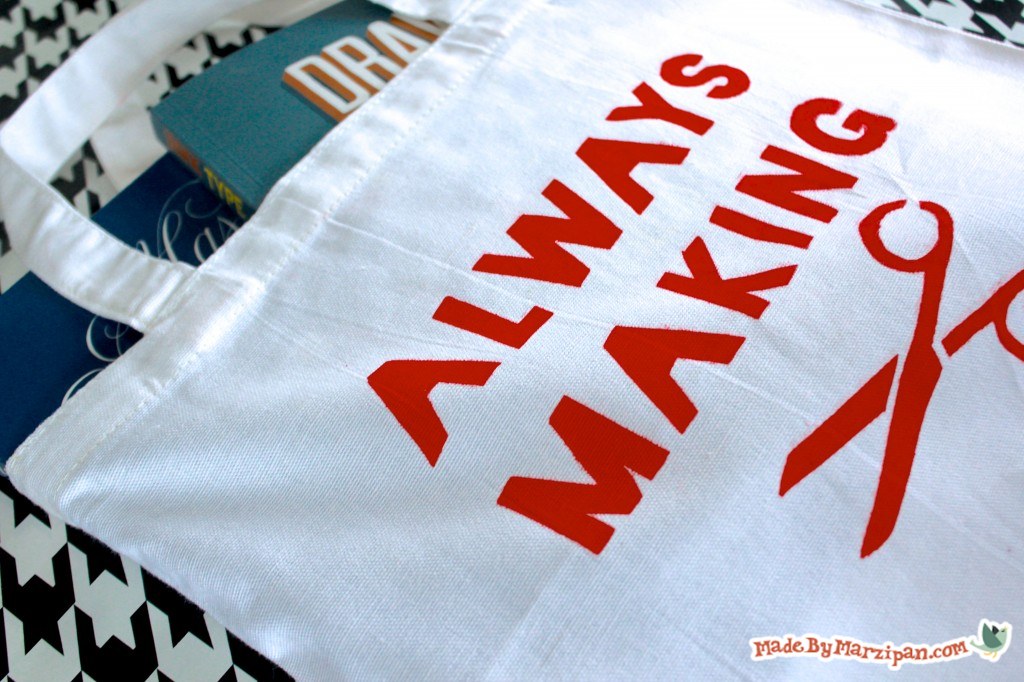
I’m going to start out by creating a stencil. There are several ways to do this, but I’m opting to use Impress Stencil Film, made by Grafix. This is a durable yet flexible plastic film that can be washed and re-used. I created this “Always Making” design and printed it out. Note how I left white spaces, or bridges, that allow my plastic stencil to remain in one piece.
2
Use a low-tack tape to adhere the paper face-down on the film.
3
For a really simple design, you could cut through both the plastic and paper with a craft knife. However, for designs with a lot of components, it’s better to trace the design with a permanent marker, as it’s possible for the paper beneath to shift as more pieces are removed.
4
Carefully cut out the design on the black lines, using a cutting mat and always cutting away from your body. Rotate the film as needed to ensure that you’re always cutting in a safe direction.
Screenprint Prep
5
Today I’m printing on canvas tote bags I got at the craft store. You can screen print on many different surfaces, as long as you’ve chosen the correct type of ink for the surface. If you’re printing on fabric, iron to remove wrinkles.
6
For best results, you’ll want to use a spray mount adhesive. Make sure to choose one that says “repositionable” or “removable” so it will be easy to clean out of the screen. Lightly spray the front of the stencil, then press the stencil to the underside of the mesh screen.
7
Add a border of masking tape on the back of the stencil for extra stability.
8
Next mask off the front of the screen. I like to fold under the edge of the tape so it’s easier to remove.
9
If you’re printing on a T-shirt or a bag, it’s a good idea to add a piece of poster board or cardboard between the layers to prevent bleed-through. Spray the cardboard, insert between the layers, and smooth.
10
Center the printing material beneath the screen. Tape to prevent shifting.
11
I have a hinged screen, and it isn’t level since my printing material is so thick. So I’m going to loosen the wing nuts, and add these furniture bumpers as spacers underneath the corners. Ideally, you want your screen to have a little give when you squeegee the paint. That is, it should touch the material fully when you apply pressure, and bounce back a little when pressure is released.
Screenprint Process
12
Now we’re ready to print! I’m using Speedball screenprinting ink because it’s readily available at most craft stores. However, if you have access to it, I’d recommend trying Plastisol ink to print on fabrics. It has a finish that looks more like a standard T-shirt rather than a painted one.
13
Add a generous line of ink at the top of the screen. Now we’ll flood the stencil area with ink by gently drawing the ink down using the squeegee. (Don’t apply pressure, we’re just spreading the ink over the surface.)
14
Now go over the stencil area several times, applying firm pressure to force the ink through the mesh. You can draw the squeegee up or down.The goal is to clear the screen of as much ink as possible. It’s best to be thorough, as you can’t really re-do it once you lift the screen.
15
Lift the screen and carefully remove your project. Set aside to dry.
16
When using Impress Stencil Film, you can leave the film in place and print several items in a row with no additional setup.
Cleaning Up
17
It’s very important to clean up immediately when you’re finished working. A flexible plastic kitchen spatula is helpful for removing excess ink from the screen and squeegee. If you work quickly, you can salvage the extra ink.18
Gently remove the tape and stencil by pulling on the folded ends of the masking tape. (Remember that the finer the mesh, the more delicate the screen, so always treat with care.)
19
Speedball ink can be rinsed out with warm water and a soft brush. (Other types of ink may require a Press Wash solution.)
Made By Marzipan may have received product or payment for this post. Posts may contain affiliate links. Disclosed in accordance with the Federal Trade Commission's 16 CFR, Part 255.

- Karen McFerran
 Finished?
Show it off!
