
Today I’m playing with Rub-Onz, a printable transfer film made by Grafix. I’ll show you how to design your own rub-on’s, as well as a variety of projects you can use them on.
First you need to prepare your document. I’ll show you how to do this in Microsoft Word.
Wood Frame
For this first project, I’m painting a thrifted wood frame with acrylic paint. Allow the paint to dry completely.
Now carefully peel the CLEAR FILM from the cut-out shape. Sometimes the matte film wants to come off instead, but right now you need to only remove the clear film.
Place the Rub-Onz shape to the frame, the rub the film on top lightly with the stick. Remove the film. I like to rub again lightly with my finger, as I’ve found this eliminates any tiny wrinkles.
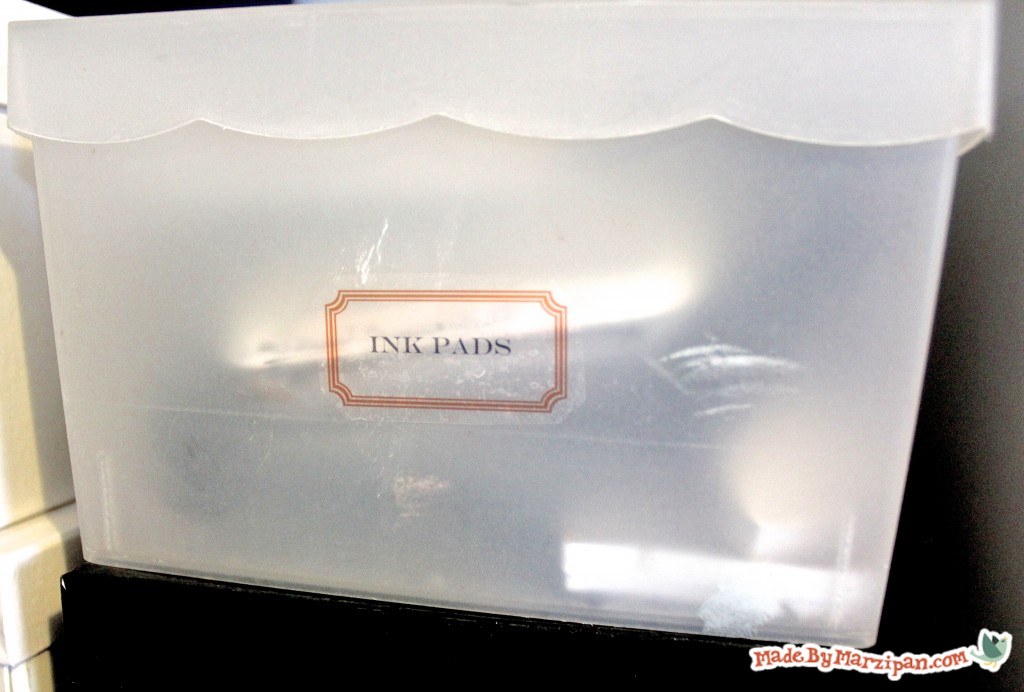
Plastic Bins
Let’s test these out on plastic. I have tons of plastic storage containers in my craft room, so I’d like to add labels to some.
Repeat the previous steps to adhere to the plastic bin.
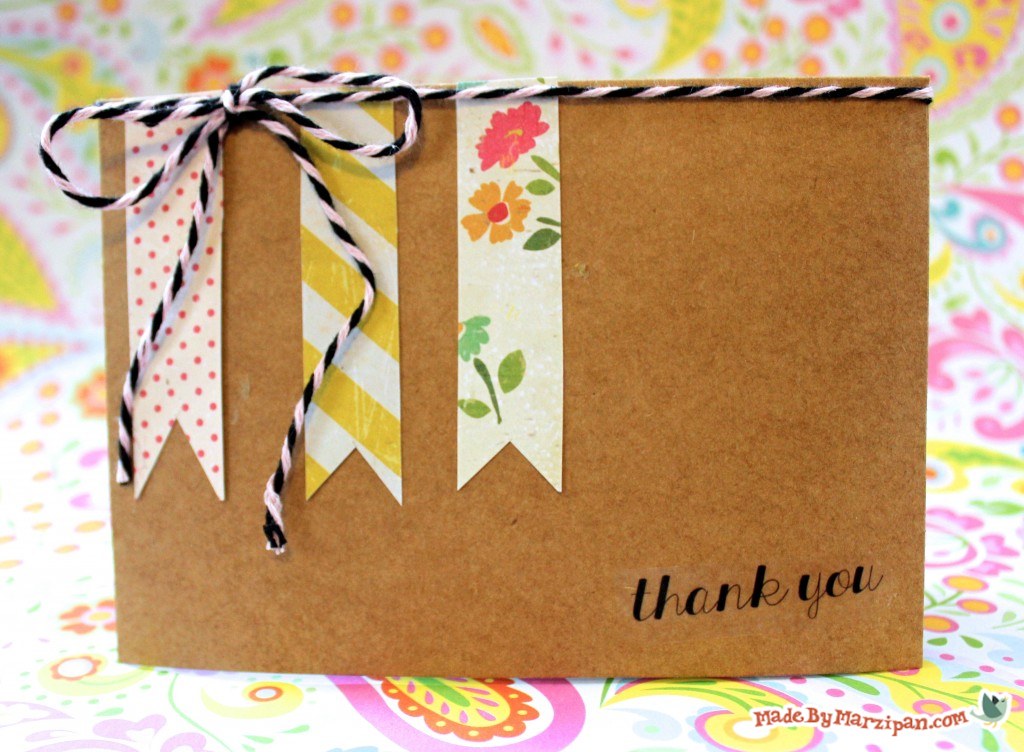
Paper Cards
I love using Rub-Onz for paper crafting… it’s like being able to create a stamp of anything you want! Print a whole page of sentiments, and you can make cards quickly. These are also great for crops… no need to pack your stamps, ink pads, and stamping blocks!
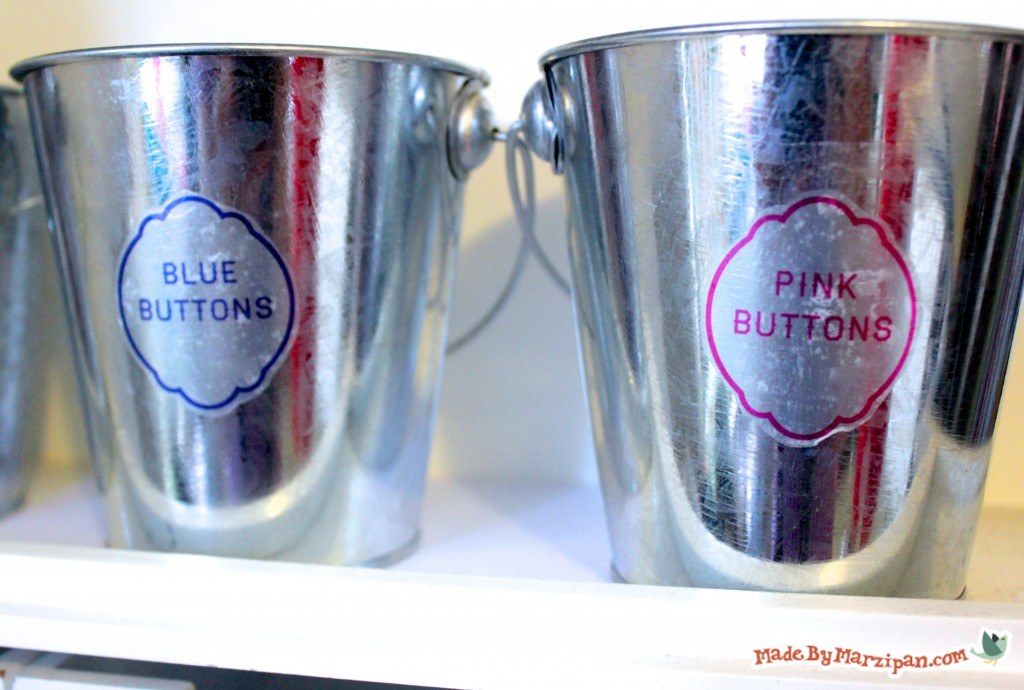
Metal Pails
I store all of my buttons in little metal pails, sorted by color. I did try sticker labels on these, but they were always peeling off. So I’m trying Rub-Onz instead. I think these will work much better!
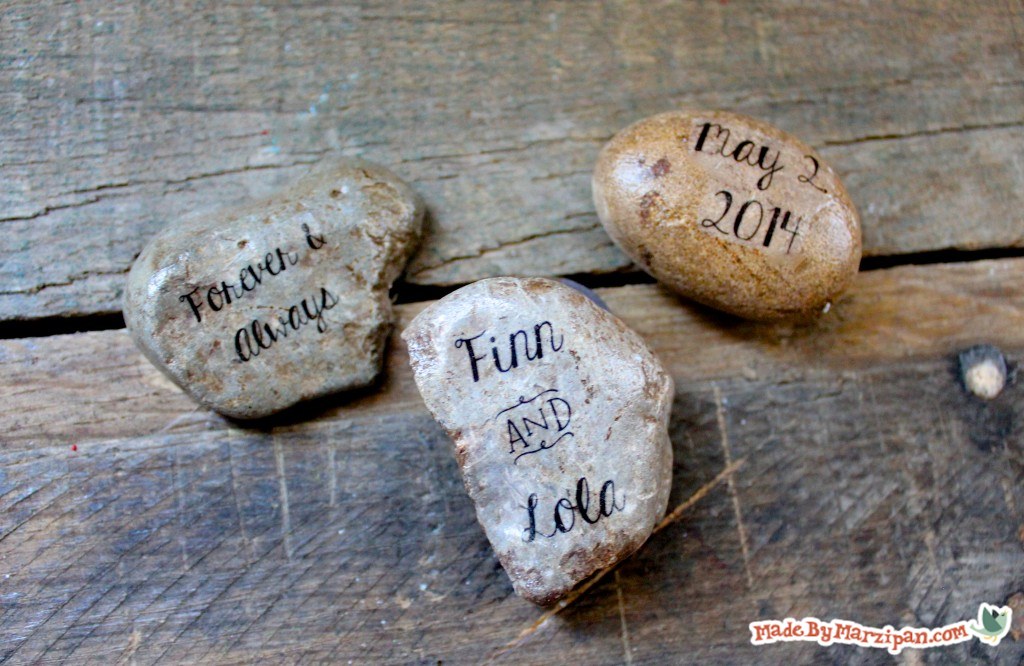
Rocks
Finally, I’m trying something a little unusual… rocks from my yard. Wash and dry very well.
The Rub-Onz worked surprisingly well on this uneven surface. I really love the way these look, but I think they’d look even nicer with a coat of glossy Mod Podge. Add with a foam brush.
These rocks would look beautiful as table scatter at an outdoor wedding!
What other projects would you add Rub-Onz to?

 Finished?
Show it off!
Can you use the rub-ons on duct tape? Also do you have to use words will pictures come work?
Hi! Yes, you can use pictures. I made a rub-on of my bird logo and added it to my sewing machine, it turned out great. I think it would work fine on duct tape. What are you thinking of making?
Can you use the rub-ons on duct tape? Also do you have to use words will pictures come work?
Hi! Yes, you can use pictures. I made a rub-on of my bird logo and added it to my sewing machine, it turned out great. I think it would work fine on duct tape. What are you thinking of making?
Please keep thnoiwrg these posts up they help tons.