
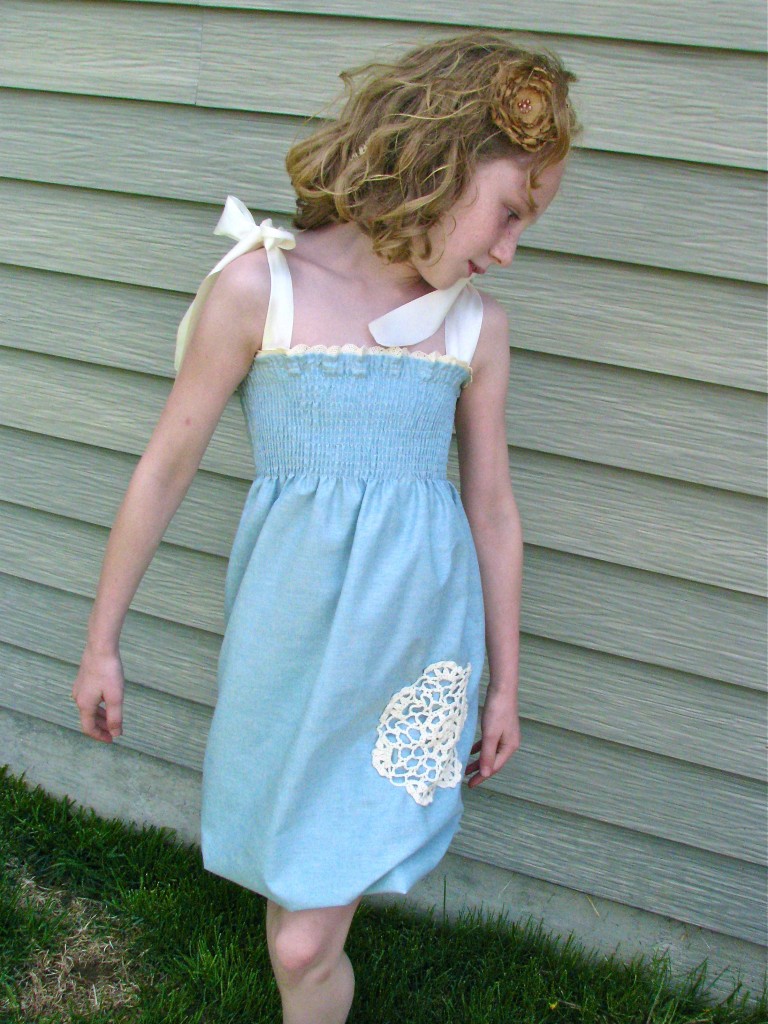
This little Raindrop dress has a fun balloon, or bubble, hem. I’ll teach you how to make it, along with techniques such as shirring and sewing French seams.
Tips:
Formula for Pattern:
Dress Width = Chest measurement x 1.5
Dress Length = Desired length + 5.5 inches
Lace Length = Chest measurement x 1.5
Elastic Length = Leg measurement -.5 inch
Ribbon Length = Long enough to tie in big bow on shoulder (cut
4
How to:
made with
1
You’ll need 3 measurements. Measure around the chest, under the arms. Next, measure from under the arm to the desired length. Finally, measure around the legs, about three inches higher than the desired length.
2
To begin with, wash, dry, and iron all fabrics and embellishments. Cut fabric and notions as described in the formulas above.
3
I’ll be using a crocheted doily as an accent for this dress. I found them at my local dollar store, and it came in a pack of two. Be sure that you wash and dry it the same way the dress will be laundered to prevent shrinkage later.
4
I’m going to start by showing how to sew a French seam. The fabric I chose for this dress is two-sided, so I’m going to demonstrate on a piece of scrap fabric to make it easier to follow along.
5
Begin by sewing a quarter-inch seam with the fabrics wrong-sides together. In other words, the pattern should be on top. This is going to seem a little backwards, but stay with me.
6
Press the seam and turn the fabric inside out. Then sew alongside the previous seam with a half-inch seam. Turn right side out, and you’ll see that the raw edges are encased in the French seam.
7
Now I’m going to repeat those steps on my dress. Sew down the length of the dress with a quarter inch seam, sewing WRONG sides together (pattern face up). Press the seam and turn inside out. Then sew alongside the seam with a 1/2 inch seam. Turn right side out and press to finish.
8
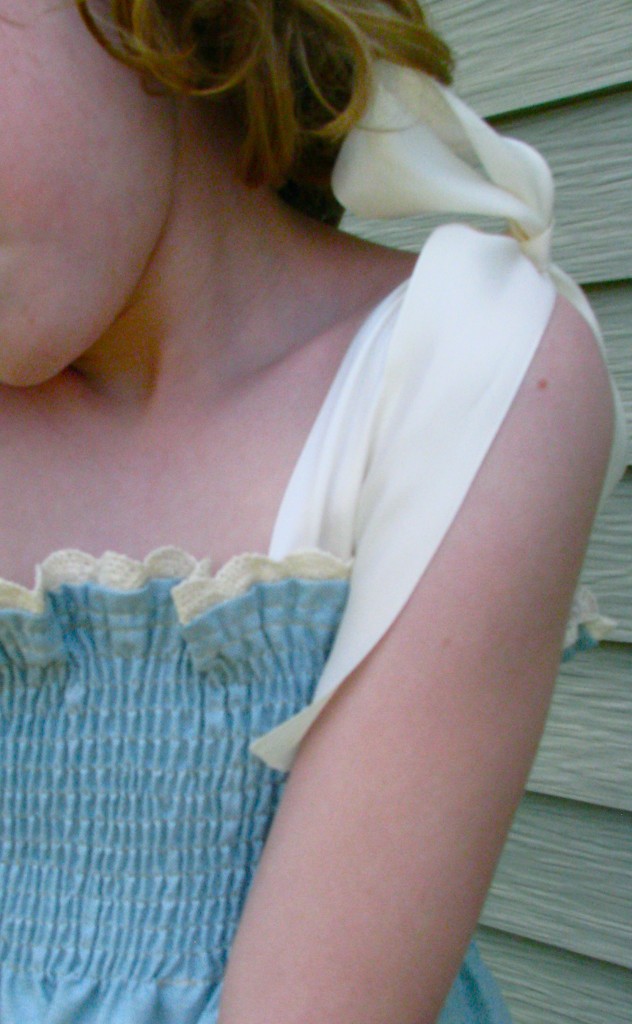
Now we’ll work on the top of our dress. With the dress inside out, turn over the top 1/2 inch and press. Then turn over another 1/2 inch and press again. Pin lace trim on top of this hem. Fold the ends of the lace under to minimize fraying.
9
Then cut four pieces of satin ribbon. Cut these long enough to tie in a big bow on the shoulder. Fold up the ends to reduce fraying, and pin these to the inside of the dress.
10
Now handwind a bobbin loosely with elasticized thread. You can find this type of thread for a dollar at Wal-Mart, it’s located by the elastic and Velcro rather than by the regular thread.
11
Insert as you would a regular bobbin. Use regular cotton or cotton-poly blend thread on top. Lengthen your stitch length a bit.
12
Some sewers like to hand-tie the ends of their threads when shirring. Others, myself included, see nothing wrong with backstitching or stay-stitching. Martha Stewart recommends backstitching, and if it’s good enough for Martha, it’s good enough or me.
13
Sew rows of shirring a quarter inch apart, using the edge of your sewing foot as a guide. Sew rows about halfway to the belly-button. I recommend sewing slowly to reduce the chance of your elastic thread breaking.
14
Once your shirring is complete, press on high heat with steam. This will shrink your stitches. Be careful not to melt your ribbon.
15
Now we’ll work on the hem. This type of dress is sometimes referred to as a bubble or balloon dress, because the bottom of the dress balloons out and the hem is not visible. To make the hem, fold up a half inch and press.
16
Then fold up another inch or so, wide enough for your elastic and a quarter-inch seam. Press or pin in place. Sew along the top edge of the hem, this will become the elastic casing. Stop sewing about an inch before the end, leaving a hole to thread the elastic through.
17
Insert a safety pin in your elastic, and thread it through the casing. Align the ends of the elastic and sew together with a zig-zag stitch. Sew the hole in the casing with a straight stitch.
18
Finally, you can handstitch a doily or other embellishment on the skirt portion of the dress. You can also singe the ends of the ribbon to prevent fraying.
19
To wear, pull the elastic hem upward about three inches so that the skirt balloons out and the hem is not visible.
Click here to find more free clothing projects to sew!
Made By Marzipan may have received product or payment for this post. Posts may contain affiliate links. Disclosed in accordance with the Federal Trade Commission's 16 CFR, Part 255.

 Finished?
Show it off!

what’s the reason for doing a french seam?
is it to manage the fraying? and if so would a zig zag stitch do the same work?
Love this project!