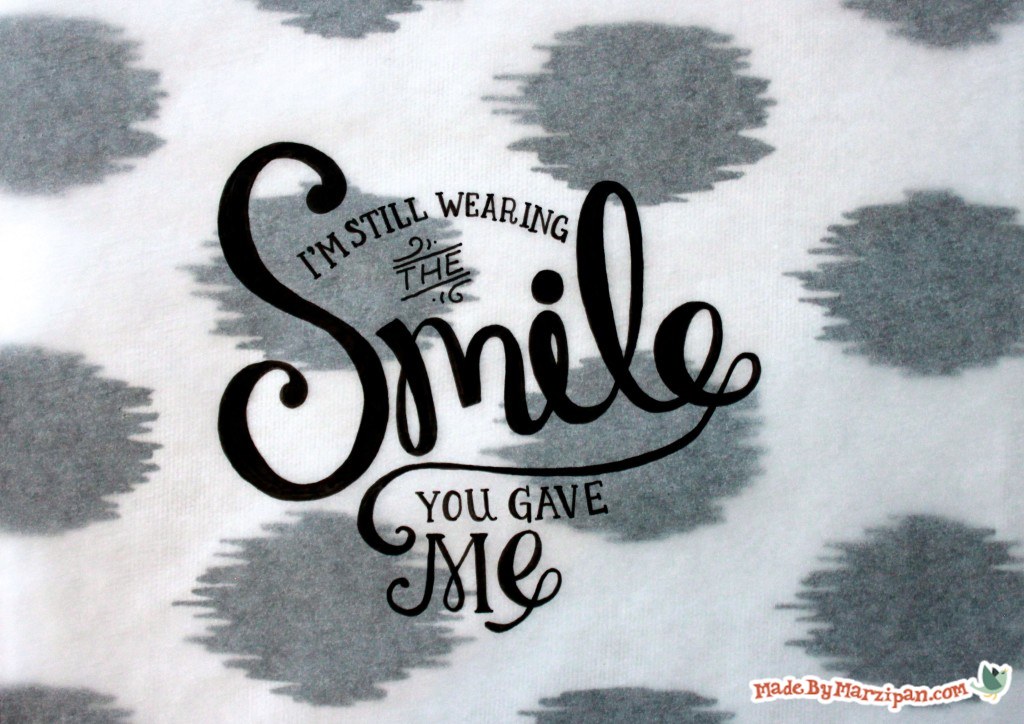

Learn how to turn your hand lettered artwork into a high quality print or a digital image using Illustrator or Photoshop.
Tips:
1
I’m going to keep this to the bare minimum basics, with the assumption you’ve never used Illustrator or Photoshop before. I’m not even going to go into shortcuts, since they’re different on a Mac and a PC… we’re just going to keep things super simple today.
How to:
made with
scanner
Adobe Illustrator (AI)
Adobe Photoshop (PS)
1
Start by scanning your image into your computer. You’ll get the best results working with an inked black and white image. Change your scan settings to black and white, and increase your DPI. I set mine to 600 so I have a high resolution image.
2
You can use any photo editing software to adjust the exposure and increase the contrast. We want a true white and a solid black.
I’m going to start by showing the process in Illustrator, and then I’ll show you how to do something similar in Photoshop.
Illustrator
1
Open the scanned image in Illustrator. Go to the Object menu in the toolbar at top. Click on Live Trace, then Tracing Options. (It might give you a warning if you have a large image, just click okay.)
2
Now it will bring up a panel with different options. Typically the only thing I change in this window is the blur, which smooths the edges of your lines a bit; 2 pixels usually works well for me. You can fiddle with the other options if you’re not happy with the effect; if you hover over them there’s an explanation of what each does. Be sure to check the “Ignore White” box, then check preview to see how it looks. Then hit trace.
3
Once it’s traced, go back to the Object tab and click expand. Object and Fill should both be checked, then hit okay. This turns your drawing into paths you can edit.
4
To be able to move the pieces around independently, you’ll need to make sure your drawing is selected and go back to the Object tab and select ungroup. You may need to do this twice. Now you can move each piece in your drawing by dragging, or by nudging with the arrow keys.
5
If some areas look too bumpy, you can smooth these out by editing anchor points, which are shown as little white squares. Click on the white arrow on the tool panel to select individual points. Click and hold the pen tool in the toolbar to open the pen options, then select the one with the minus sign. Use this to click on and delete extra anchor points that are making your lines lumpy. (Note: I actually do very little editing like this, as I like my hand lettered pieces to keep that handmade vibe.)
6
You can move anchor points slightly by nudging them with the arrow keys.
7
You can also adjust curves by selecting an anchor point with the white arrow, then dragging on the attached handles, which are shown as dots. Very generally speaking, you want your handles to be evenly balanced on the line or path… that is, one handle shouldn’t be tilted into your drawing, as this gives you a strange curve.
8
To resize an item, select it with the black arrow tool. Hold down the shift key to maintain your proportions, then scale by dragging on a corner.
9
To move items together, you can drag a box around them to select (use shift to deselect if you accidentally grabbed something you don’t want), then nudge into place with the arrow keys.
10
Save in the format you’d like.
Photoshop
1
Let’s take a look at some basic edits we can make in Photoshop. Open your scanned file.
2
Unlock the layer by double clicking on it, and name it if you want.
3
Go to the Layer window and click on Layer Style, then Blending Options. Moving the slider scale will remove your white background.
4
Next go to the Image window and click on Mode. Since we scanned in black and white, you’re probably in Grayscale mode, so no colors will show up on your file. Change to CMYK color if you plan to print it, and RGB if it’s for the web.
5
Now you can use the paint bucket tool to fill in your letters with color. (You can duplicate the original scanned layer and make a new layer for each color if you’re going to fiddle with them a lot, but it isn’t required.)
6
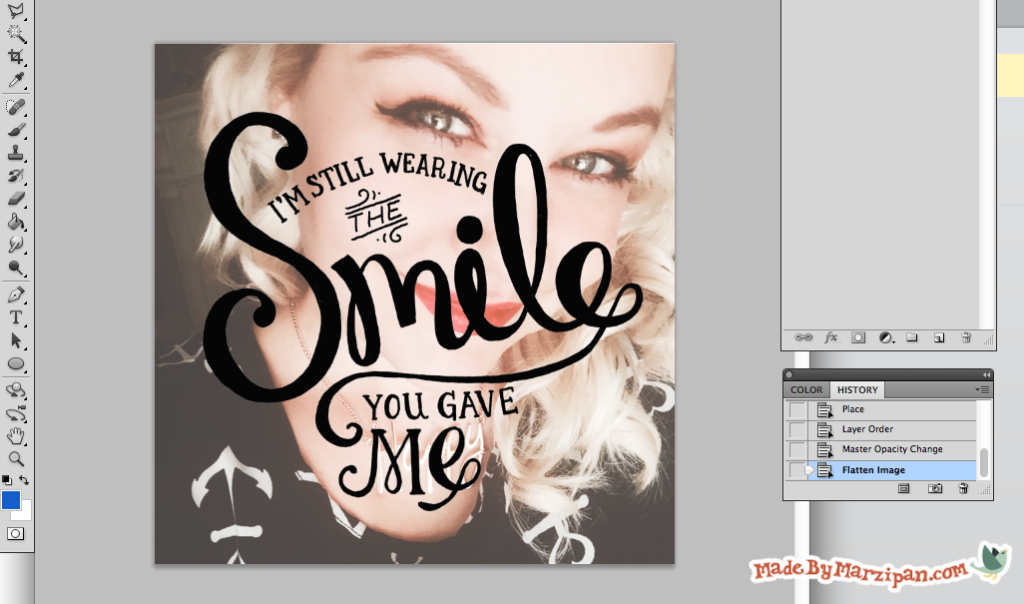
If you’d rather, you can add a background photo. Go to the file tab and click place. Select your photo and then click the black selection arrow on the toolbar. Click place when it asks if you’d like to place the file.
7
Next move the new photo layer below the scanned layer. Adjust the opacity on the Layer panel to lighten the image.
8
Click on the layer window, then flatten the image to merge your layers into a single image and make a smaller file size. Save.
I hope this quick tutorial helped you learn a few basics so you can turn your handlettering into images ready for printing or sharing online.
Made By Marzipan may have received product or payment for this post. Posts may contain affiliate links. Disclosed in accordance with the Federal Trade Commission's 16 CFR, Part 255.

 Finished?
Show it off!
