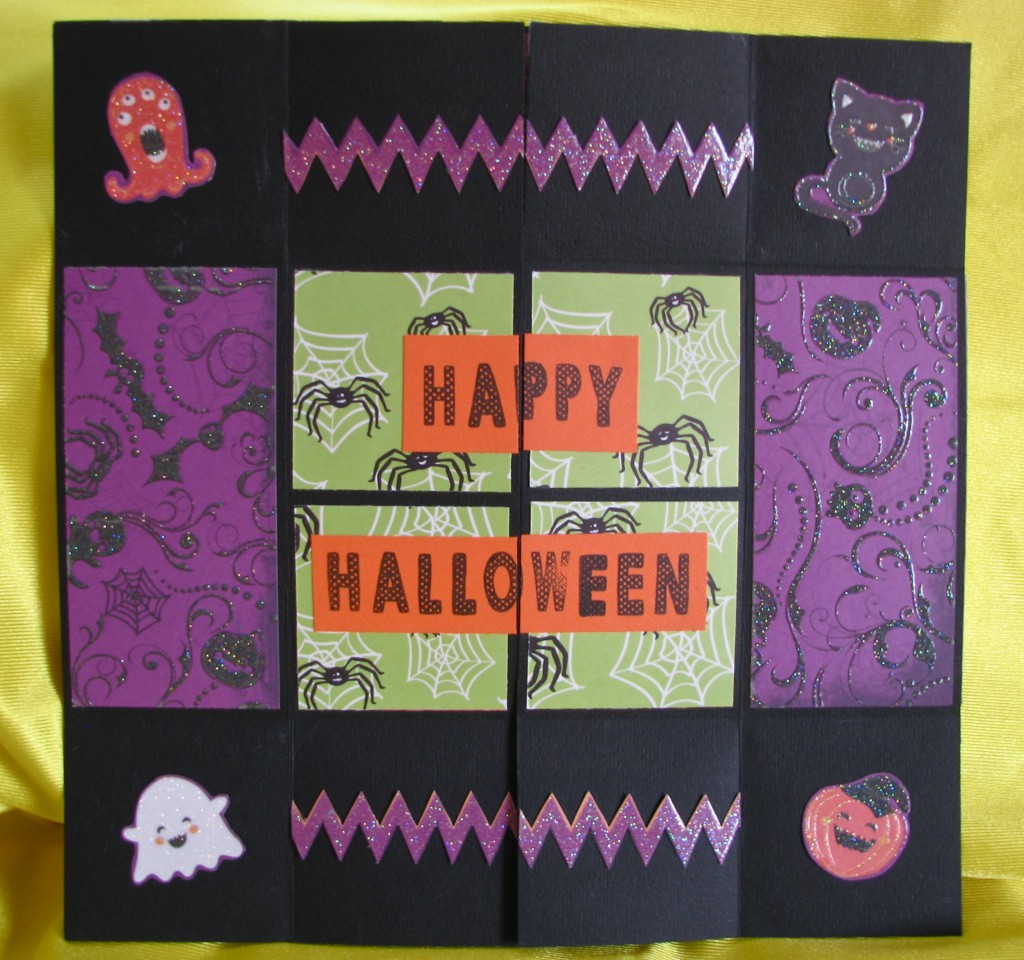
The special folding technique displays several pages, and then “magically” takes you right back to page one– it’s a never-ending album!
How to:
made with
1
Cut both sheets of 12×12 cardstock in half. Score each of these vertically at the 3 inch mark (in half). Then score each of the shorter ends at 3 inches. Your paper should have two 3 inch squares at the top, then two 4 inch rectangles, then two 3 inch squares at the bottom. Repeat for other pieces of cardstock.
2
Put adhesive on two corners of each piece of cardstock (on the long side). Lay two sheets down horizontally right next to each other (so it looks like one 12×12 sheet). Adhesive should be on the four outer corners.
3
Lay down the other two sheets on top of the horizontal ones. Put the top sheets down vertically. Adhesive corners should match up.
4
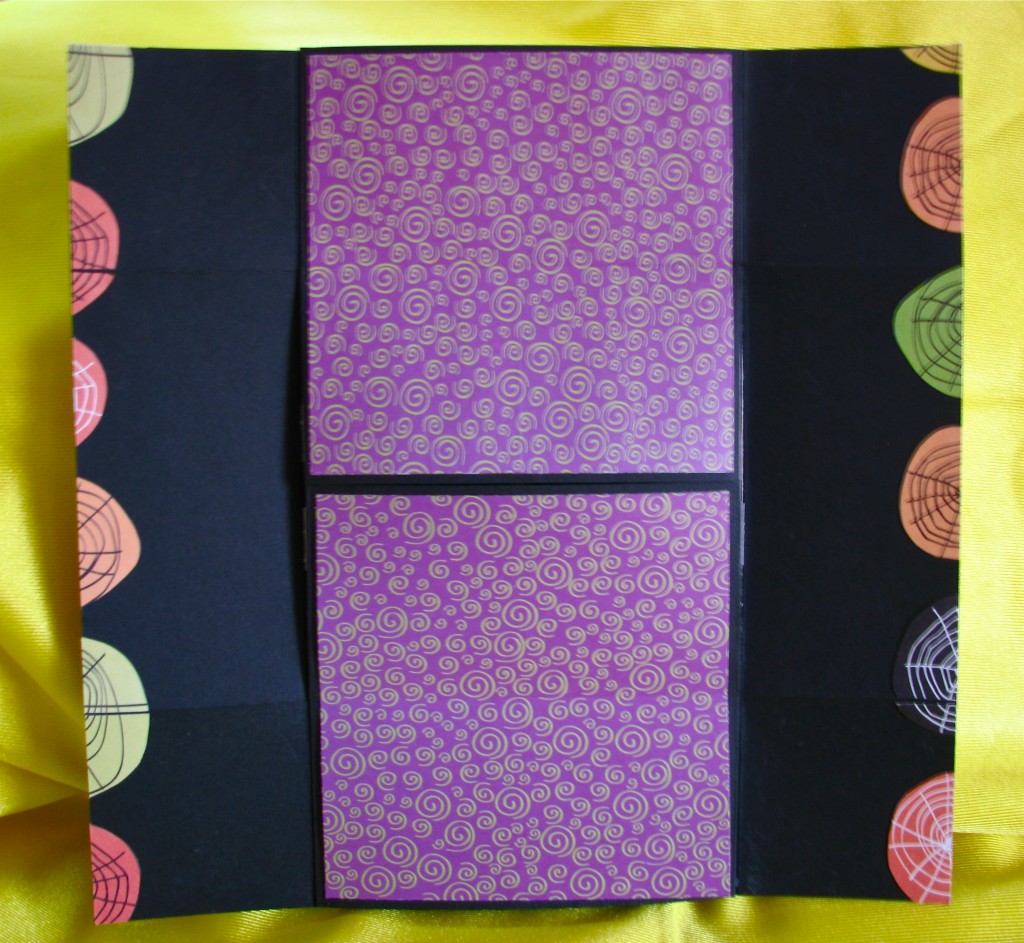
Now it’s time to fold. Fold along the center vertical score line so that the paper meets the right edge. Repeat for the left half.
5
Fold these flaps you just made backward and behind. Now it should look like you have two 6 inch squares on top of each other.
6
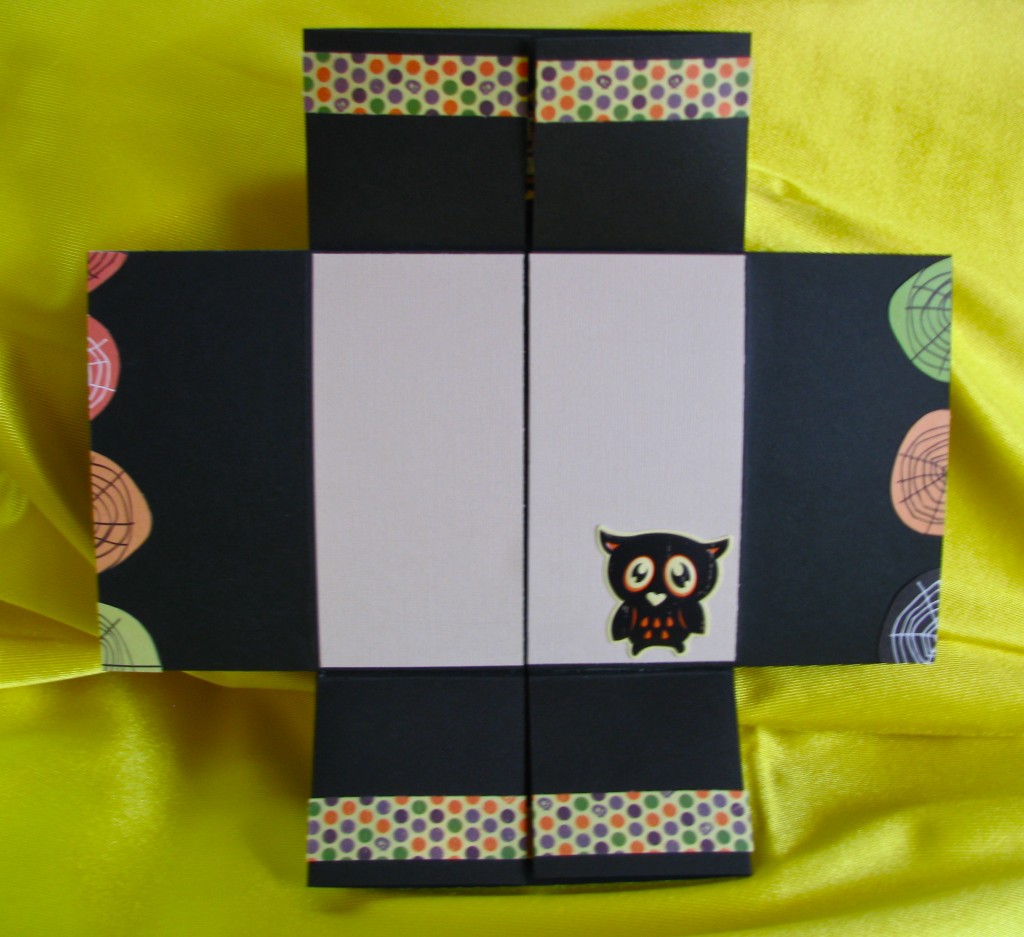
Unfold and lay flat. You should be working on the “back” now, so you’ll have a horizontal cut across the middle. Fold up the middle to meet the top, and do the same for the bottom.
7
Lay flat again. You have two side flaps on both the left and right side. Fold the one on the bottom underneath and behind your papers, leaving the top one out. Now you can fold the “squares” in half. For the top square, hold the edge in the middle and fold upward, and for the bottom square, hold the edge and fold downward.
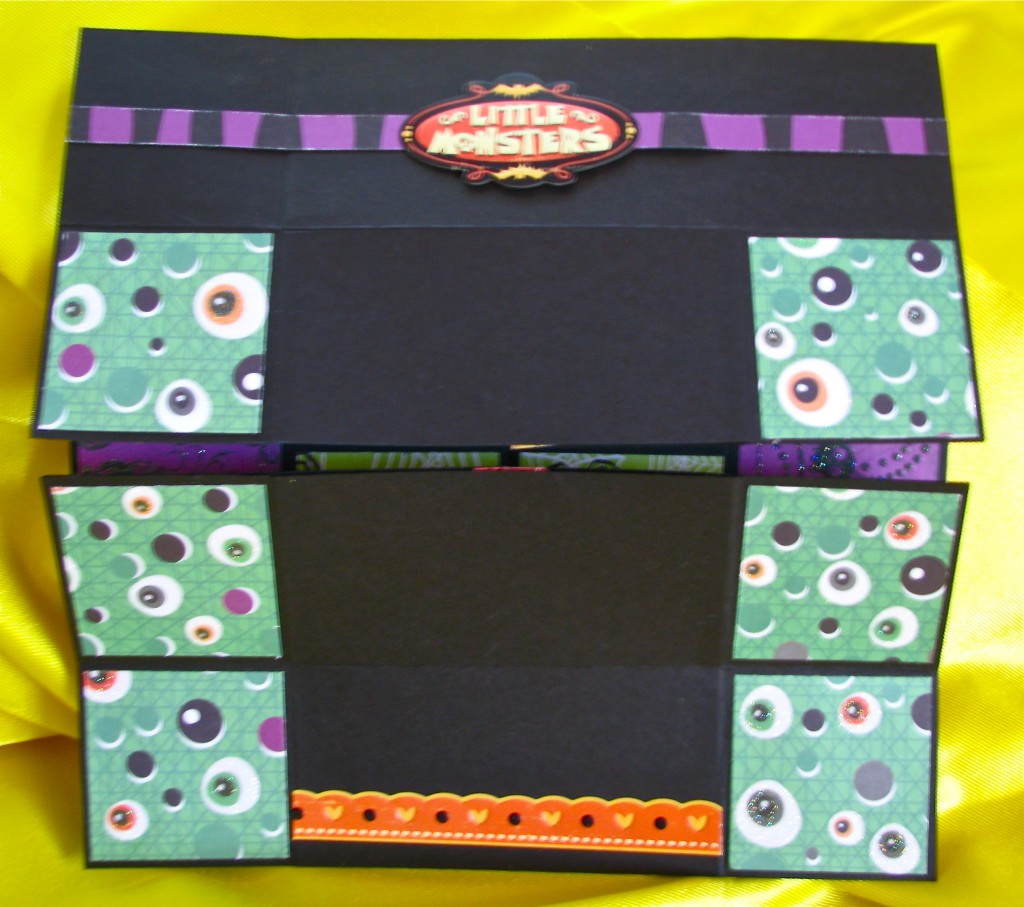
8
There is a horizontal score going across the top of your cardstock. Fold this backward. Then fold the score across the bottom backward. Your paper should look like a cross.
That’s it, you’re done folding! Here’s how to open your album (and the more you play with it, the easier it will be to open… soon it will fall open very naturally).
1
Open your album at center. Right and left flaps will fold behind.
2
Fold back along the top score line and along the bottom score line. Your paper looks like a cross.
3
Fold open at center, right and left sides will go behind. Now you have a whole square with a horizontal cut.
4
Open at center, fold flaps behind. You’re back to the beginning!
Find more mini scrapbook album tutorials here!
Made By Marzipan may have received product or payment for this post. Posts may contain affiliate links. Disclosed in accordance with the Federal Trade Commission's 16 CFR, Part 255.

 Finished?
Show it off!
