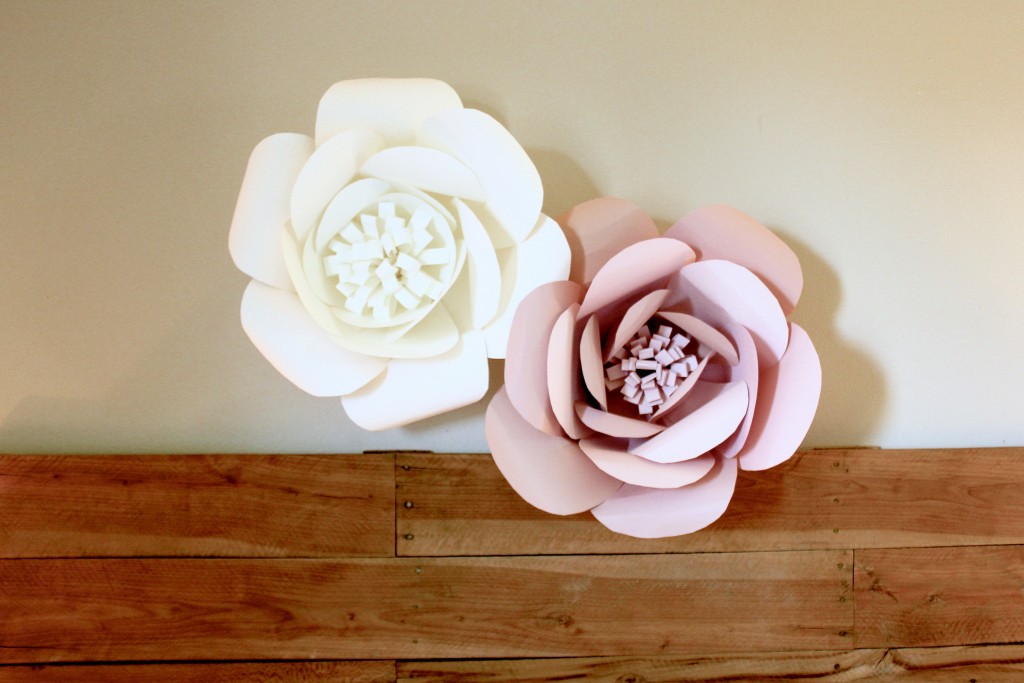
Learn how to make big, beautiful roses with this free video tutorial and printable template!
Tips:
1
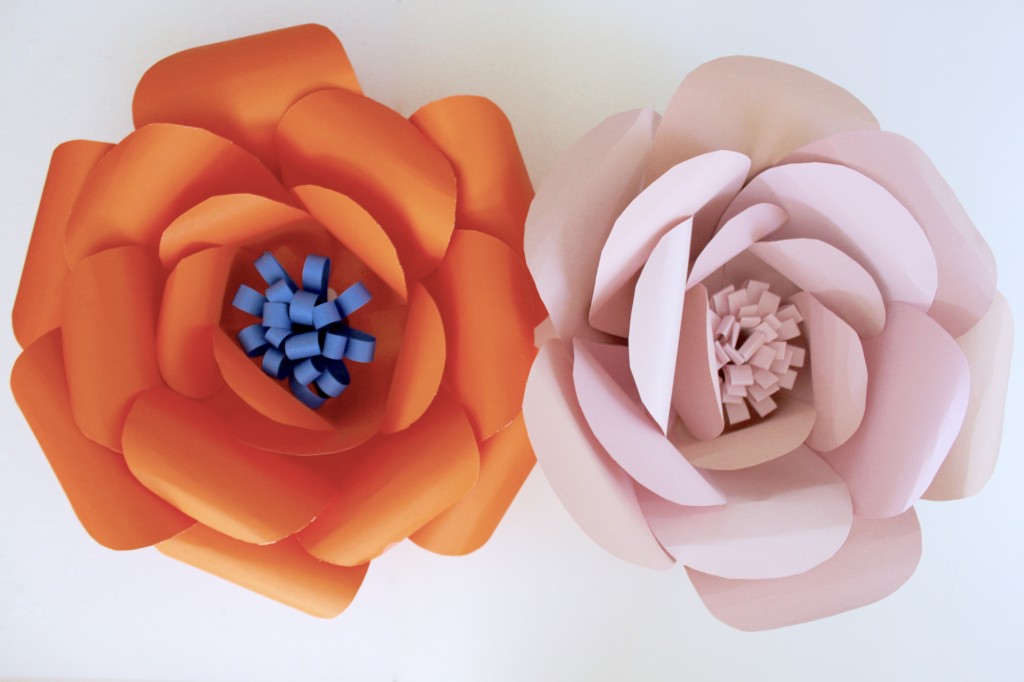
For this project, you’ll need either 12 sheets of 12 x 12 cardstock, or 14 sheets of 8 ½ x 11 cardstock. You can make your paper all the same color, or you can use monochromatic shades within the same color family.
2
If you’d like to make these in varying sizes, you can scale down the size of the template in your printer settings.
How to:
1
Start by printing the 3 page template.
2
Cut out each of the pieces. You’ll need 6 large petals, 6 medium petals, 5 small petals, and a circle base. If you’re using 12 x 12 cardstock, fit the large and small petals on a single page.
If you’re using 8 ½ x 11 paper, you can turn it in landscape orientation and fit the medium and small petals on a single page.
When cutting the cardstock, I like to stack the sheets and cut three at a time. Don’t forget to cut the center slit on each petal.
3
You’ll also need two long strips that will be folded in half and cut to make the looped fringe center of the flower. If you’re using 12 x 12 paper, you can use the scraps for this. If you’re using 8 ½ x 11 paper, you’ll need to fold two whole sheets in half.
4
Once your pieces are cut out, we can start assembling the rose. We’ll start with the large petals first. If you have lightweight cardstock, you can roll the rounded edge of the petal back with the aid of a marker or gluestick. But if you have heavier weight cardstock, you’ll get fewer creases if you simply roll loosely by hand.
5
Add a line of hot glue on the inside edge by the slit. Pull the corners of the petal together so that the slit is closed.
6
Add a bit of hot glue to the outer edge of the circle base, and adhere the petal. Continue adding the large petals around the base, overlapping the petals a bit.
7
Continue the process with the medium size petals. It looks best if you stagger these, so glue the first petal so it’s centered between two of the large petals.
8
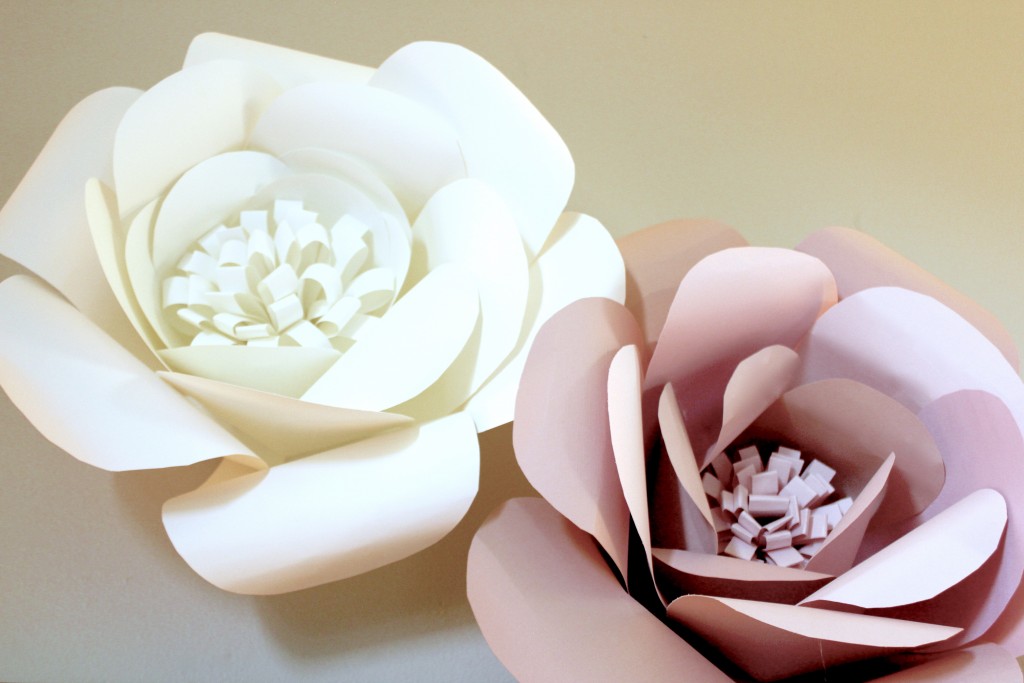
Finally, add the five small petals.
9
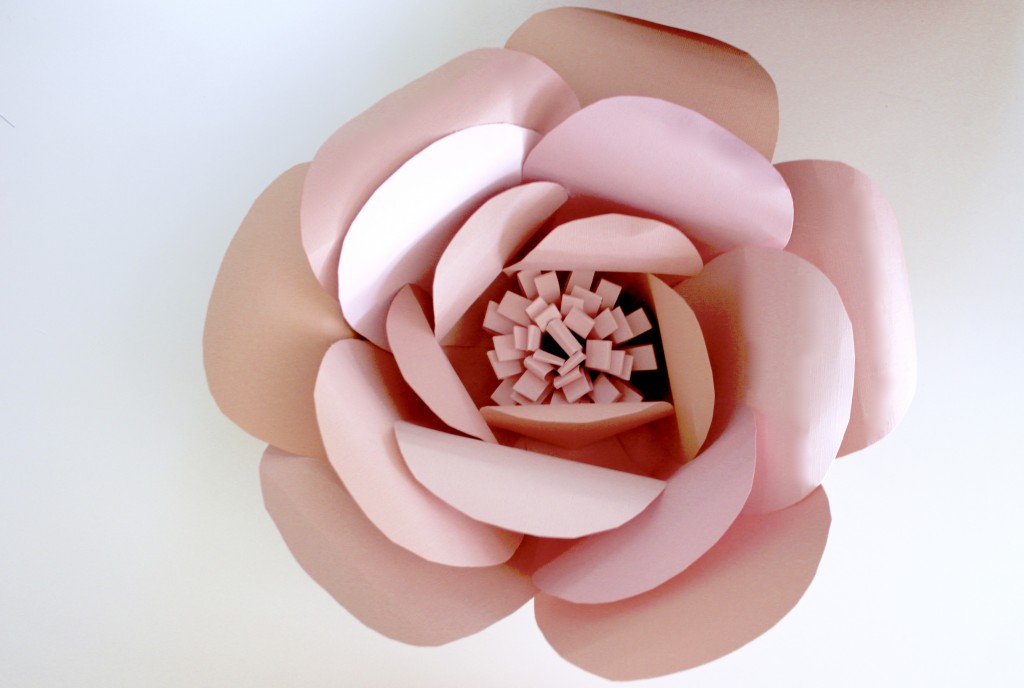
Now we can make the center of the rose. You should have two long strips, folded in half lengthwise. Fringe the folded edge by making cuts about ½ an inch apart. Leave about an inch of the paper intact at bottom.
10
Open one of the paper strips, smooth it out, and gently fold in the opposite direction. Coil the paper into a spiral, starting with a rather tight roll, and gradually loosening as you roll.
11
Glue the loose edge in place, and slide your finger through each loop to spread it open for a fuller bud.
12
Repeat the process with the second strip of paper, adhering it to the previous coil.
13
Attach the center bud to the middle of the flower with hot glue.
You can hang these on a wall by pressing thumbtacks in areas deep within the flower. They make a gorgeous backdrop for photos, or for special events like weddings or baby showers.
Made By Marzipan may have received product or payment for this post. Posts may contain affiliate links. Disclosed in accordance with the Federal Trade Commission's 16 CFR, Part 255.

 Finished?
Show it off!
Nice Buisness
Thank you so much for sharing your gift, you will truly be blessed continuously.
And thank you for not putting a price on it.
I made the paper flowers recently and they looked beautiful. Thanks a lot for posting it online!
Thank you :)
Hey, I’m looking to make these to have in my little girls room. Will they last or will they lose their shape over time? Thank you!
no
Thank you sweetie am so grateful.i can’t fine the printable template pls
Thanks a lot for sharing these ideas for free…
Thanks for sharing this! I can’t wait to try it myself!
Thank you for sharing your creative ideas…. Keep them coming.
Thanks for sharing…I will try this for my daughter’s birthday backdrop