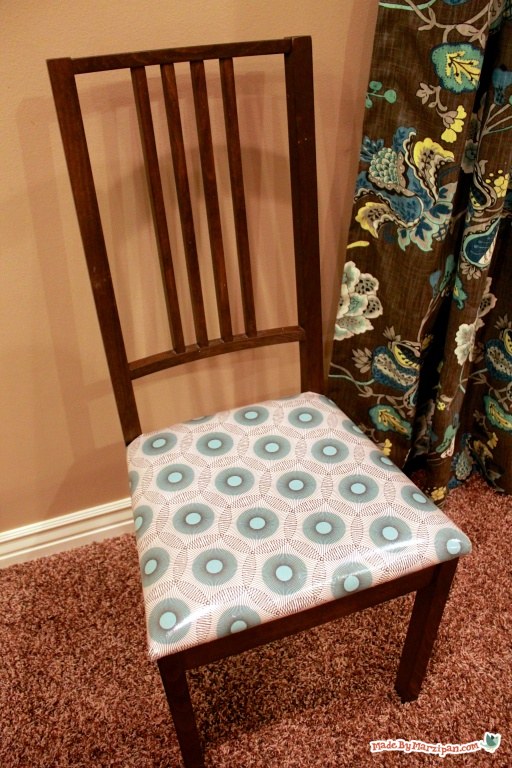
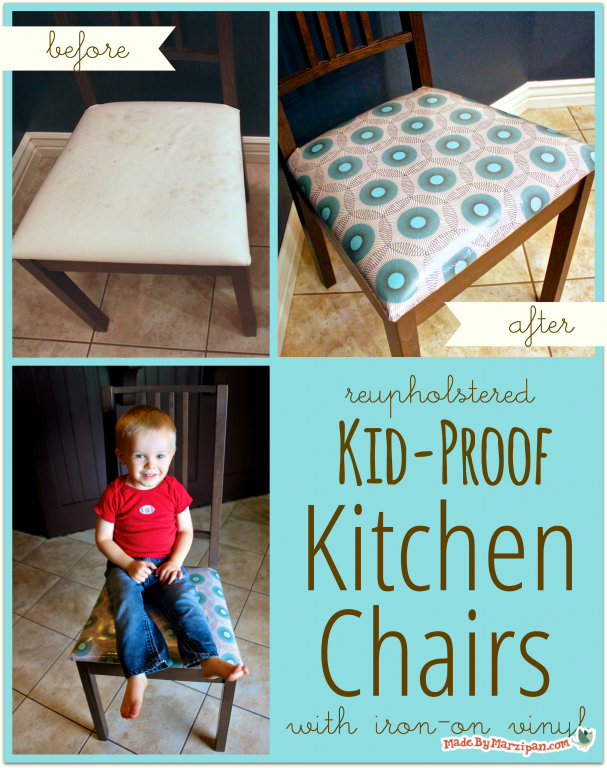
Laminate an adorable cotton fabric to make cute and kid-proof cushions.
Tips:
1
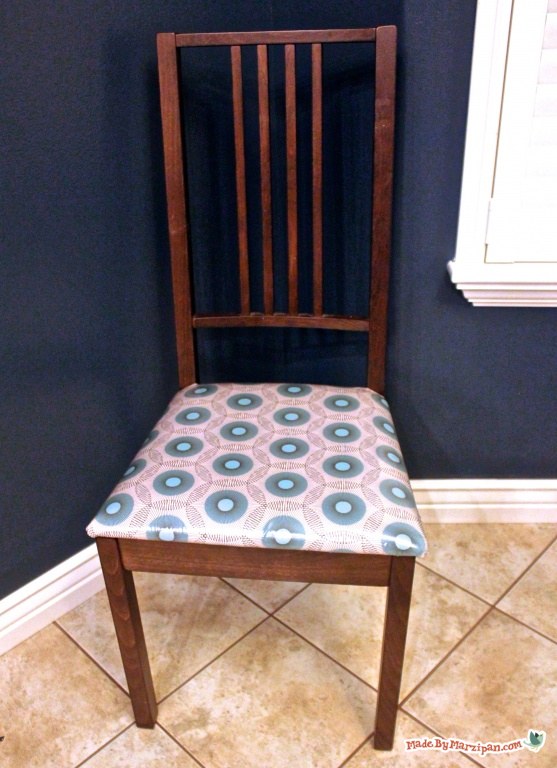
You can make a regular quilting cotton into a durable, wipeable surface by adding iron-on vinyl. I bought this off the bolt for about $6 a yard at Wal-Mart. This opens up a lot of possibilities, since now you can use just about any fabric you like. We wanted a print that was fresh and modern, and fell in love with this Egg Blue Lightening Bugs fabric in the Birch Farm collection by Free Spirit Fabrics. We got it from FatQuarterShop.com, and they have hundreds more high-quality designer fabrics to choose from. I got two yards, and that was enough to cover 6 chairs. You may need more depending on the size of your chairs, and whether you select a directional print.
2
I also got a package of Clover Dry Heat Pro Pressing Sheets from FatQuarterShop.com, because these are really useful when dealing with a heat-sensitive material like vinyl. I’ll tell you more about these later.
3
Finally, you’ll need a lightweight staple gun and staples. A staple gun costs around $10, and the staples run about $4.
How to:
made with
1
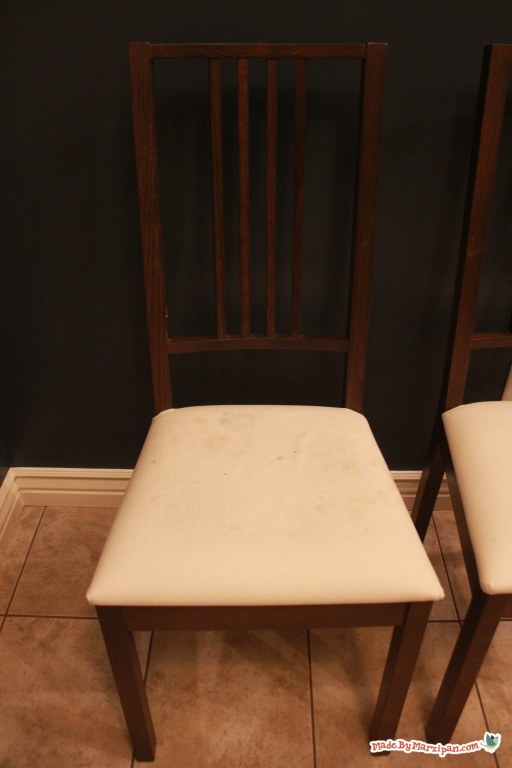
Start by unscrewing the cushions from the chair frames. It’s best to remove the existing upholstery fabric. Depending on how the cushion was upholstered, you may need to remove the previous staples. You can do this with a flat-head screwdriver if you don’t have a staple remover.
2
Iron your fabric throughly. (There’s no need to pre-wash, as the chair fabric won’t be removable.)
3
Next lay your fabric out face-down. Lay the chair cushion face-down on the fabric. Cut the fabric, leaving a border of 2 ½ inches all the way around the cushions.
4
Lay the cut piece of fabric face-down on the paper backing of the iron-on vinyl. Trace, then cut out using paper scissors.
5
Move the cut vinyl to a flat surface. Carefully peel back the paper. The vinyl is slightly tacky, so try to keep it flat and smooth while removing the backing.
6
Lay the cut fabric face-down on the tacky side of the vinyl. Smooth the fabric completely. If you get a wrinkle, you can reposition the fabric and try again.
7
Now it’s time to iron the vinyl to the fabric. The instructions on the Heat ’n Bond say that you can re-use the backing paper for this. However, the paper is opaque, so you can’t see exactly what you’re doing. I’ve had occasions when I’ve unintentionally pressed a wrinkle into the vinyl, and it ruined my fabric. So I would highly recommend using Clover Dry Heat Pro Pressing Sheets. These are translucent and will protect both your iron and your fabric. Lay a sheet on top of the vinyl side of the fabric, and press on medium heat without steam. Be sure to keep your fabric covered, as the vinyl will melt instantly if you touch it directly with your iron. The heat will seal the vinyl to your project, making one smooth and flexible piece.
8
Now we can cover our chair cushion! I’ve found that it helps to reduce bulk if you trim the corners into a wide V. It’s best to start with a shallow cut so you don’t accidentally take off too much. You can always cut deeper if needed.
9
Lay the fabric face-down and your cushion face-down on top of it. Starting at a corner, tuck the fabric around the edge and staple to the underside of the seat. The trick is to keep all of your wrinkles on the underside of the seat. This will take a bit of smoothing and manipulating, but it isn’t difficult, especially when you’re working with a thin cotton instead of a heavy upholstery fabric.
10
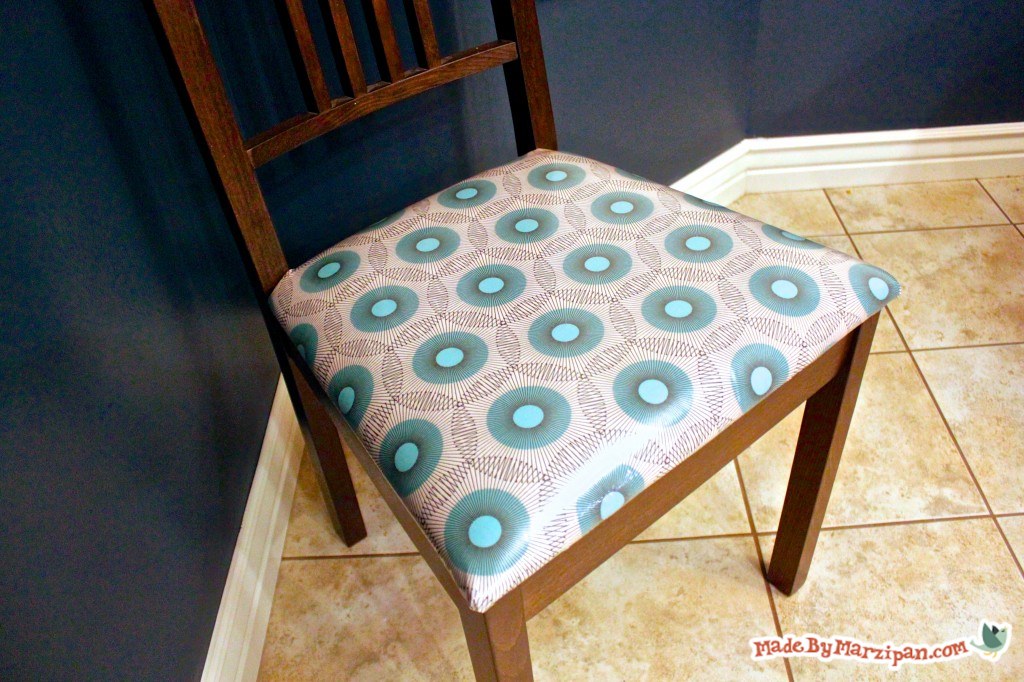
Staple all the way around, then screw the seat onto the chair.
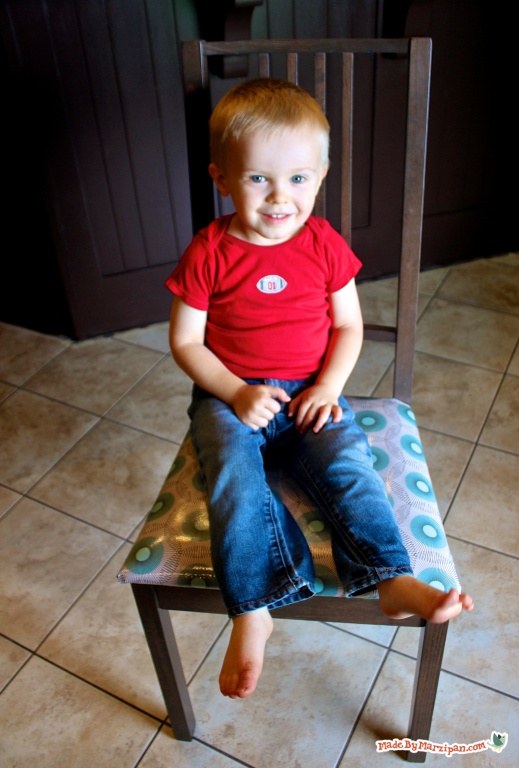
That’s it! Now you have an adorable reupholstered chair that is durable and kid-proof. Just wipe up spills with a damp cloth!
Made By Marzipan may have received product or payment for this post. Posts may contain affiliate links. Disclosed in accordance with the Federal Trade Commission's 16 CFR, Part 255.

 Finished?
Show it off!
