

Today I’m going to show you how to make simple watercolor cards. I’ll also show you a trick to make hand lettering your own sentiments super simple!
Tips:
1
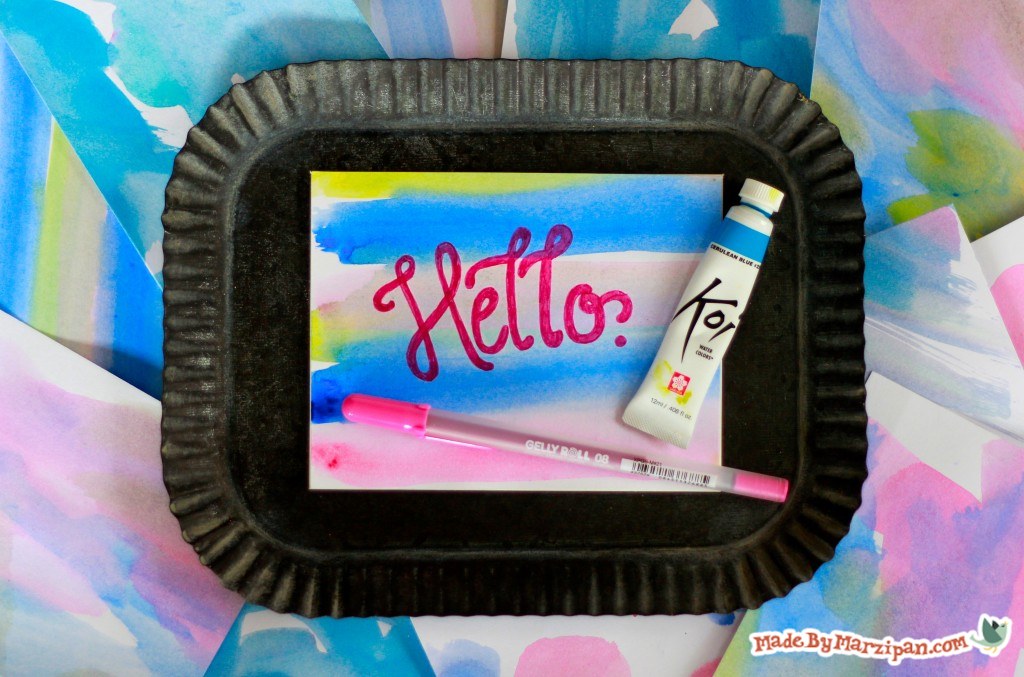
I’m making pretty watercolor backgrounds using Koi® tube watercolors, made by Sakura. These bright shades are easy to blend for endless color combinations. You’ll also need water, a paintbrush, and some type of palette for mixing.
2
I’m opting to paint on plain white cardstock, which I’ll then mount onto colored cards.
3
I’ll be using Sakura’s Gelly Roll Classic pens for lettering. These come in lots of fun colors, and the ink covers the paint smoothly.
How to:
made with
1
Start by mixing some paint colors. Remember, a little goes a long way with these paints. Anything goes, so have fun experimenting!
2
I’m going to cover this first sheet in stripes. I’m keeping my brush very wet because I want the colors to blend into each other. I prefer painting the entire sheet at once, and cutting it to card size afterward, as it makes the process go quickly.
3
For this next sheet, I’m adding large polka dots. Any sort of geometric or abstract design makes a great background, so feel free to play around.
4
The next sheet will have a wash of random color. Consider layering different shades for interest. Or, make a background that’s monochromatic.
5
Set the papers aside and allow them to dry completely.
6
Cut the papers into fourths so they’ll fit on the front of a standard card. Cut the papers in half horizontally at 5 ½ inches, then turn and cut in half at 4 ¼ inches.
Lettering
Now I have a big stack of pretty backgrounds to letter on. I’m going to show you a simple way to draw letters without a lot of sketching or measuring.
1
Start by writing out the word. I’m writing this one in script. You can write normally, but make your letters large and don’t squish the letters too close together. Write lightly with a pencil. (If you’re wondering, I’m using a Sumo Grip mechanical pencil, which is my favorite for hand lettering.)
2
So now I’ve got my word written, but it’s awfully skinny and doesn’t show up well. I want nice, bold letters that pop. The quickest way to do that is to draw a border around the penciled lines. So, we’re following the curves of the line we drew, almost like tracing… but slightly offset from the original. Do this on both sides of the line, encasing your penciled line in the center.
3
Erase your pencil lines. (Do this carefully, as your eraser might pick up a bit of the paint color.)
4
Color in the letter with your pen. Repeat for the remaining letters.
5
This little trick works for lots of lettering styles. You can change the style of the letters by adding a round cap on the end, or a square one. You can also leave the letters empty, or, fill them in with a pattern.
6
Use a double-sided adhesive or a gluestick to adhere the backgrounds to colored cards.
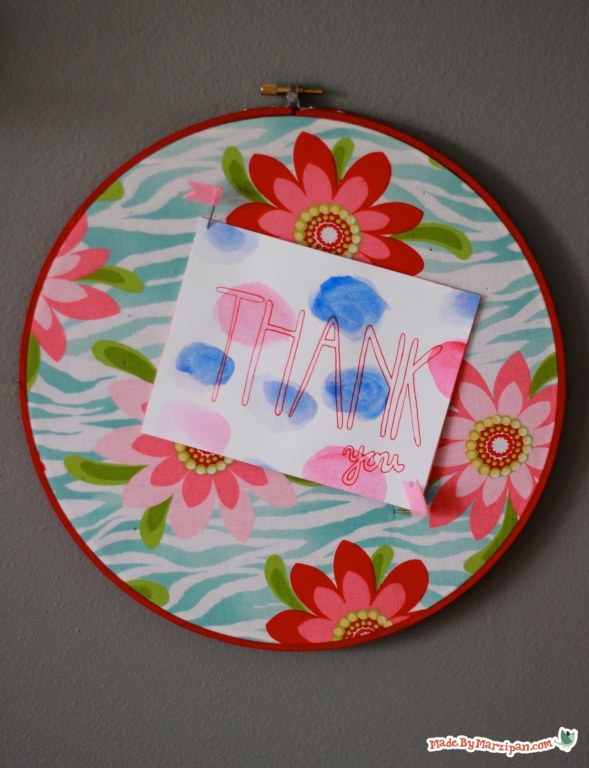
The really fun part about this project is that every card is a little piece of original art. Wouldn’t you love to get one of these in the mail?
Made By Marzipan may have received product or payment for this post. Posts may contain affiliate links. Disclosed in accordance with the Federal Trade Commission's 16 CFR, Part 255.

 Finished?
Show it off!
