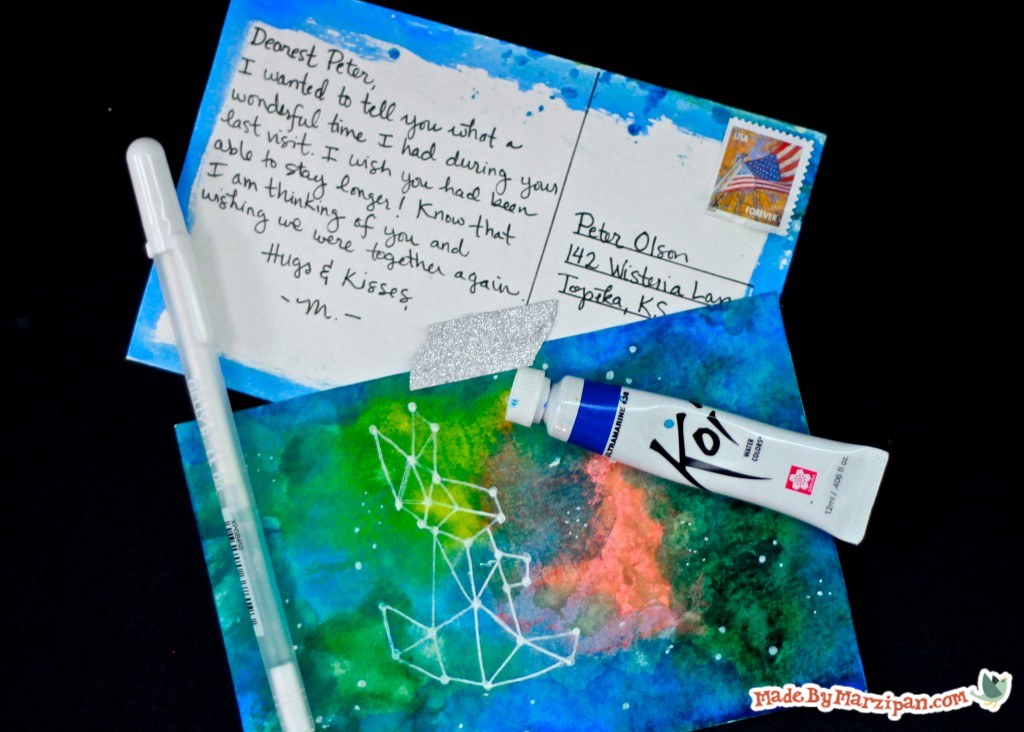
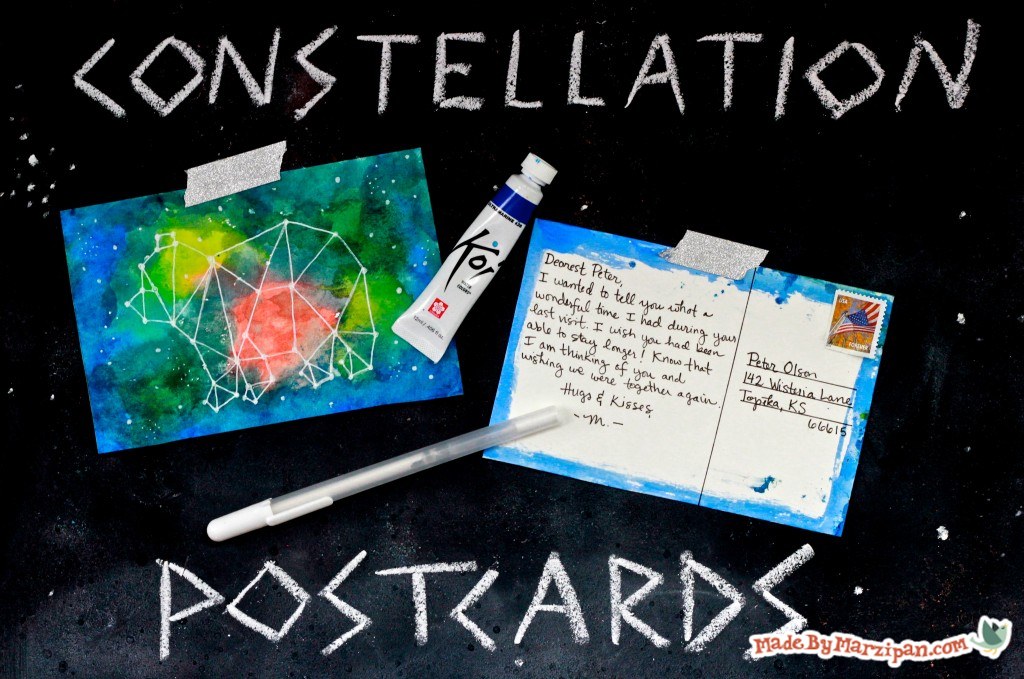
Today I’m making some cool constellation postcards that are perfect for any occasion. These watercolor galaxy postcards are so pretty, the recipient just might want to frame it!
Tips:
1
First, I’m using Koi® tube watercolors, made by Sakura. These are my go-to paints because of their intense pigments.
2
You’ll also need watercolor paper. I prefer Strathmore cold press, which has a nice weight and texture that’s ideal for watercolor paint. This paper is 9 x 12, so I’ll be able to get four 4×6 postcards out of a single sheet.
3
You’ll need a white Gelly Roll® pen. This is a gel pen with white ink that shows up well on dark paper, so it’s perfect for drawing our starry constellations! Which Drugs Are The Most Essential For Me
How to:
made with
Painting A Galaxy:
1
I’m starting by marking the dimensions of the four postcards I’m painting. I happen to have a 4×6 postcard that I’m tracing, but you could use a ruler instead.
2
I’m using Vermilion Hue, Lemon Yellow, Deep Green, Prussian Blue, Cerulean Blue and Ultramarine. Add a small dab of each color to separate compartments on your palette. These Koi® paints are intense, so a little goes a long way. Add about two teaspoons of water to each, then blend.
3
I’m painting all of my postcards at the same time. Start with Vermilion Hue and add a single splash of color somewhere near the center of each postcard.
4
Now add a couple spots of Deep Green to each postcard.
5
Next we’ll add Cerulean Blue. It’s okay to touch the other colors and allow them to blend a bit.
6
Now add the Lemon Yellow.
7
Use a generous amount of Ultramarine to the cards. We’re going to wait until the cards are dry before we add the Prussian Blue.
8
Wet your brush and use it to blend the remaining white areas on the card. Allow the paper to dry completely.
9
Now we’ll add the last color, which is a deep Prussian Blue. It’s also handy to have a paper towel or cloth rag for blotting. Add a generous amount of paint around the edges of the card, then blot and blend the paint using a paper towel or rag. This adds some texture and the appearance of depth.
10
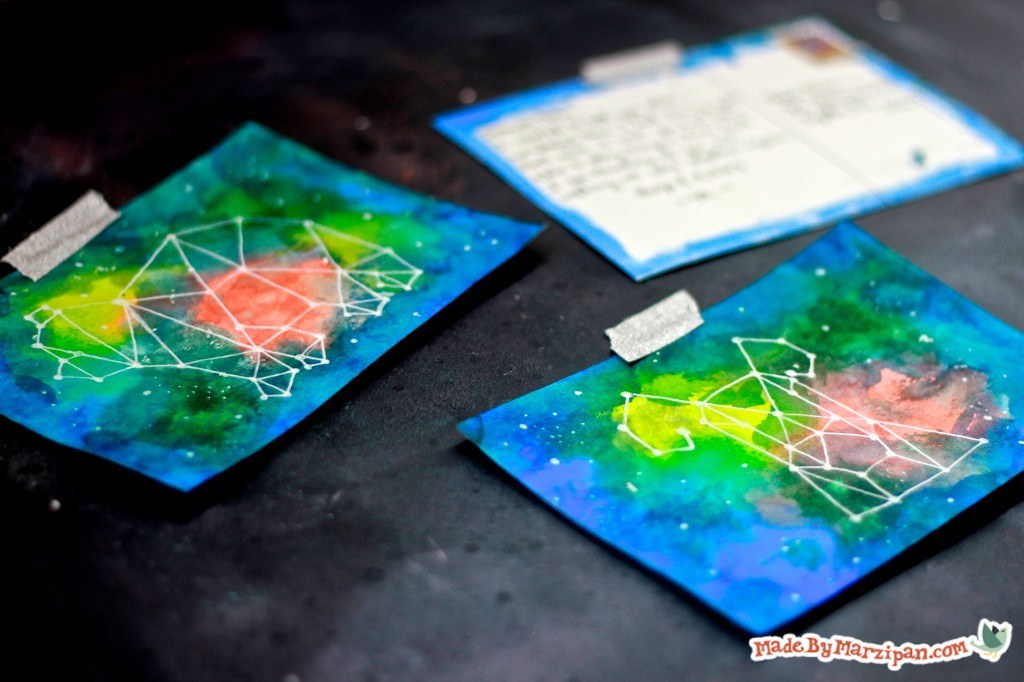
Allow the paper to dry, then cut out along the pencil lines.
11
If you want, you can brush a quick watercolor border on the back of the card as well.
Creating Constellations
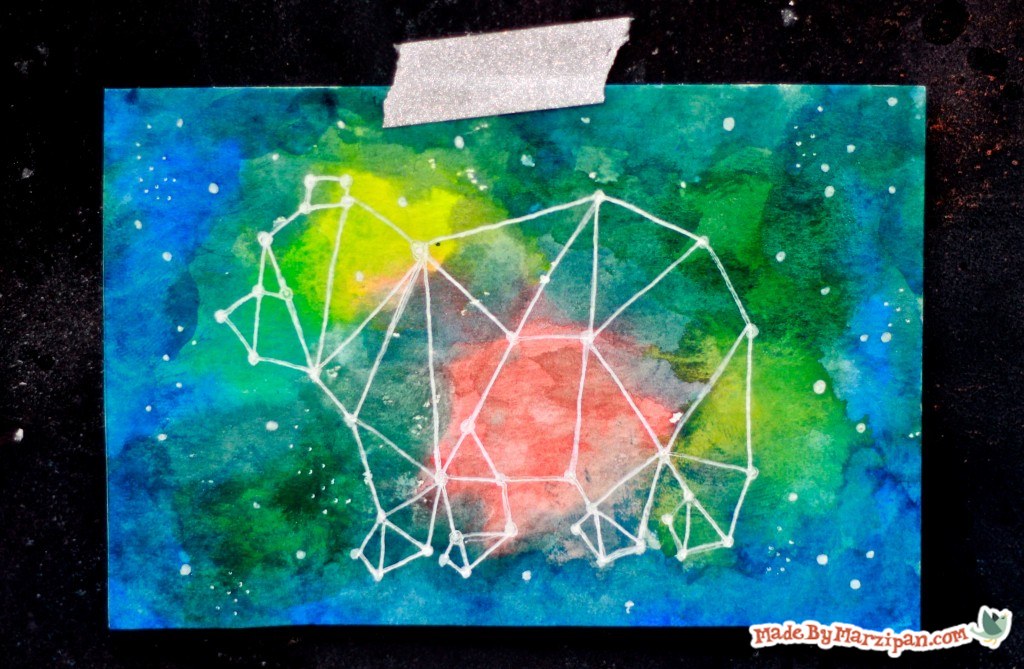
12
Now we can draw our constellations with the white Gelly Roll® pen. It’s helpful to sketch out some designs on a piece of colored scratch paper first. You can make any shape or design you’d like… just remember to make all of your lines straight, and your angles pointed rather than curved. You could look up and copy actual constellations, or you could make your own interpretation of astrological symbols. Or you could draw an animal that inspires you… or maybe the initials of the person you’re sending the postcard to.
13
Once you’ve drawn the outline, add circles at each intersection to create stars. You can add extra points and lines within the shape as well.
14
Finally, add circles and speckles to the background to give the impression of stars.
15
Prep your postcard for mailing by drawing a line on the back, about ⅓ of the way from the right edge. Draw three lines for the address. Don’t forget that you’ll need a regular postage stamp to mail within the United States.
Made By Marzipan may have received product or payment for this post. Posts may contain affiliate links. Disclosed in accordance with the Federal Trade Commission's 16 CFR, Part 255.

 Finished?
Show it off!

Pretty! This has been an incredibly wonderful article. Thank you for supplying this
information.