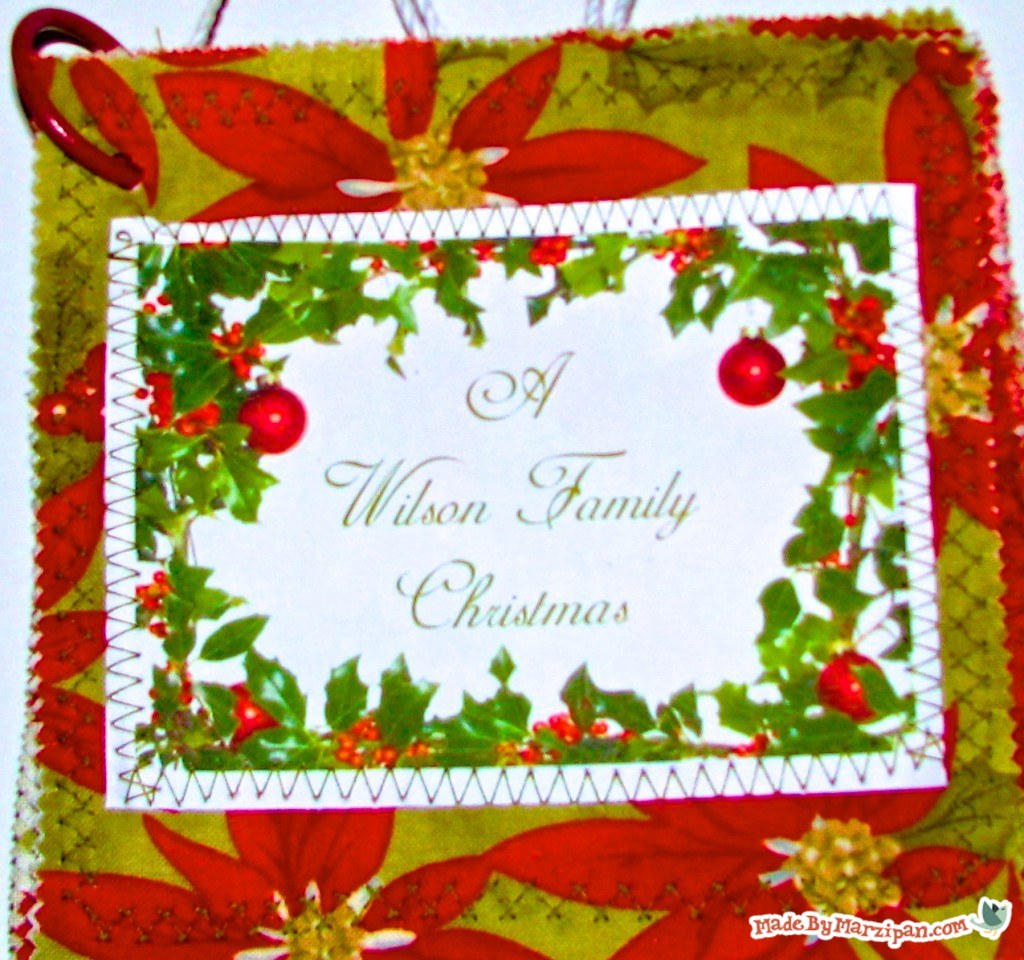

This is a soft little album you’ll want to curl up with on a snowy day.
How to:
made with
1
Pre-wash your fabrics, if you think you might need to wash this album in the future. And if you have little children with sticky candy cane hands, you probably will!
2
Pre-cut stacks have zig-zag edges, so you won’t need to fret much about fraying. If you aren’t using a pre-cut stack, you’ll need to trim your fabric into squares with pinking shears.
3
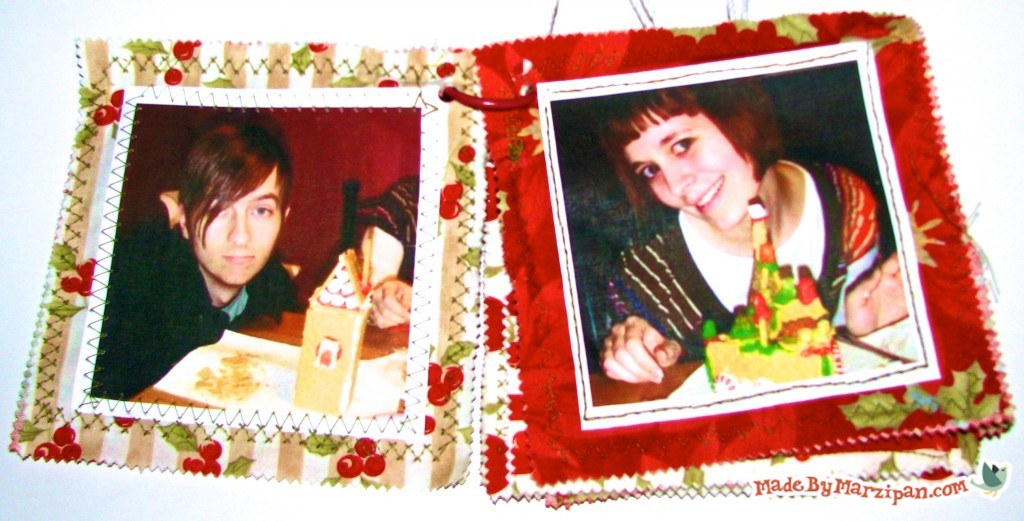
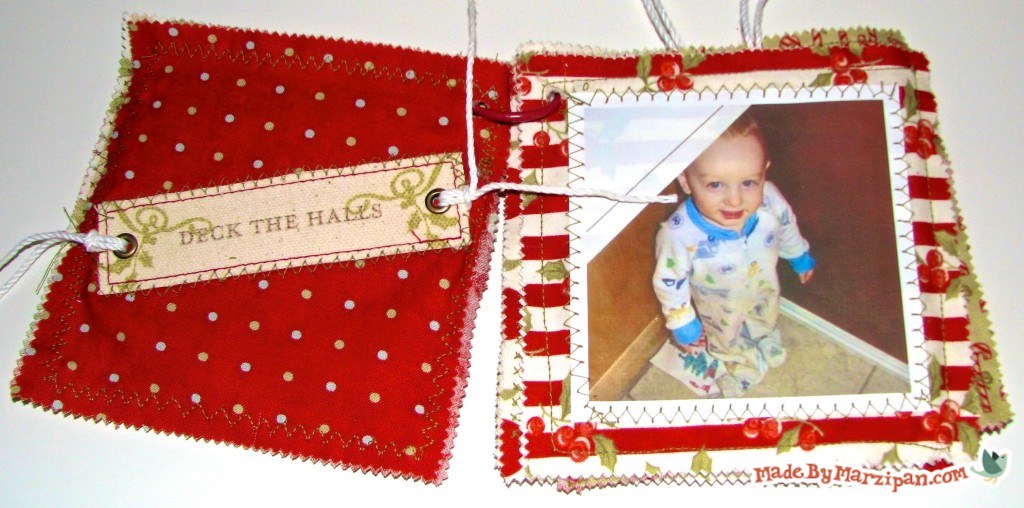
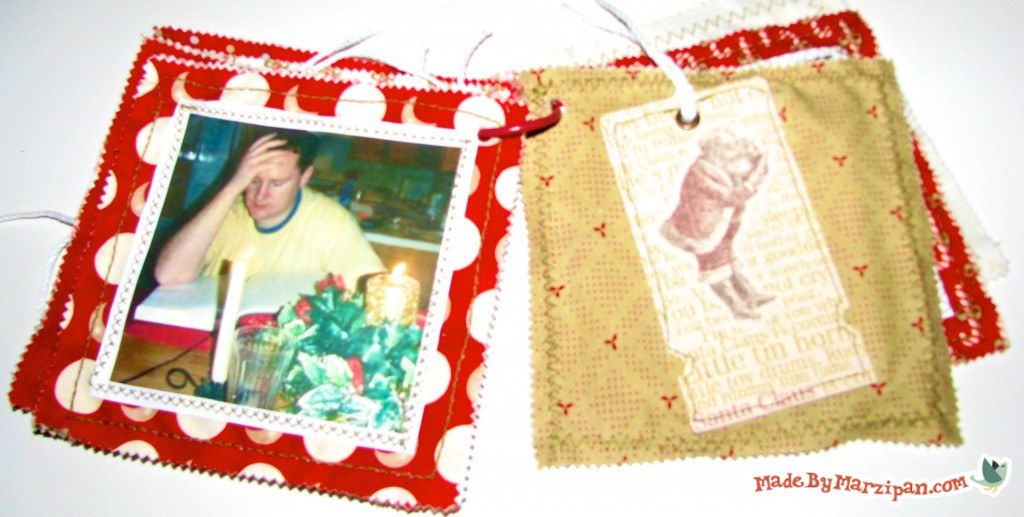
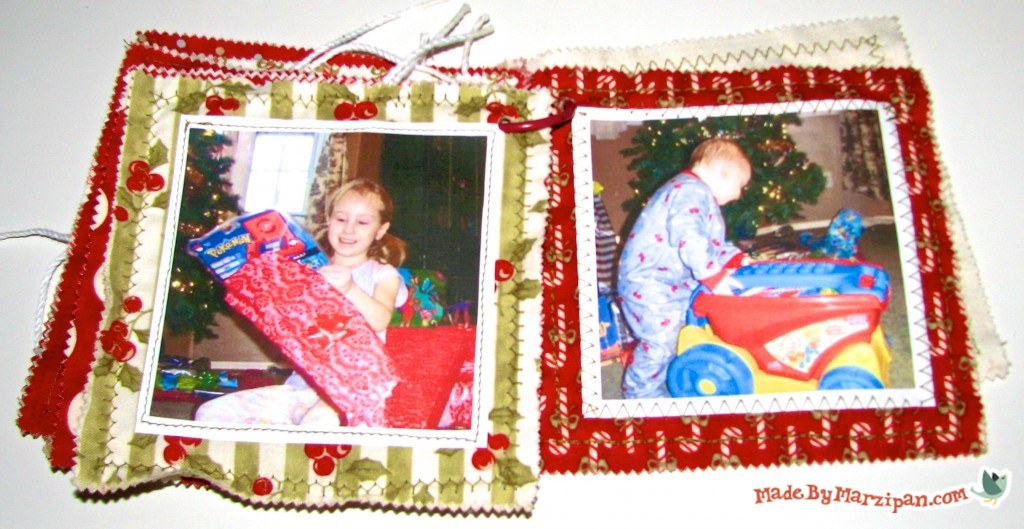
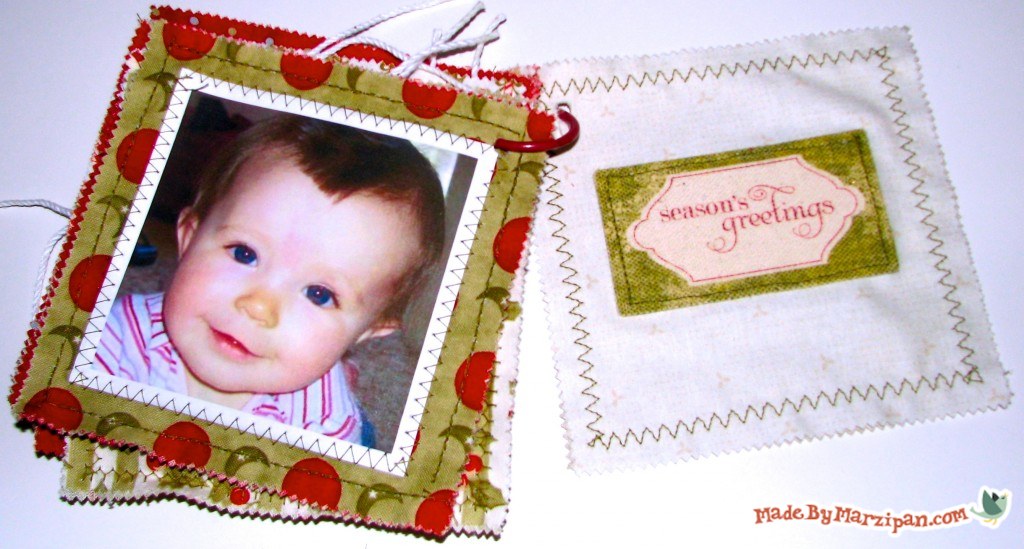
You can’t beat Printworks for Dark when you need an iron-on. No need to reverse your printing, and no need to guess about your picture placement. Just trim around your photo, peel off the protective backing, and place it where you want (like a sticker). Then just iron it on using their special see-through top paper.
4
I found these great fabric tags in the scrapbooking section. Sew on embellishments, and around the edge of your pictures, with zig-zag stitches (or any other pretty stitch– this is a great opportunity to play around with the fun options on your sewing machine).
5
Cut batting squares slightly smaller than your fabric squares. Sandwich fabric, batting, and fabric, and topstitch together to create a page.
6
Use a hole punch to make a hole in the upper left corners of the pages. If you’d like, you can use an eyelet & eyelet setter or grommets & grommet setter to reinforce these holes.
7
Insert a binder ring.
Made By Marzipan may have received product or payment for this post. Posts may contain affiliate links. Disclosed in accordance with the Federal Trade Commission's 16 CFR, Part 255.

 Finished?
Show it off!
