Turn a $1 store frame or cookie sheet into a chalkboard calendar or menu board!
Tips:
1
I used Valspar brand spray paints for this project. You’ll need Valspar Primer for Plastic (even if you’re painting something other than plastic) as well as Valspar Chalkboard. I recommend placing your items to be sprayed inside of a box to keep the paint contained. Remember to do this in a well-ventilated area. Only adults should use spray paint.
2
Pretty much anything can be turned into a chalkboard! I’ll be turning a dollar store picture frame and a cookie sheet into chalkboards.
3
I want some of my drawn designs to be permanent. I also want the writing to look exactly like chalk. The only product I’ve found that can do this is the Solid Marker Slim, made by Sakura.
This marker is so different from anything I’ve used; it’s kind of hard to describe! It’s rather soft and a little waxy, the texture is a lot like lipstick. But it’s permanent; it won’t smudge once dry and it won’t wash off with water. And the finish looks identical to chalk, making it perfect for this project.
This is a pretty new product, so you might not be able to find it at your local store. But you should be able to purchase it online.
How to:
made with
Valspar Plastic Primer Spray Paint
picture frame
1
Prep the frame by removing the glass, and prep the cookie sheet by covering the edges with painter’s tape.
2
Next lightly spray the surface of your items with the Valspar Primer for plastic. I know these items aren’t plastic, but this is what Valspar recommends using in conjunction with its chalkboard paint, and it works great.
3
Allow the primer to dry for 10 minutes, then add a second coat of primer.
4
Allow to dry for another 10 minutes, then add a coat of chalkboard paint. While we’re waiting for that to dry, we can start planning the layout for our chalkboards.
5
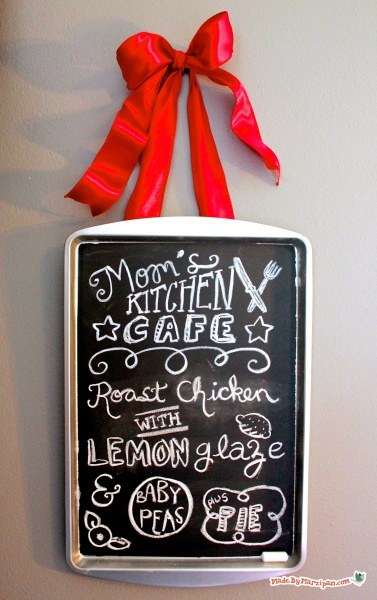
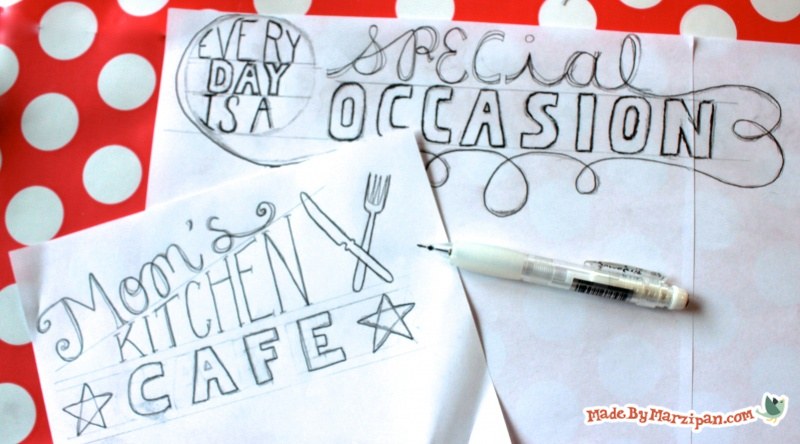
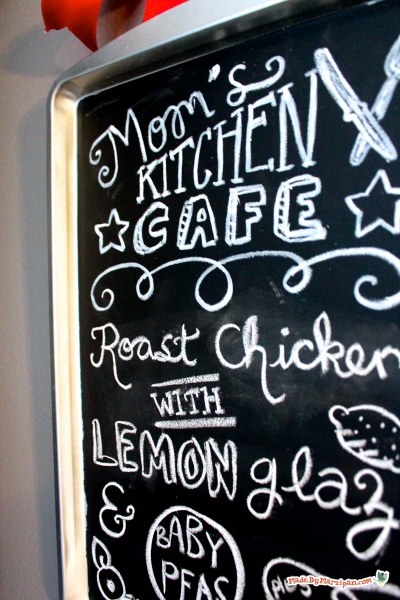
The cookie sheet will become a menu, and I want a permanent header that says Mom’s Kitchen Cafe. Cut a piece of paper to the same width as your chalkboard. Use a pencil to sketch out your design.
6
Take a break from sketching to add a second coat of chalkboard paint.
Making the Calendar
1
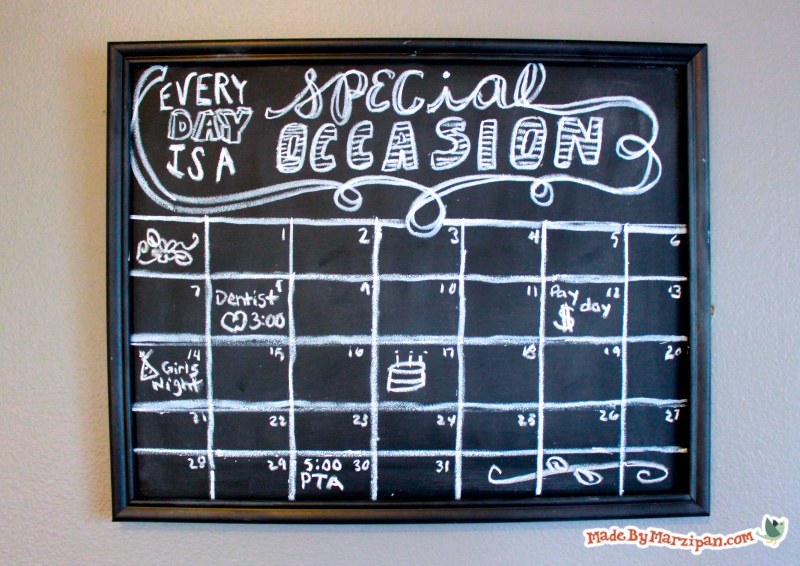
The other chalkboard will become a calendar. This chalkboard is larger than my paper, so I need to tape more than one piece together to fit the frame. I’m writing “Every day is a special occasion” at the top of the calendar.
2
Lay your sheet of paper over the dry chalkboard. Trace your design with a pencil, pressing down firmly. It’s a little hard to see on camera, but this transfers the outline of your design to the surface of your chalkboard.
3
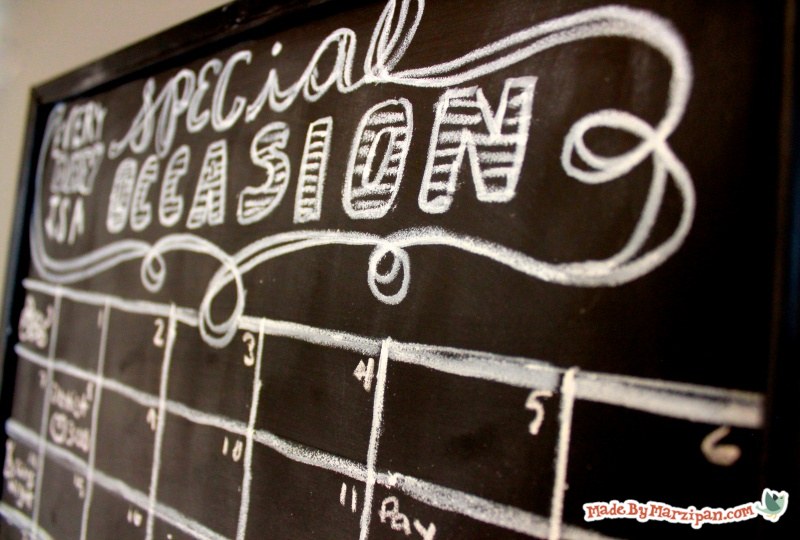
Trace the design on your chalkboard with the Solid Marker Slim. (It helps to have good lighting for this, as the transferred design is pretty faint.)
4
Use a ruler to divide the calendar into a grid, using the Solid Marker Slim to draw 5 rows and 7 columns. (You can make the marker extend higher by twisting the bottom— just like you would with a lipstick.)
5
Add the chalkboard to the frame.
6
It helps to prime the chalkboard before you write on it for the first time. Hold a piece of chalk sideways and rub the entire surface of the board. Wipe clean with a piece of felt. Now the chalkboard is ready to use!
Making a Menu Board
1
Now we’ll make the menu board. Remove the tape. I’d recommend scoring the tape where it meets the paint, using the blade of your scissors. (I didn’t think to do that, so a bit of my paint peeled off with the tape around the edges. Oops!)
2
Transfer your design by holding the paper on the chalkboard surface and tracing firmly. Then re-trace your design with the Solid Marker Slim.
3
I’m adding a ribbon hanger to the cookie sheet. Cut a piece of wired ribbon and hot glue it in a loop to the back of the cookie sheet.
4
Tie a pretty bow in the center of the loop.
Made By Marzipan may have received product or payment for this post. Posts may contain affiliate links. Disclosed in accordance with the Federal Trade Commission's 16 CFR, Part 255.

 Finished?
Show it off!
Those are great. And I love this new pen. Thanks for sharing,
Is the picture frame chalk board using the cardboard or the glass as a chalkboard?
Do you have to use primer ?
On glass and plastic, definitely. But you can probably get by without it on metal surfaces.
Very good idea
good video
OMG you’re so pretty ♥
I love your DIYs and crafts. I still love your hand lettering accents video! It is truly helpful and gives me ideas. Thanks so much!
I love your video lettering accents. Definitely helpful!
Loved your video:•) I want to use permanent color when I make these. Any ideas on the best pens to use? I like the color more than just white. It gives you more options in your design. Thanks!
These pens actually come in several colors!
Need to make a board for an 80th birthday friend… Where do I even start… Help