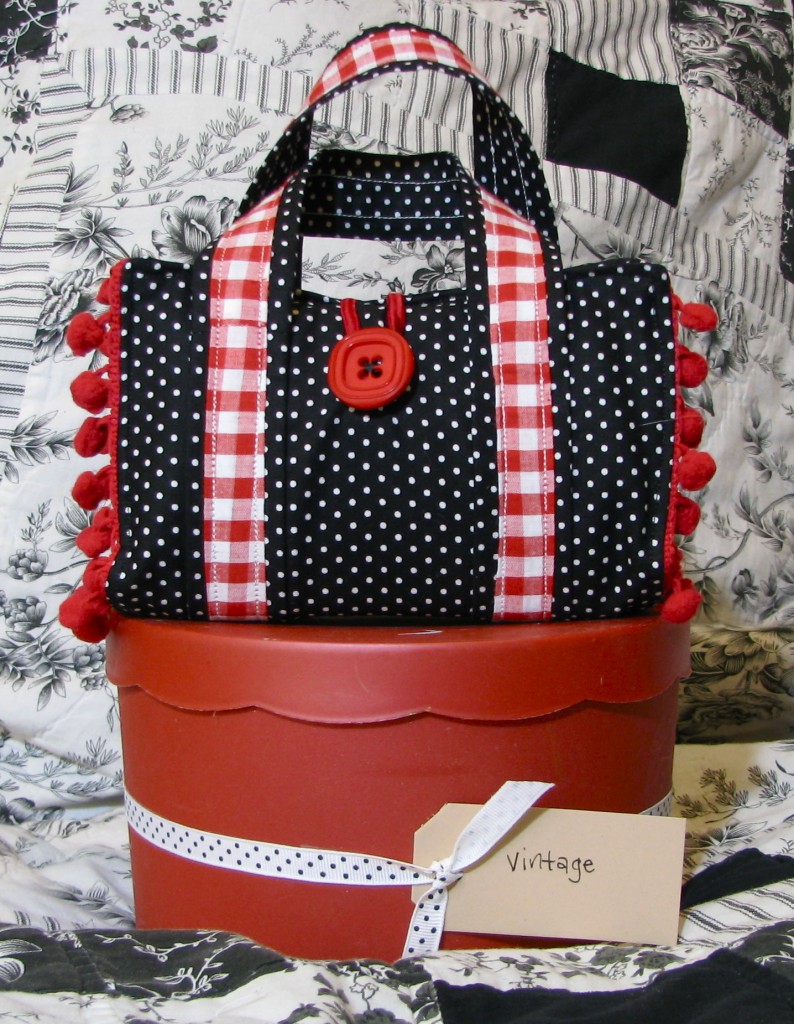
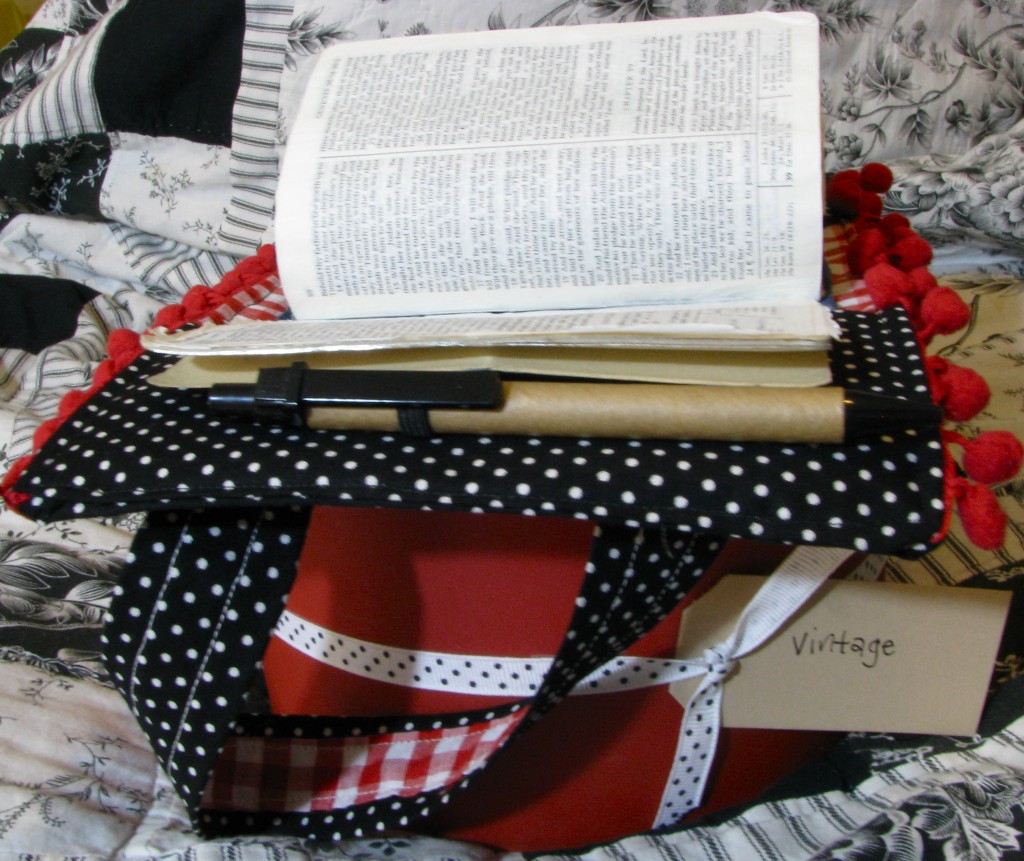
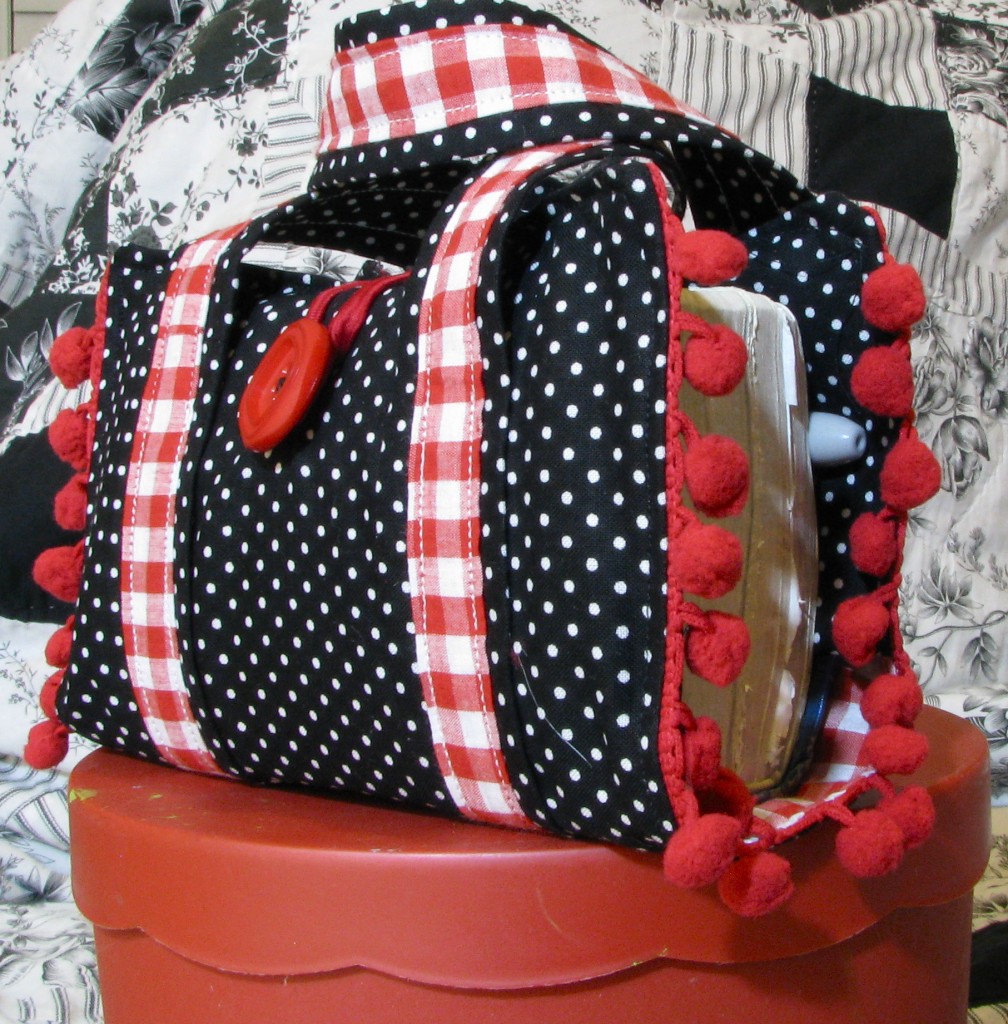
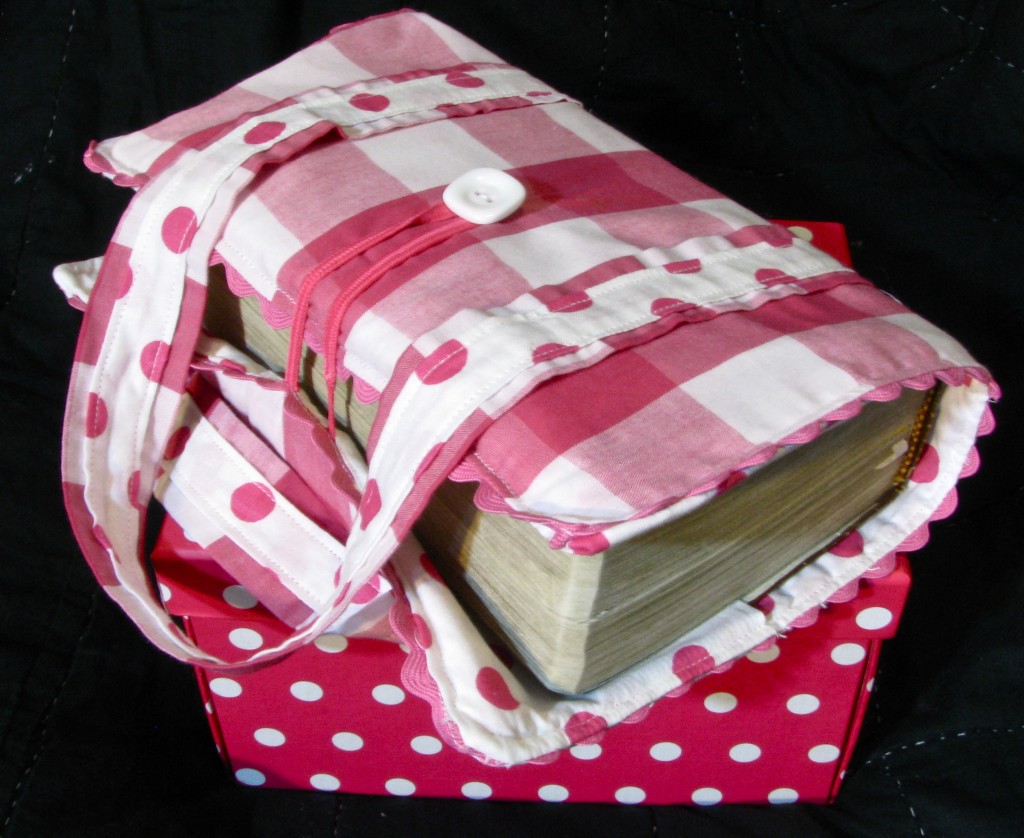
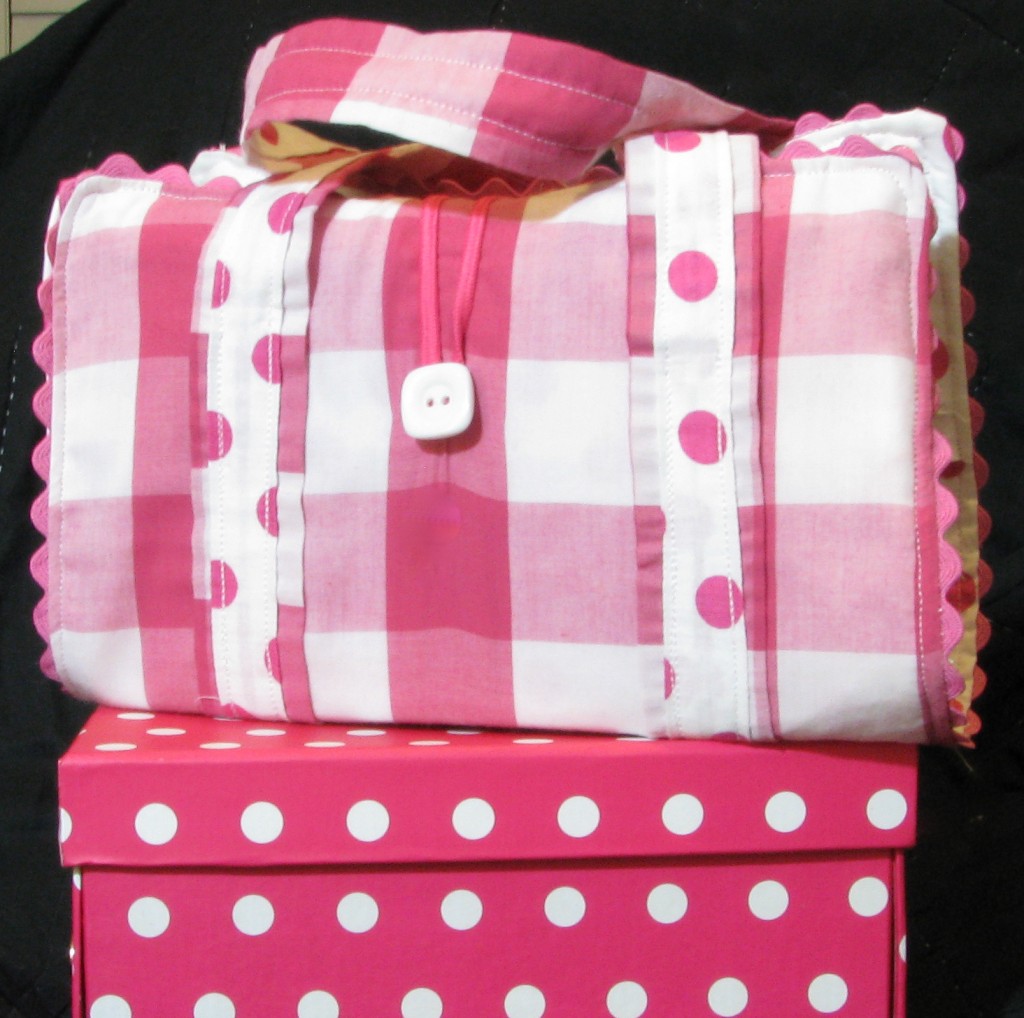
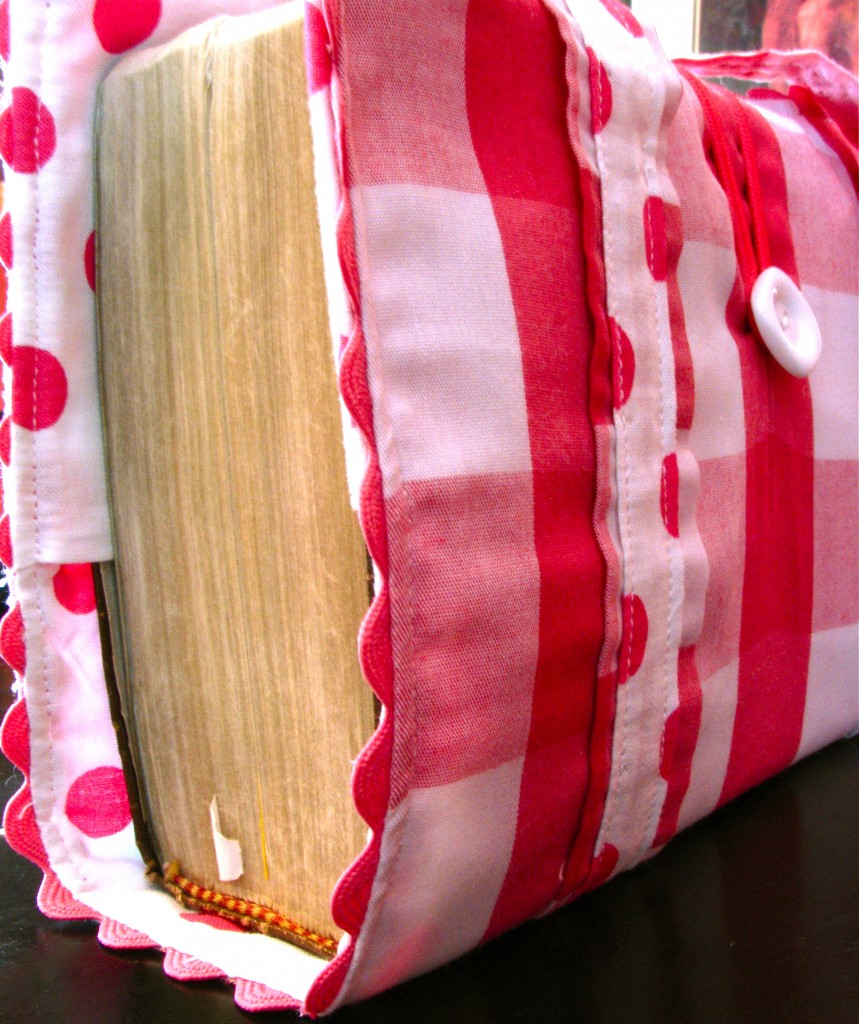
You can sew this adorable tote to hold your bible or another favorite book.
How to:
made with
½ yd cotton fabric (outer)
½ yd cotton fabric (inner)
1 yd trim (Optional)
1
Measure around the width of your book. Add two inches. This measurement will be the length of your covers. Then measure how tall the book is. Add an inch and a half. Cut the outer fabric, the inner fabric, and the interfacing to those measurements.
2
Now we’ll cut the pockets. You can use either fabric. Cut two the same height as your book, plus an inch and a half. Make it 8 inches in width (we’ll fold it in half later). Cut a piece of interfacing to the same dimensions. Then cut the interfacing in half, making two pieces that are 4×8 inches.
3
Next you’ll need to decide how long you’d like your handles. Wrap a flexible tape measure around the book, and hold the tape up to see what a comfortable length would be. Then, double that number and add one inch.
4
You’re going to cut a strip of your inner fabric to 1.5 inches in width, and the outer fabric will be cut to 2.5 inches in width. Cut them to the length you determined. Chances are, your fabric won’t be long enough. That’s okay, you can cut extra strips to make up for the length… just don’t forget to add in a seam allowance. If you need to lengthen with another piece, sew right sides together, and don’t forget to press your seam.
5
Next you’re going to fold in the edges of your strip to meet in the center. When you press, the pattern should be face up. Repeat for the other strip.
6
The wider strip should have the side with the slit face up. Then lay the skinnier strip on top of it, with the slit on the back. Pin together.
7
Use an overcast stitch or a zig-zag stitch on both raw edges to prevent fraying. Then, sew the strips together, a quarter inch in on the skinny strip. Sew on both the right and left edges. Remove the pins.
8
Make the strip into a loop by putting right sides together. Sew the end using a half inch seam. Press the seam open.
9
Center the strap on the piece of outer fabric. Pin in place. You’ll start and end sewing two inches from each edge, so mark those measurements so you don’t sew too far.
10
Sew on the strap, following the stitches of your previous seams exactly. Don’t forget: start sewing two inches from the edge, and stop sewing two inches from the end! Remove the pins.
11
Center and sew on the button about three inches from one end.
12
If you want to add decorative trim, now’s the time to pin it in place. Line up the trim with the edge of your fabric. Your trim should not extend past the edge of your fabric. Sew in place with a quarter inch seam. Remove the pins.
13
Time to work on the pockets. Fold thefabric in half so that it measures 4 inches wide by 8 inches tall. Insert the interfacing between the layers.
14
To make the pen holders, cut two pieces of elastic to 7 inches. Fold one piece in half to make a loop and zig zag the ends together. Pin onto a pocket panel about a quarter inch in from the folded edge. Make three evenly spaced lines of vertical zig-zag stitches to create the pen holders. Repeat these steps on the other panel.
15
Pin the panels to the interior fabric piece. All fabrics should be face up. Now it’s time to sandwich the fabrics together. Pin the interior fabric, the exterior fabric, and the interfacing together. Sew with a quarter inch seam on the long sides ONLY. Remove the pins. Turn right side out and press.
16
Turn in the edges at the end with the button. Pin in place. Then fold and pin the opposite side, leaving a gap in the center. Insert the end of a hair elastic into the gap and pin.
17
Topstitch around the entire cover, using a quarter inch seam. Backstitch over the hair elastic for durability. Remove the pins.
Made By Marzipan may have received product or payment for this post. Posts may contain affiliate links. Disclosed in accordance with the Federal Trade Commission's 16 CFR, Part 255.

 Finished?
Show it off!

I like your style very much!!!And how you explain everything!!!I can see ,that you love to create and sew!!!!GBY!!!!
I LOVE this design! Would it be easy to sew a side-panel into both sides and turn it into a proper bag, with a flap extended on the back for the button fixture? would work great as a travel bag co-ordinated with the all-in one change mat!